


How to Animate a Route on a Map
This guide teaches you how to animate a route on a map: picking the right route type for the journey, pacing a multi-stop trip, and tuning route speed so the motion feels intentional. The route is the spine of every animated route map, and getting it right does more for the final video than any style or camera tweak. Everything here happens in the Mappi editor and takes a few minutes to apply to an existing project.
Match the route type to the journey
Viewers read route types as transportation. A curved arc says flight, a line hugging the highway says road trip, and a route that sweeps across open water says ferry or cruise. Choose the type that matches how the trip actually happened and the animation explains itself without a caption. Mappi has four route leg types, and each one earns its place in a different situation.
Fly-over draws a curved arc between destinations. It is the cleanest choice for long distances, city-to-city hops, and any leg where the terrain between stops does not matter. Driving follows real roads, so hairpin passes, coastal highways, and detours all show up in the animation; use it when the road itself is part of the story. Walking traces footpaths at street scale and shines for city tours, hikes, and anything under a few kilometers. Ocean curves across water without snapping to roads, built for ferries, cruises, and island hopping.
How to animate a route on a map in four steps
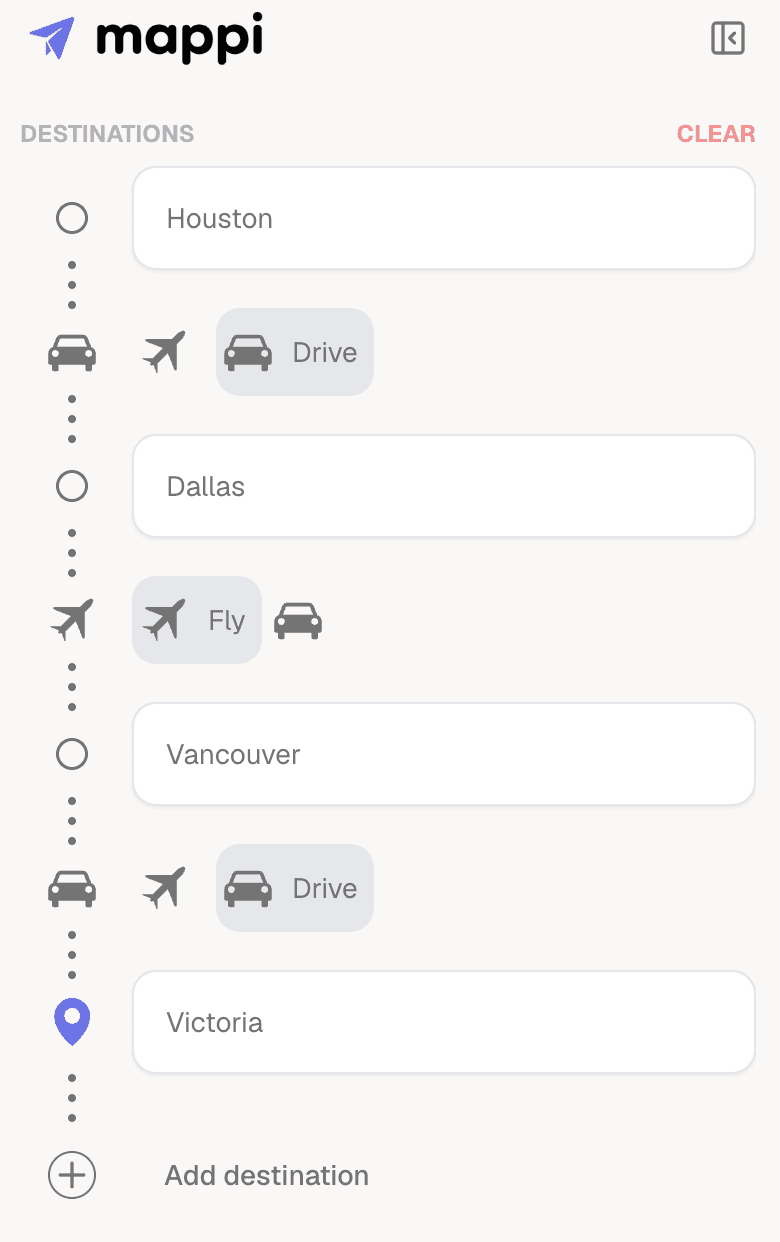
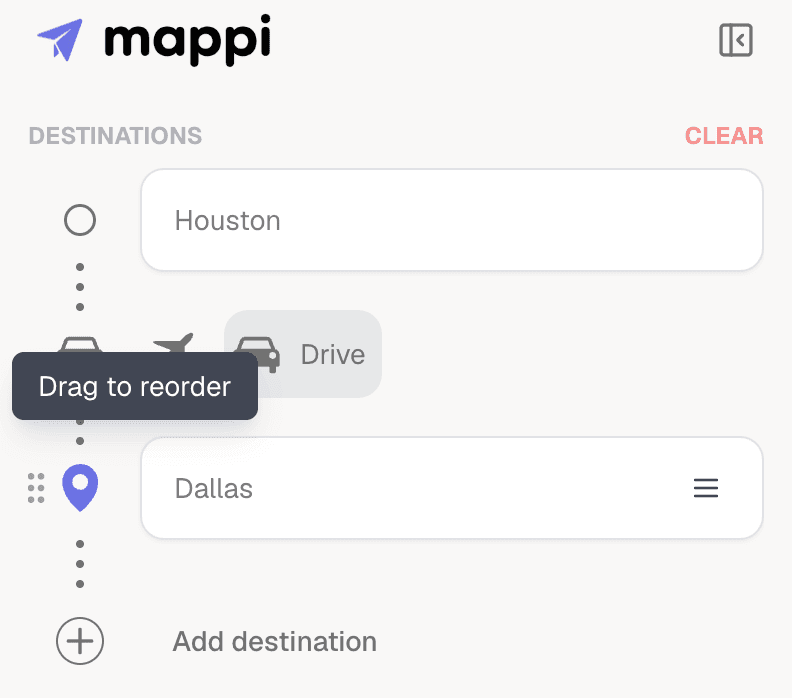
- Add your destinations in travel order. Type each stop into the search bar at the top of the Destinations panel and select it from the results. The panel order is the playback order, so drag stops to reorder them if the trip changes.
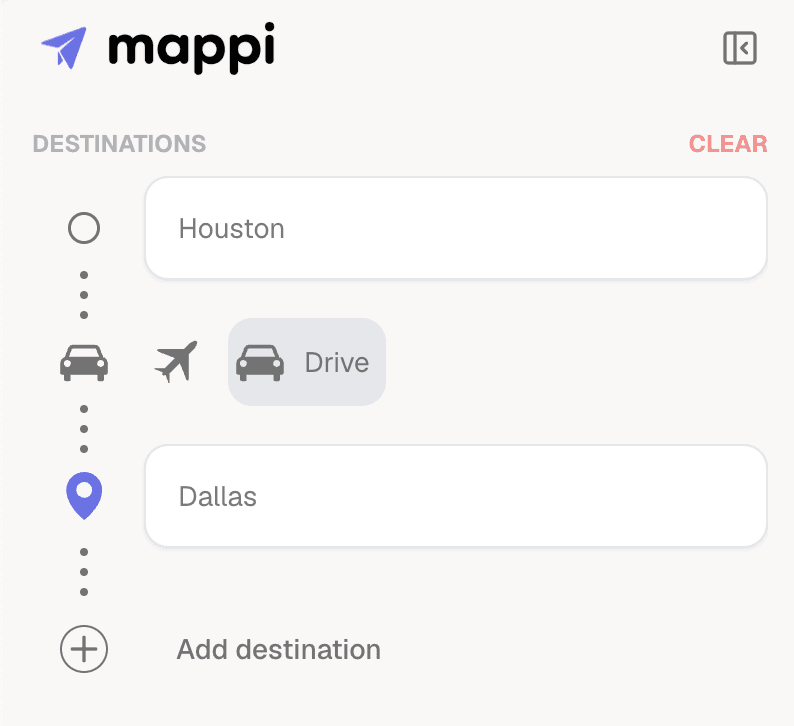
- Set the type on each route leg. Mappi connects consecutive stops automatically. Click a leg and pick Fly-over, Driving, Walking, or Ocean. Mix types freely within one trip: fly into the country, drive the coast, walk the old town.
- Tune the route speed per leg. Open the camera settings on each leg and adjust route speed so screen time matches importance, not distance. A nine-hour drive can pass in three seconds while a short scenic leg lingers.
- Preview the full sequence. Press play and watch every leg back to back. Transitions between route types are where pacing problems hide, especially a fast Fly-over dumping into a slow Walking leg.
Pacing a multi-stop trip
A two-stop animation forgives almost anything. A ten-stop trip lives or dies on rhythm. The mistake to avoid is uniform pacing, where every leg gets the same screen time regardless of what it means to the story. Instead, group your stops into chapters. Let the long connecting legs play fast, then slow down when the trip reaches a region worth savoring. If three cities sit close together, treat them as one slow chapter between two fast travel legs rather than six identical beats.
Route type changes make natural chapter breaks. Switching from a Fly-over arc to a Driving leg signals arrival better than any zoom, because the viewer feels the scale shift from country to road. If you are new to building trips end to end, the workflow in our first animation guide covers destinations, style, and export around the route work you are doing here.
Route speed sells the motion
Distance on the map and duration on screen are separate decisions, and route speed is where you make them. Fast legs create energy and momentum; slow legs create attention. A good default rhythm is fast travel, slow arrival: run the leg quickly for most of its length and let the easing handle a gentle landing at the destination. Smooth easing works for nearly every leg, and Slow arrival is worth switching on for the final stop so the trip ends with a settle instead of a stop.
A quick calibration exercise: take your longest leg and your shortest leg and play them back to back. If the long one holds attention all the way through and the short one still registers as travel rather than a cut, your speeds are close. If you catch yourself waiting during the long leg, speed it up and check again. Viewers will never praise good pacing, but they will always feel bad pacing, and this two-leg test surfaces it faster than watching the whole animation on loop.
What to do next
With route types and pacing under control, the next lever is the camera: zoom, pan, and easing decisions that turn a correct route into a cinematic one. Browse the rest of our map animation tutorials for the camera guide and platform-specific export advice, or continue with the related guides below.
