


Map Camera Movements: Zoom, Pan, and Easing
Camera work is what separates a map that displays a route from a map that tells a story. This guide covers the three decisions behind every good map zoom animation: how far the camera sits from the ground, how it travels between destinations, and how it speeds up and slows down. When you build a map animation in Mappi, these all live in the per-leg camera settings, so you can make each decision once per leg and let the software handle the keyframes.
The camera is the narrator
Every camera move answers a question for the viewer. Zoom answers "where am I?": wide frames establish geography, tight frames reward arrival. The pan between destinations answers "how far did we go?": the camera gliding across terrain is what makes distance feel real. Easing answers "how does this moment feel?": an abrupt stop reads as mechanical while a gentle deceleration reads as deliberate. Treat these as three separate dials rather than one motion setting and your animations immediately stop looking like defaults. It also makes revisions faster: when a leg feels wrong in preview, you can usually name which of the three is off instead of nudging settings at random.
Map zoom animation: picking the right zoom level
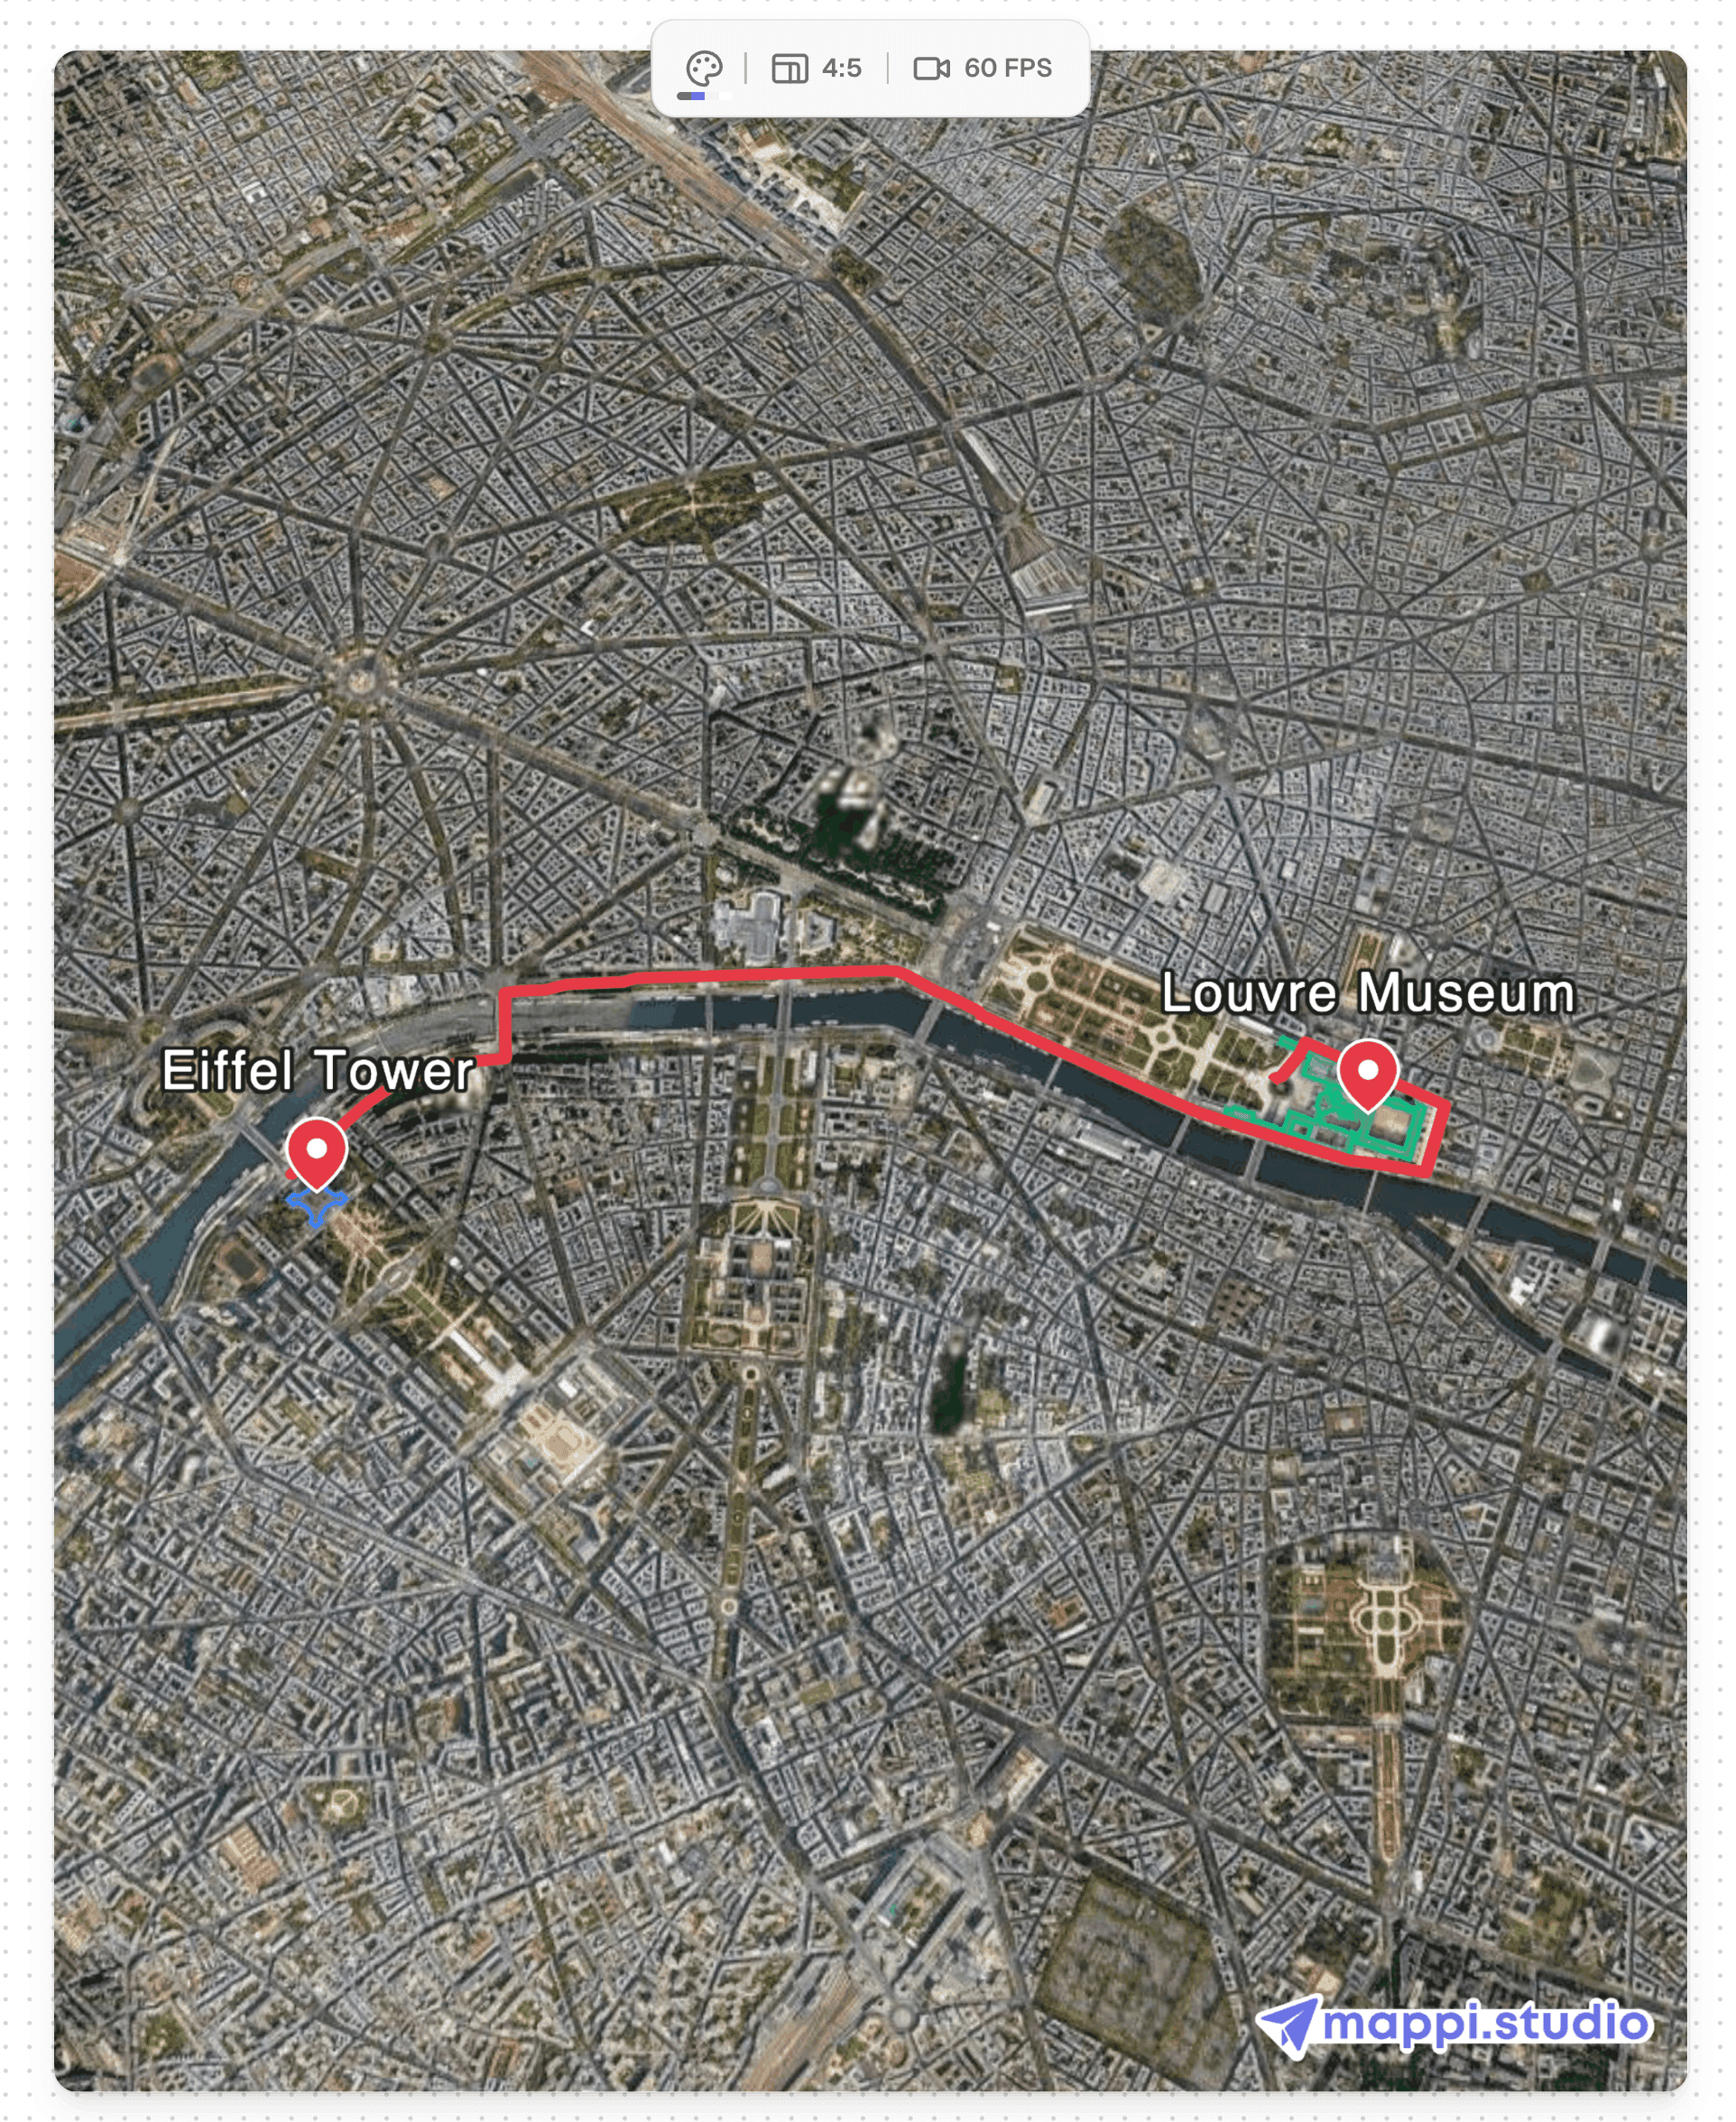
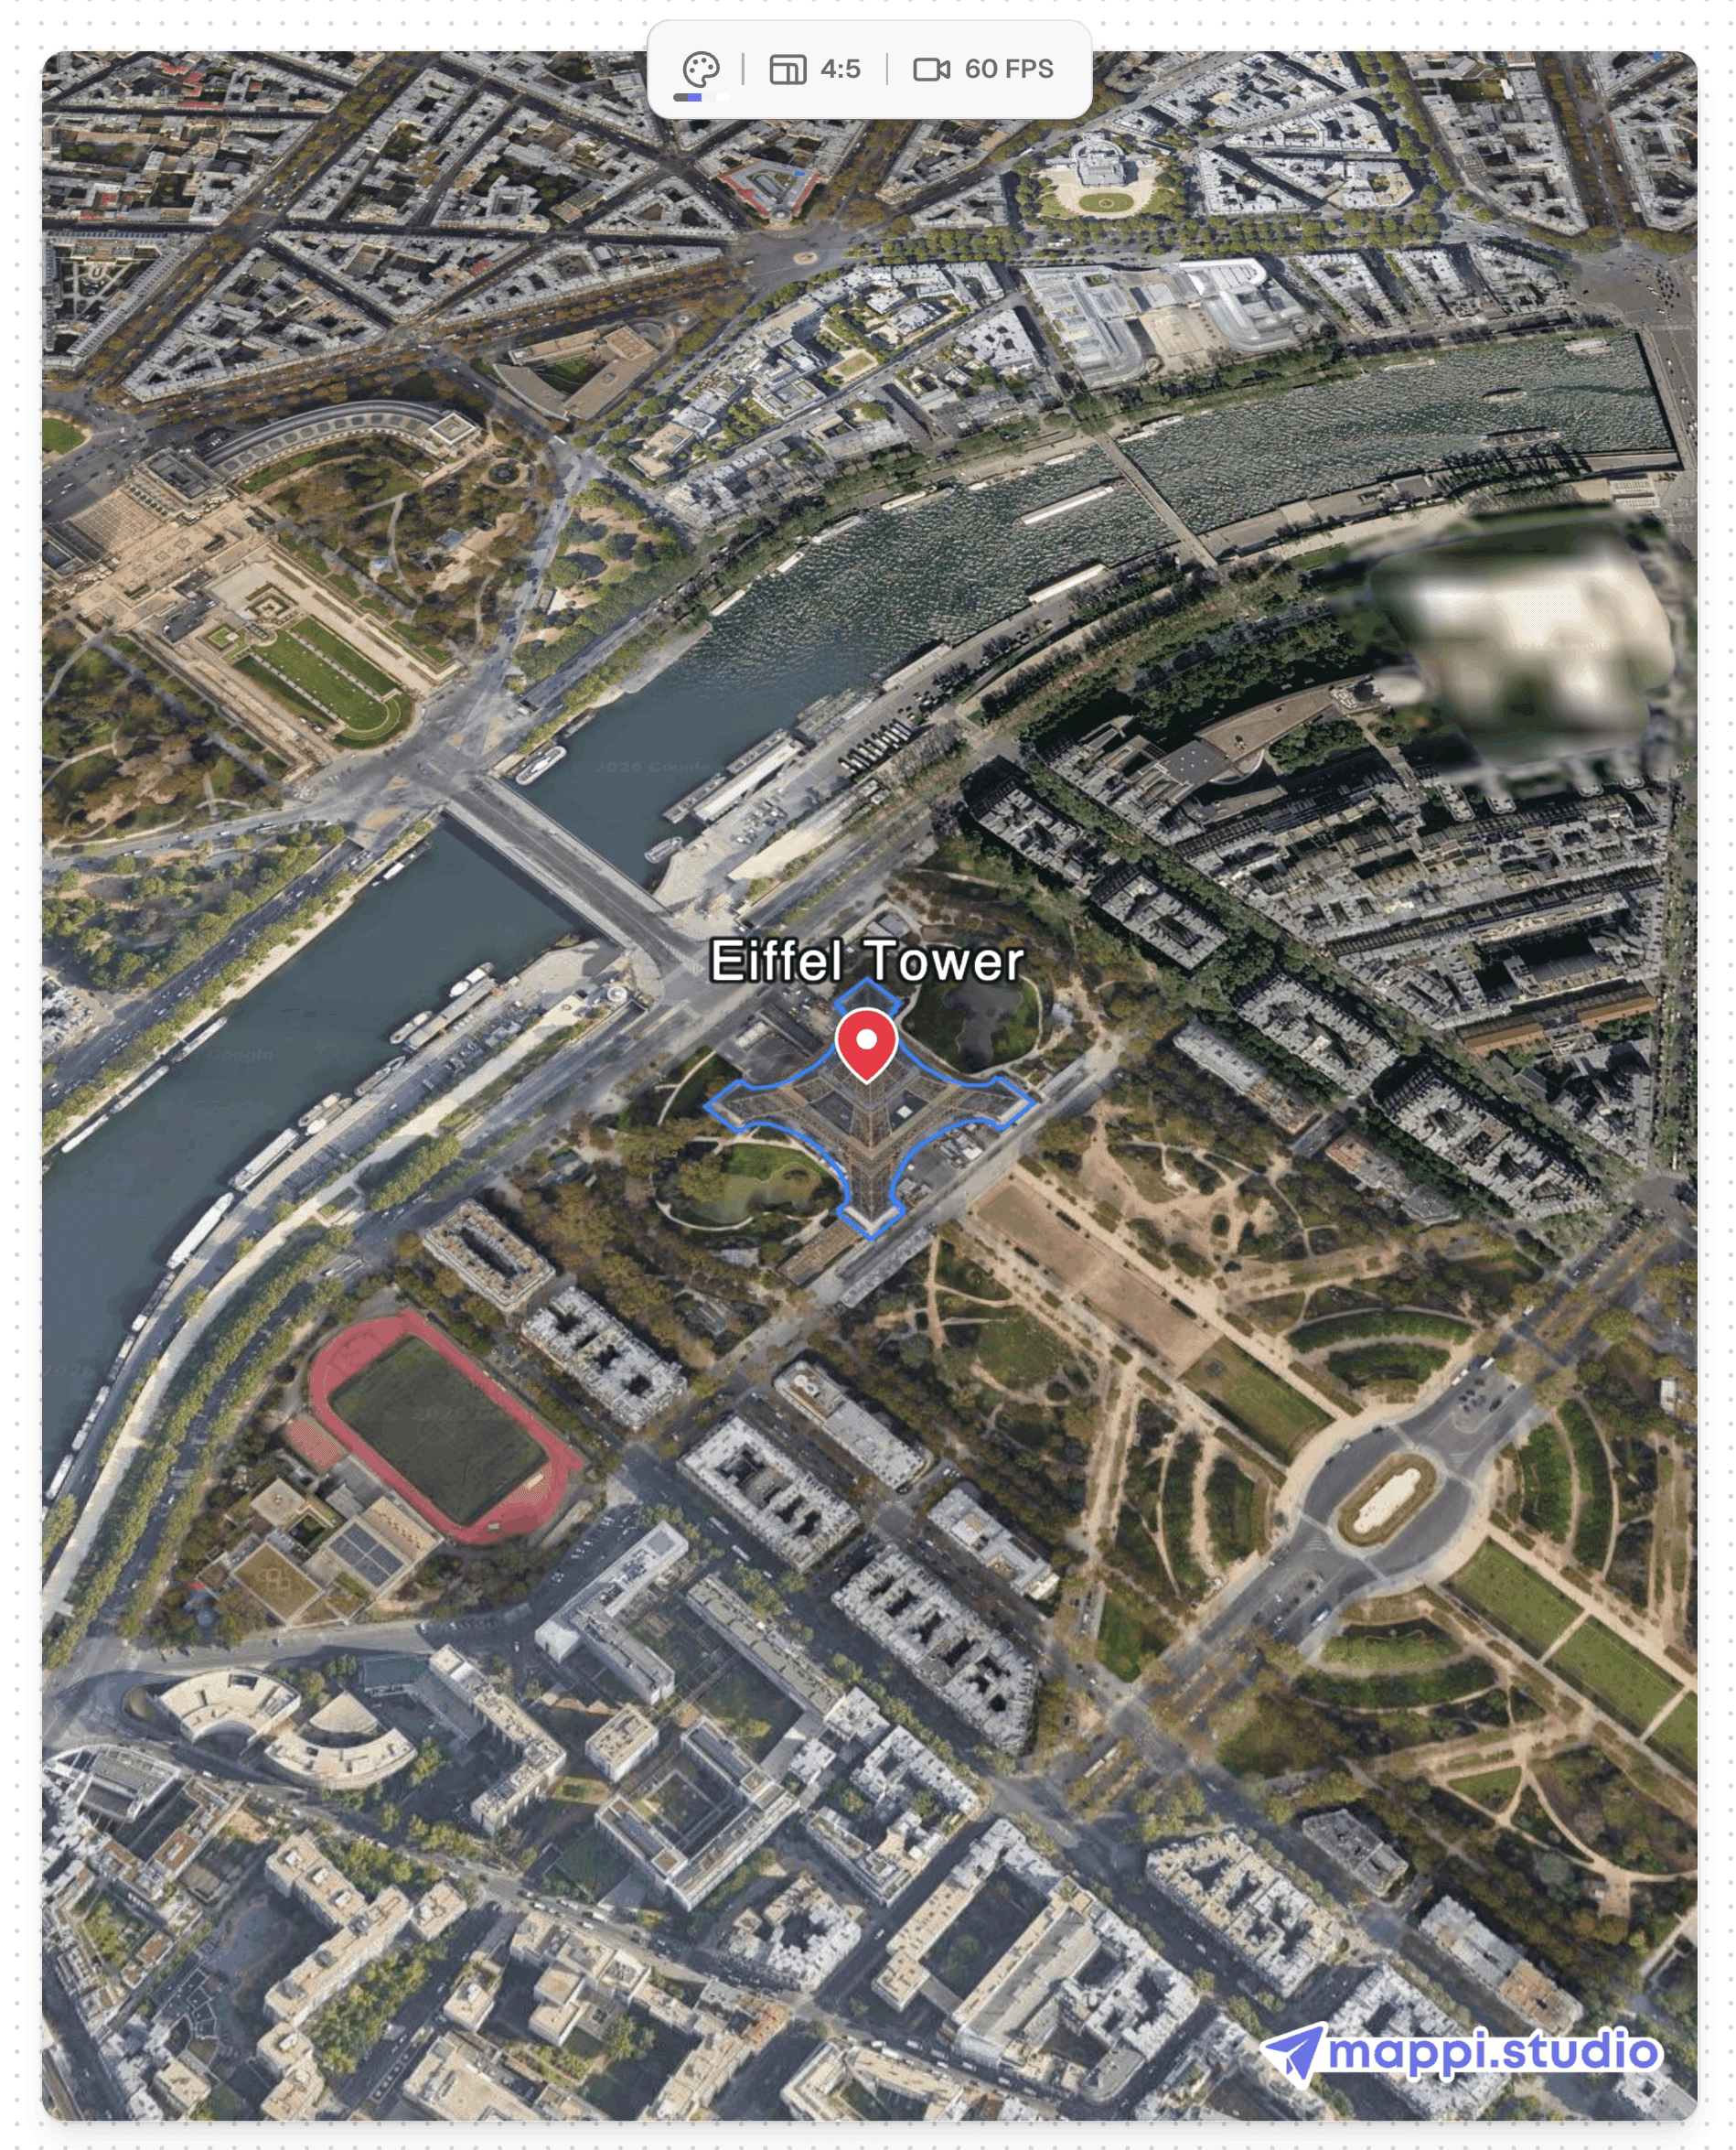
Zoom has a grammar. Low zoom (continents and countries in frame) establishes the scale of a trip and suits long Fly-over legs. Mid zoom (regions and highways) is where Driving legs live, close enough to see the road bend but wide enough to show progress. High zoom (streets and blocks) is for arrivals and Walking legs, where the payoff is recognizing the destination. The classic mistake is holding one zoom level for the entire animation, which flattens every emotional beat into the same shot. Instead, think in a breathing pattern: pull wide when the trip covers distance, push in when it reaches somewhere that matters. One zoom change per leg is plenty; the camera settings apply it smoothly across the leg, so you never animate the zoom by hand. If two consecutive legs need very different zoom levels, let the transition happen during the faster leg of the pair; a zoom change hidden inside motion feels natural, while a zoom change on a slow leg draws attention to itself.
Set the camera per leg in four steps
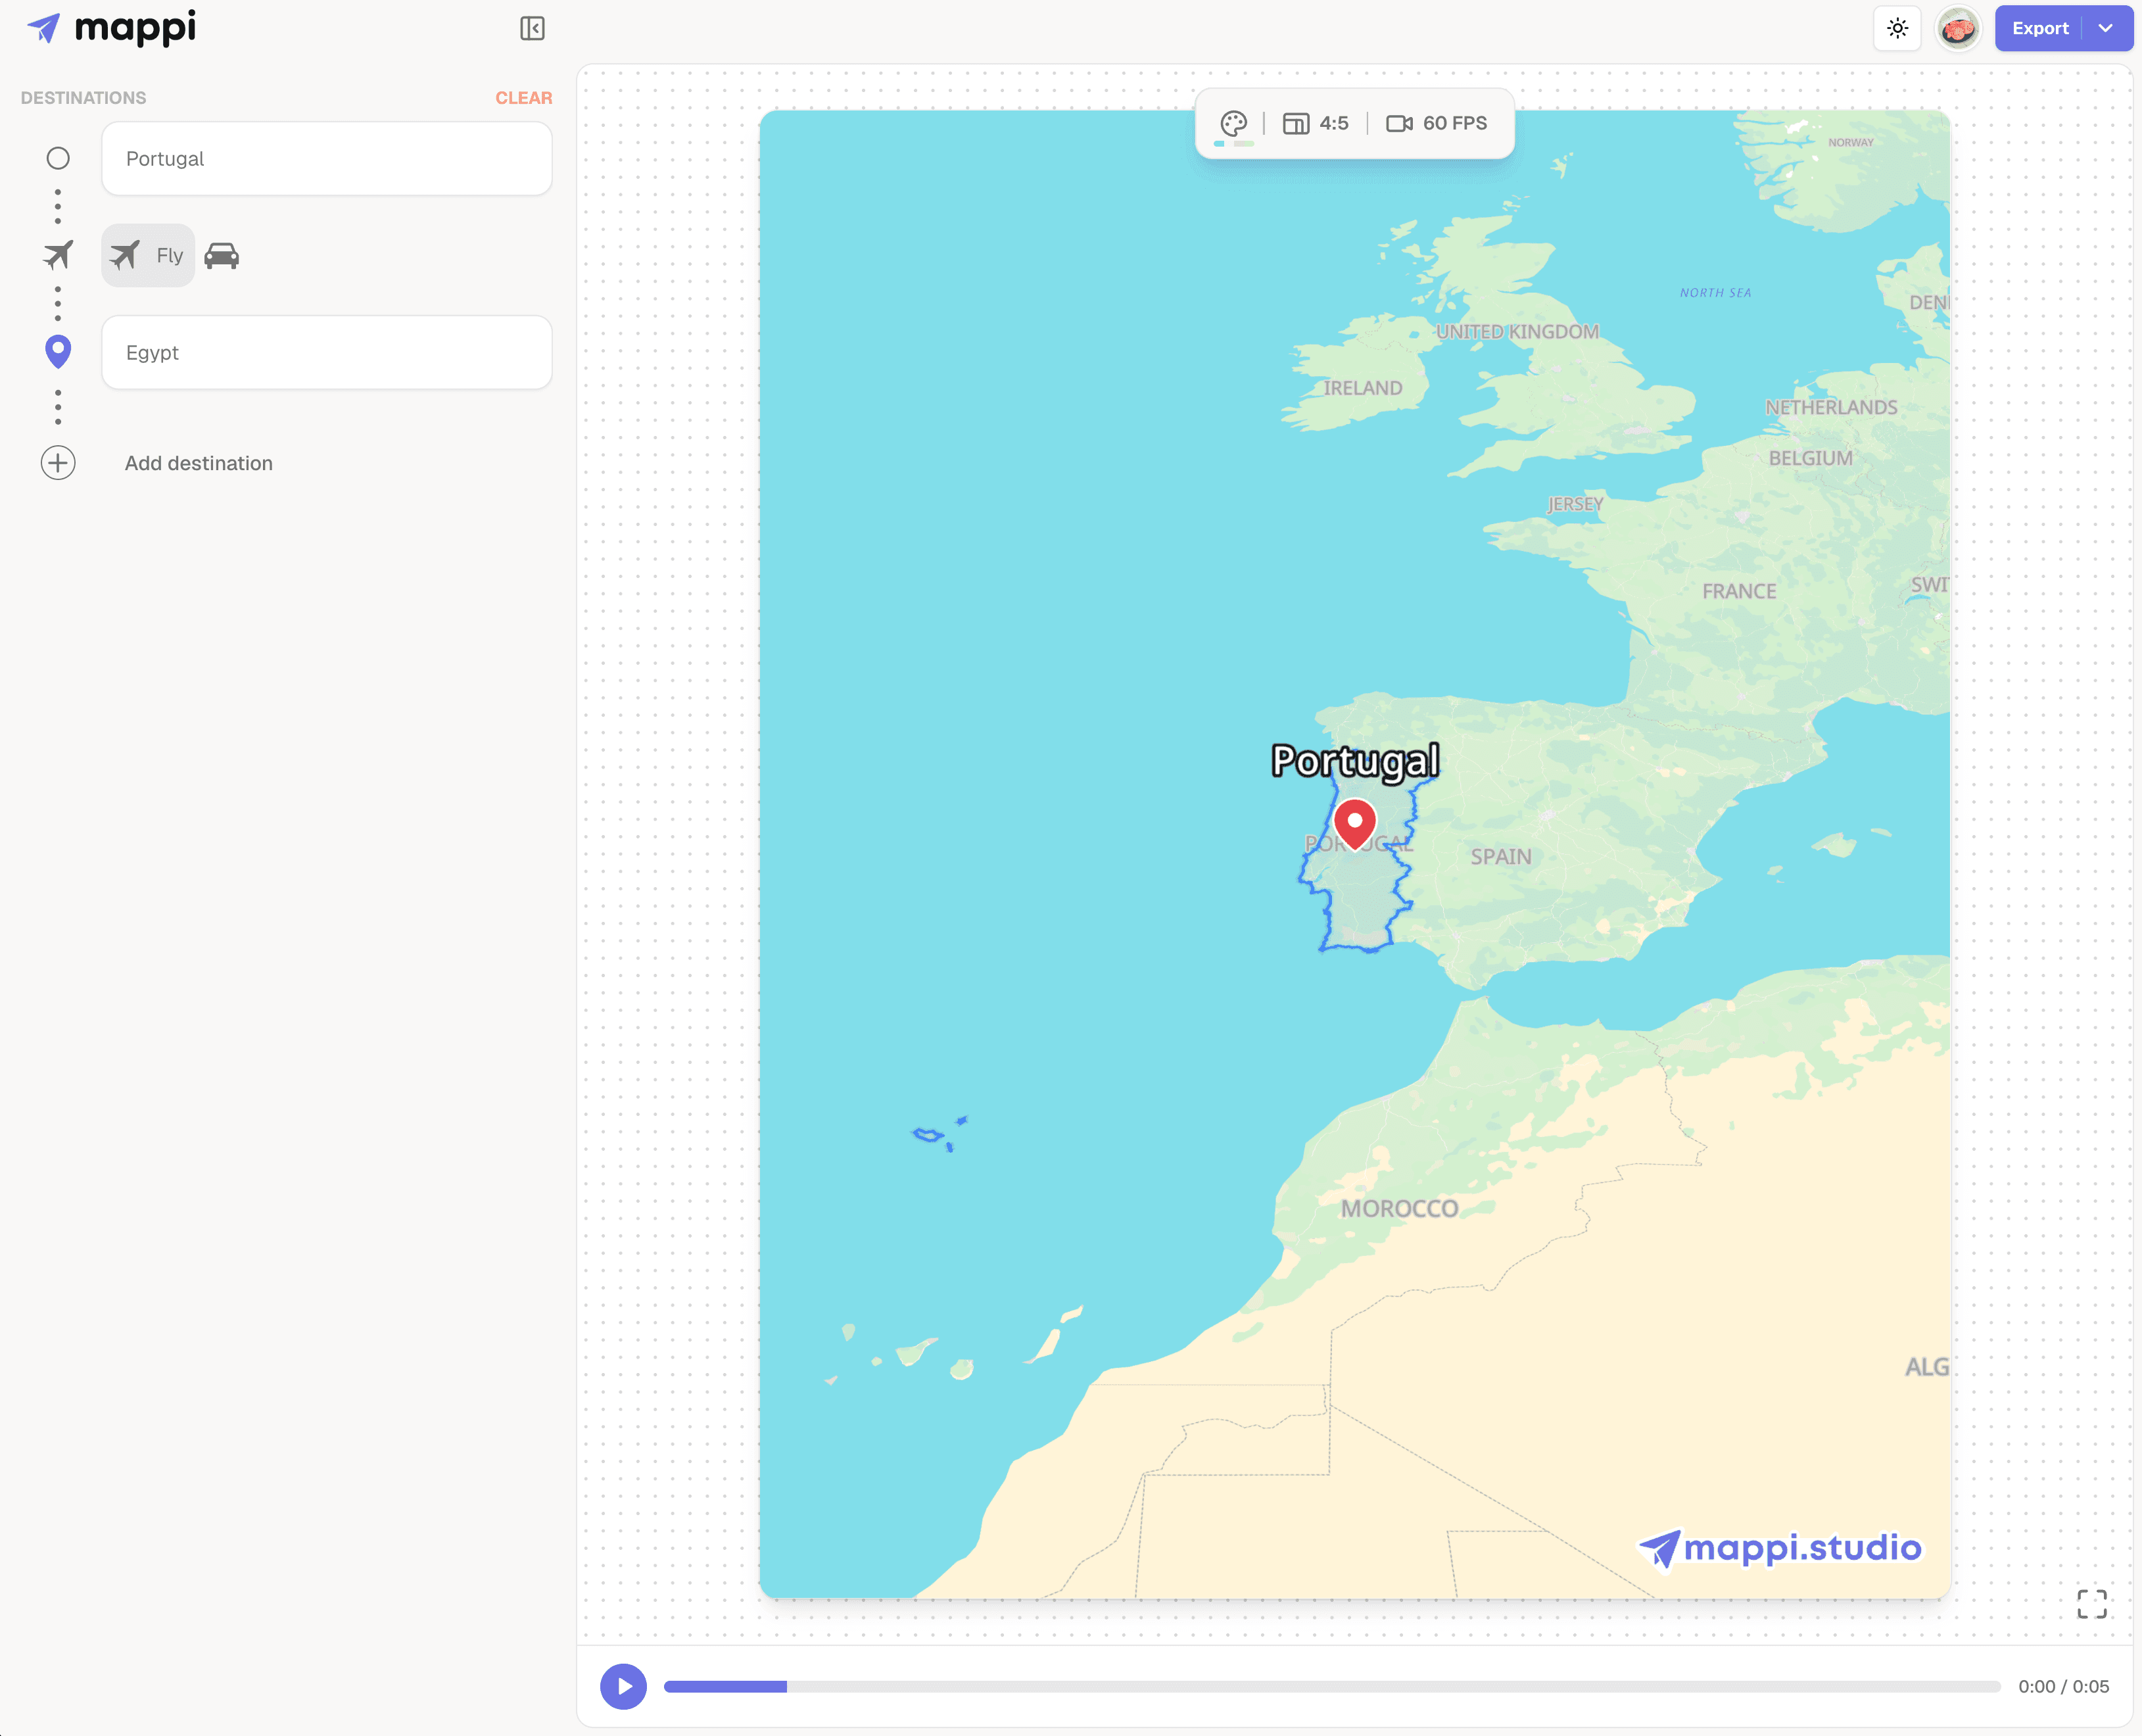
- Select the leg and open its camera settings. Click any route leg between two destinations. Zoom level, route speed, and easing apply per leg, so each segment of the trip can have its own camera personality.
- Set the zoom level for the leg's job. Wide for travel, tight for arrival. If a leg has to do both, favor the wide end; Mappi eases the camera into the destination zoom as the leg completes.
- Match route speed to the zoom. The same speed feels faster at high zoom because the ground moves more per second. When you push the camera in, pull the route speed down, or street-level legs will blur past.
- Pick the easing, then preview. Choose Smooth, Linear, or Slow arrival and press play. Watch the leg twice: once for the middle of the move, once for the last second, which is where easing problems show.
Easing: Smooth, Linear, and Slow arrival
Easing is the acceleration curve of the camera, and it is the setting viewers feel without ever naming. Smooth accelerates gently out of the origin and decelerates into the destination; it is the right default for nearly every leg. Linear moves at constant speed from start to finish, which sounds neutral but reads as robotic on its own; save it for legs that pass through a montage or sit under a voiceover, where a mechanical glide is actually the point. Slow arrival stretches the deceleration so the camera settles into the destination like an aircraft on approach. It is the most cinematic of the three and the reason the landing in a good flight path animation feels expensive.
A fast way to audit your easing: mute your instincts about the route and watch only the last second of each leg. If the camera ever seems to hit an invisible wall, that leg is on Linear and should not be. If the whole video feels syrupy, you have overused Slow arrival and a few legs should drop back to Smooth.
What to do next
Camera settings do the most for a video when the route underneath them is already well paced, and they set up the export decisions that come after. Browse the rest of our map animation tutorials for route pacing, styling, and platform sizing, or continue with the related guides below.
