


How to Create a Flight Path Animation
A flight path animation is the signature shot of travel content: a curved arc rising out of one city and settling into another, the kind of moment that opens travel map videos and documentary title sequences. This guide covers what makes the shot feel cinematic rather than clip-art, then walks through building one in the Mappi editor in a few minutes, no keyframes and no plugins.
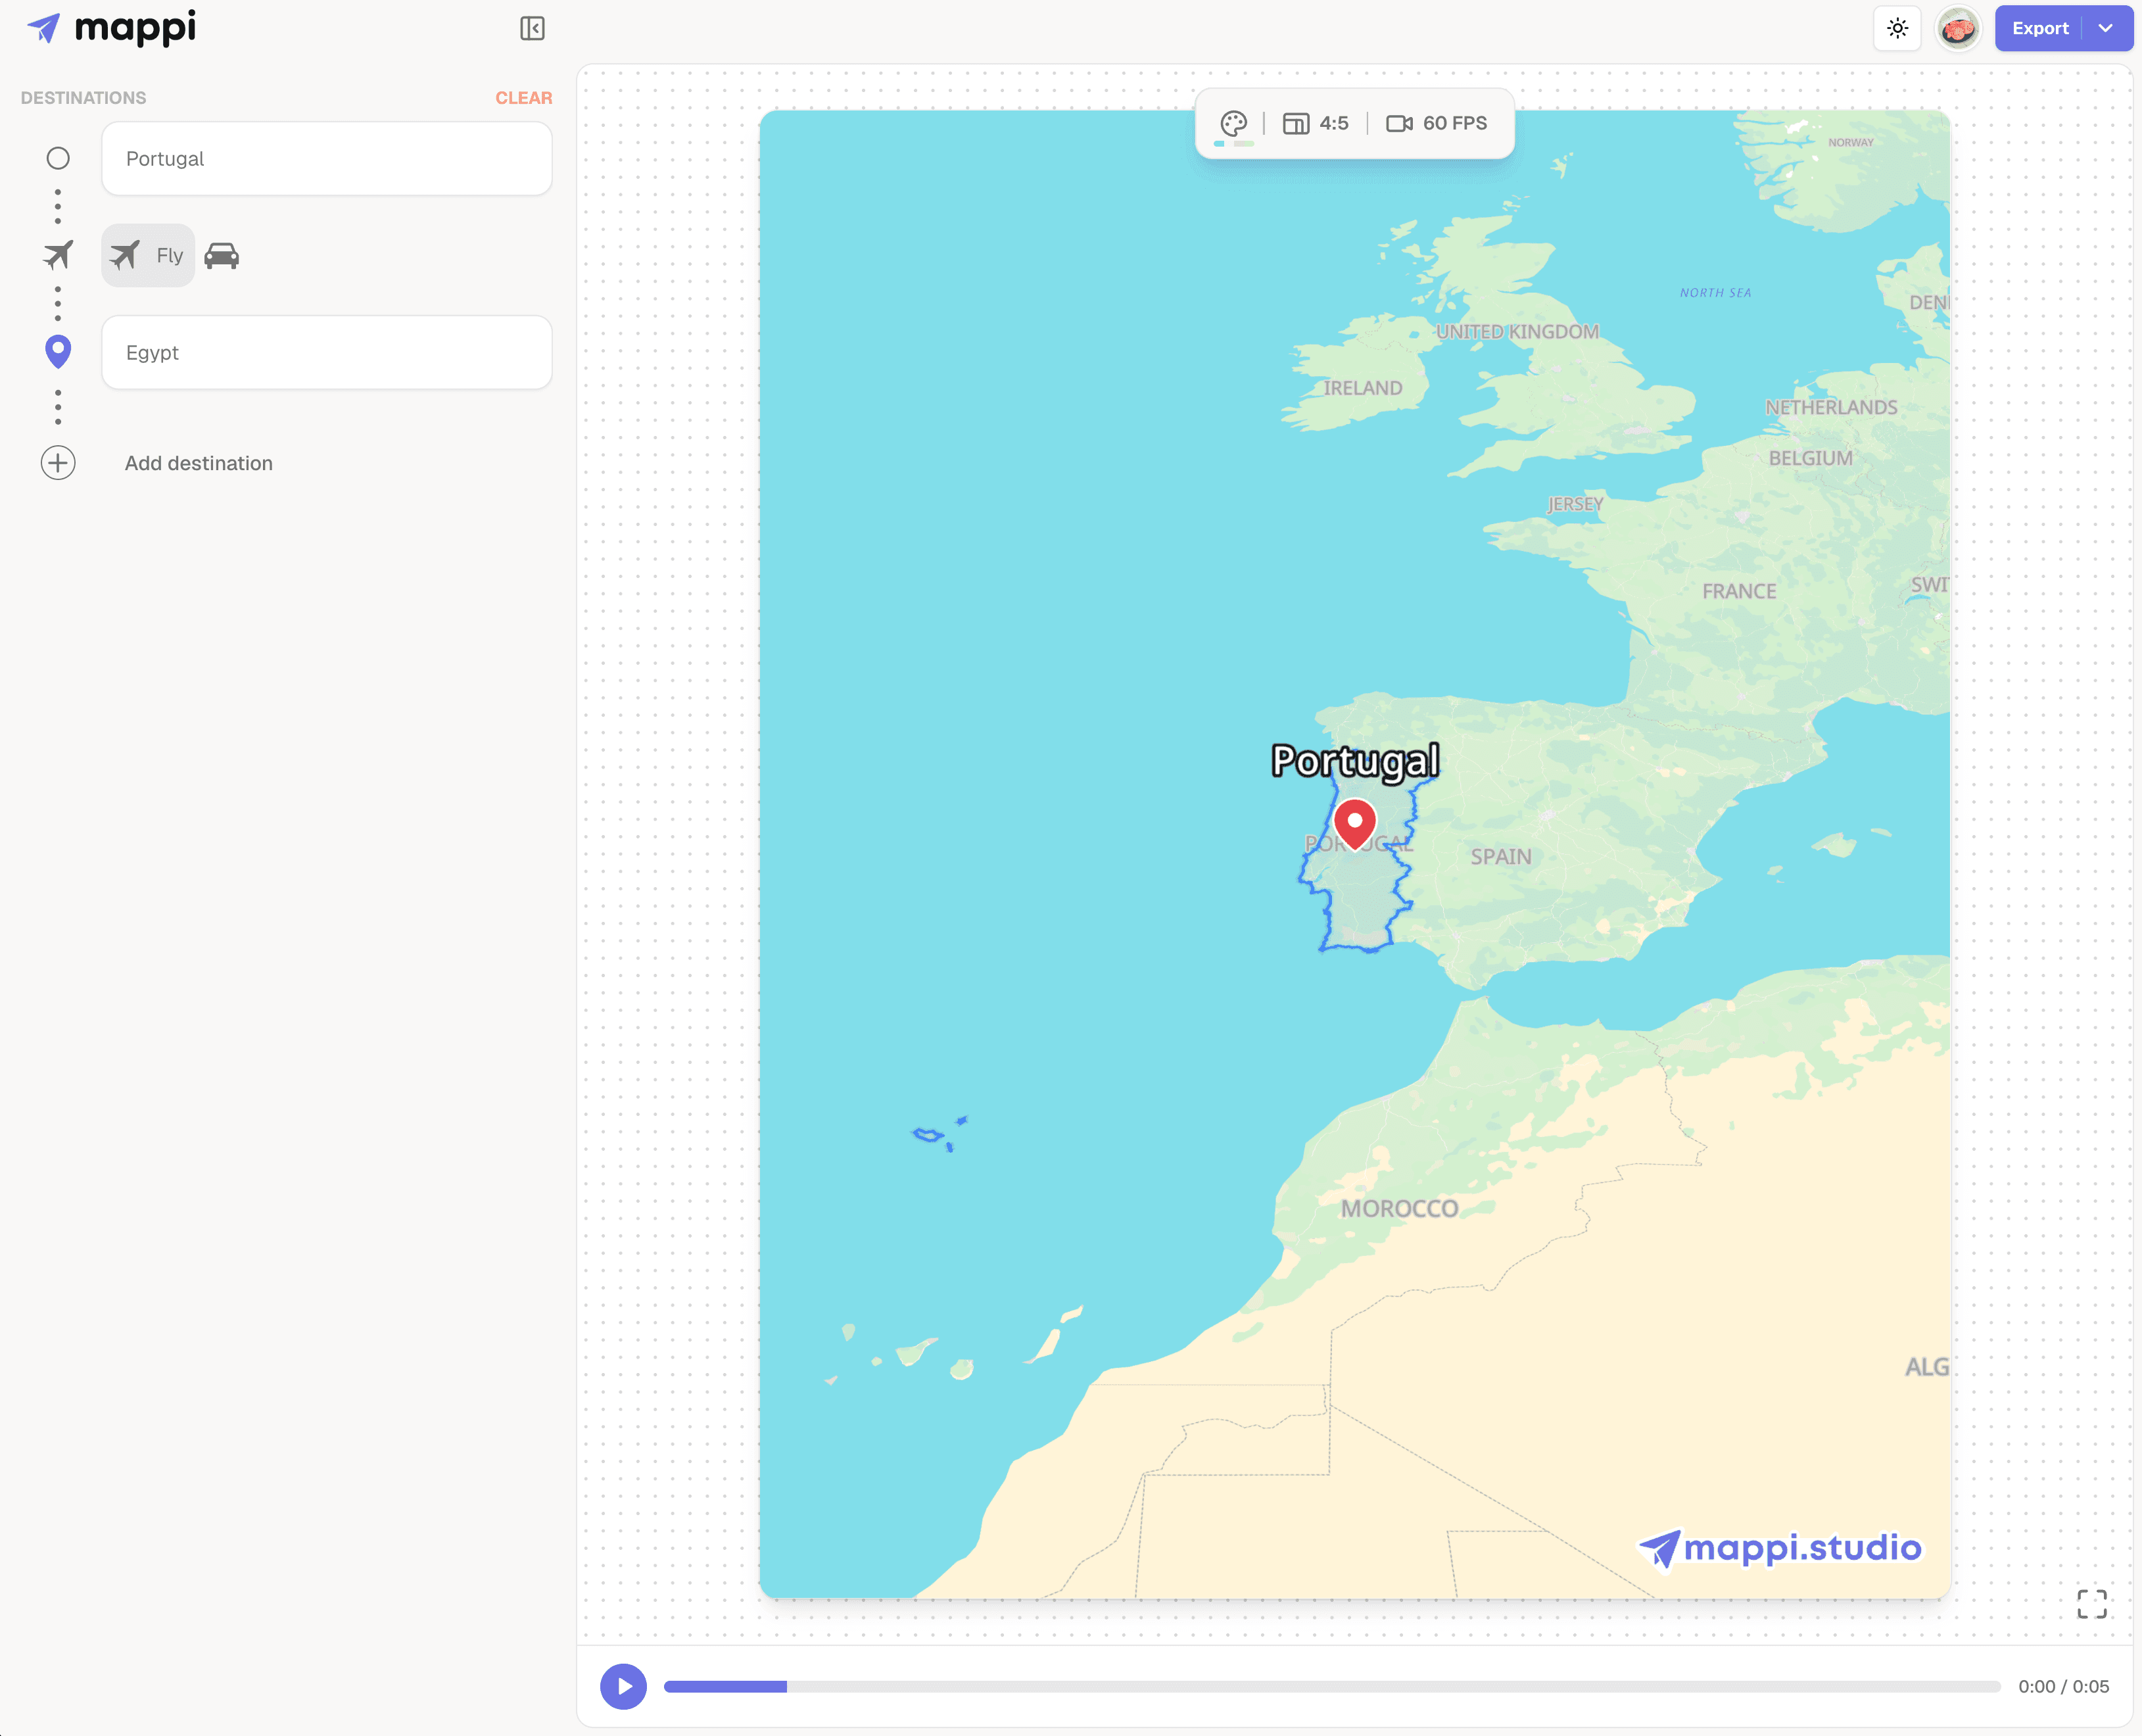
What makes a flight path look cinematic
Three things separate a film-grade flight path from a default one. First, the arc itself: real flight paths curve because of the earth's geometry, so a curved line reads as authentic while a straight line reads as a diagram. Second, altitude: the camera should behave like the aircraft, climbing away from the origin, cruising wide over the long middle, and descending into the destination. Third, deceleration: nothing in aviation stops abruptly, so the animation should glide into its landing rather than hitting a wall at the final frame.
Mappi's Fly-over route type handles the first ingredient automatically. The other two come from camera settings you control per leg, and they take about a minute to set.
Build a flight path animation in five steps
- Add the origin and destination. Search both airports or cities in the search bar of the Destinations panel. City names work fine; airport codes and full addresses also resolve through the search.
- Set the leg to Fly-over. Click the route leg connecting the two stops and choose Fly-over. Mappi draws the curved arc between them, with the curvature scaling naturally to the distance.
- Lower the zoom level for cruising altitude. In the leg's camera settings, reduce the zoom level until both endpoints and the full arc fit comfortably in frame. Long-haul routes want a near-continental view; short hops can stay closer to the ground.
- Set easing to Slow arrival. This is the landing. The camera decelerates into the destination the way an aircraft does on approach, and it is the single setting that most changes how expensive the shot feels.
- Balance route speed against the arc. Press play and adjust route speed until the flight takes three to six seconds of screen time. Faster feels like a montage cut, slower feels like an establishing shot; pick based on where the clip will sit in your edit.
Style the arc for altitude
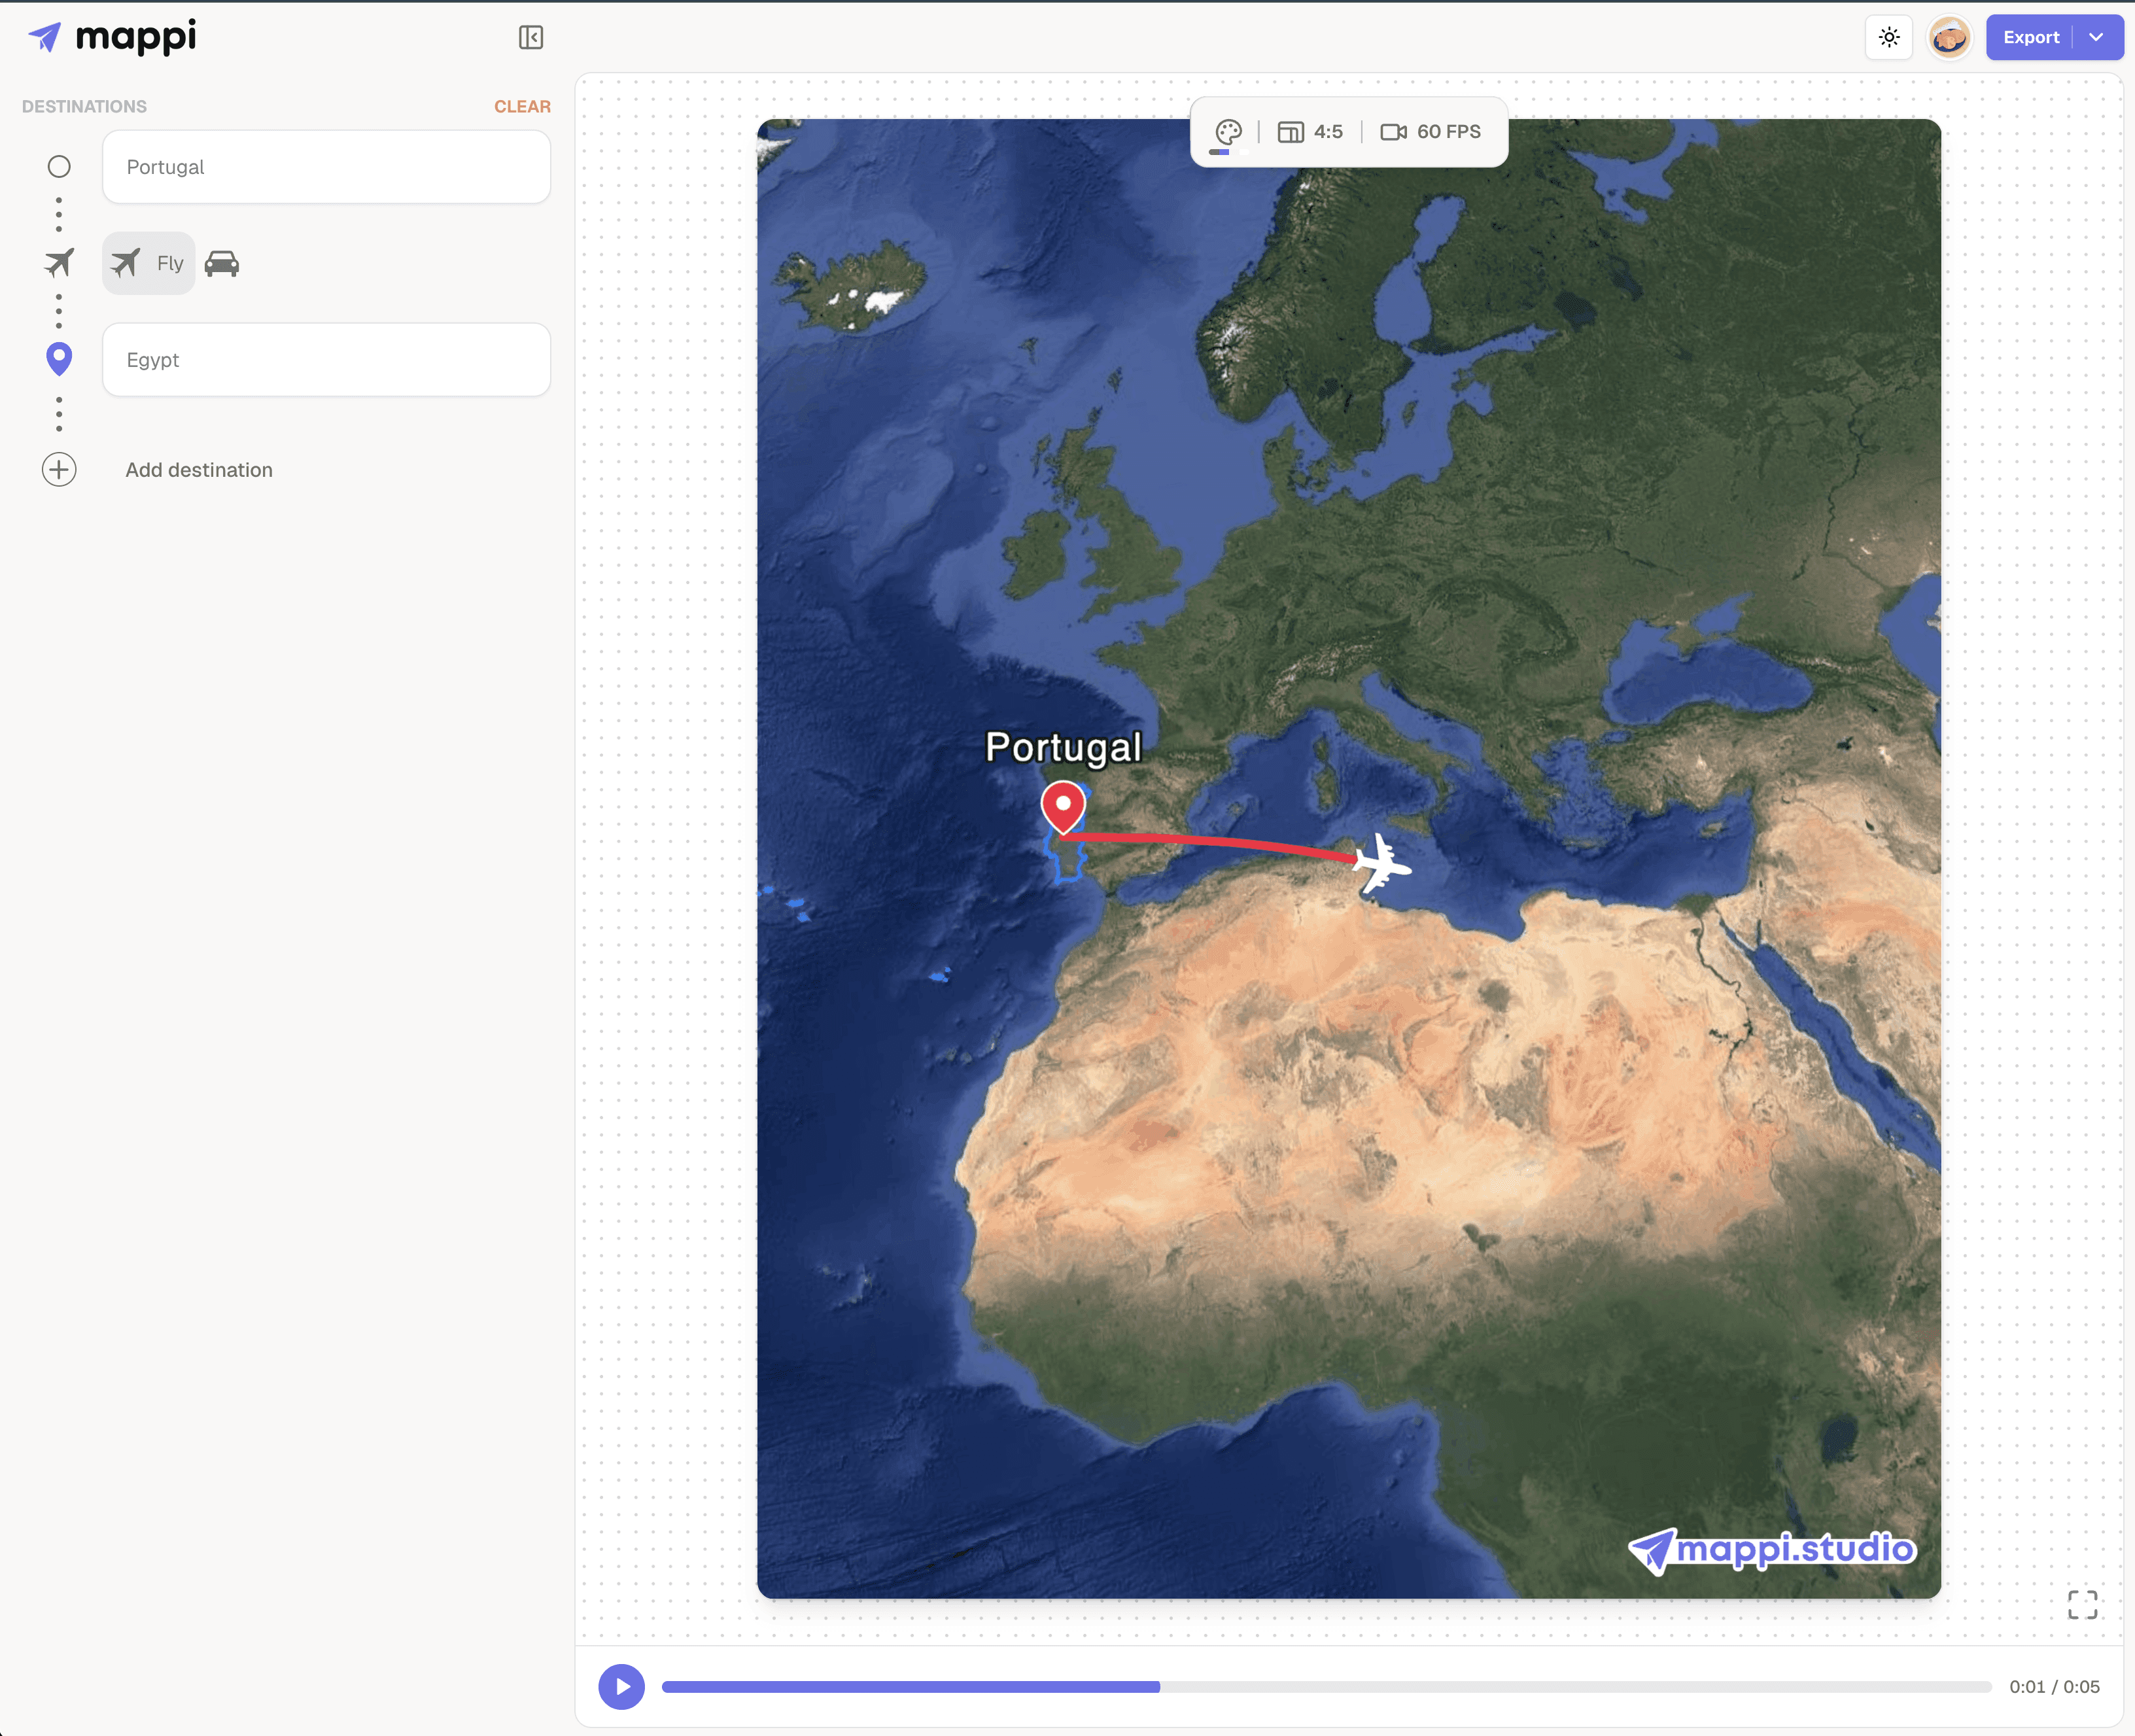
A flight path plays out at low zoom levels, where the map is mostly land mass and ocean, so style choices that look subtle at street level dominate the frame here. Open the Style panel and check the contrast between the route line and whatever it crosses: an arc over the Atlantic needs to separate from the water color, and an arc over central Asia needs to separate from the land. Dark presets with a bright route line are the reliable documentary look. Consider muting borders and labels for the cruising portion; a clean, quiet map underneath keeps the eye on the arc, and the destination label matters far more than the fifteen countries passing beneath the flight.
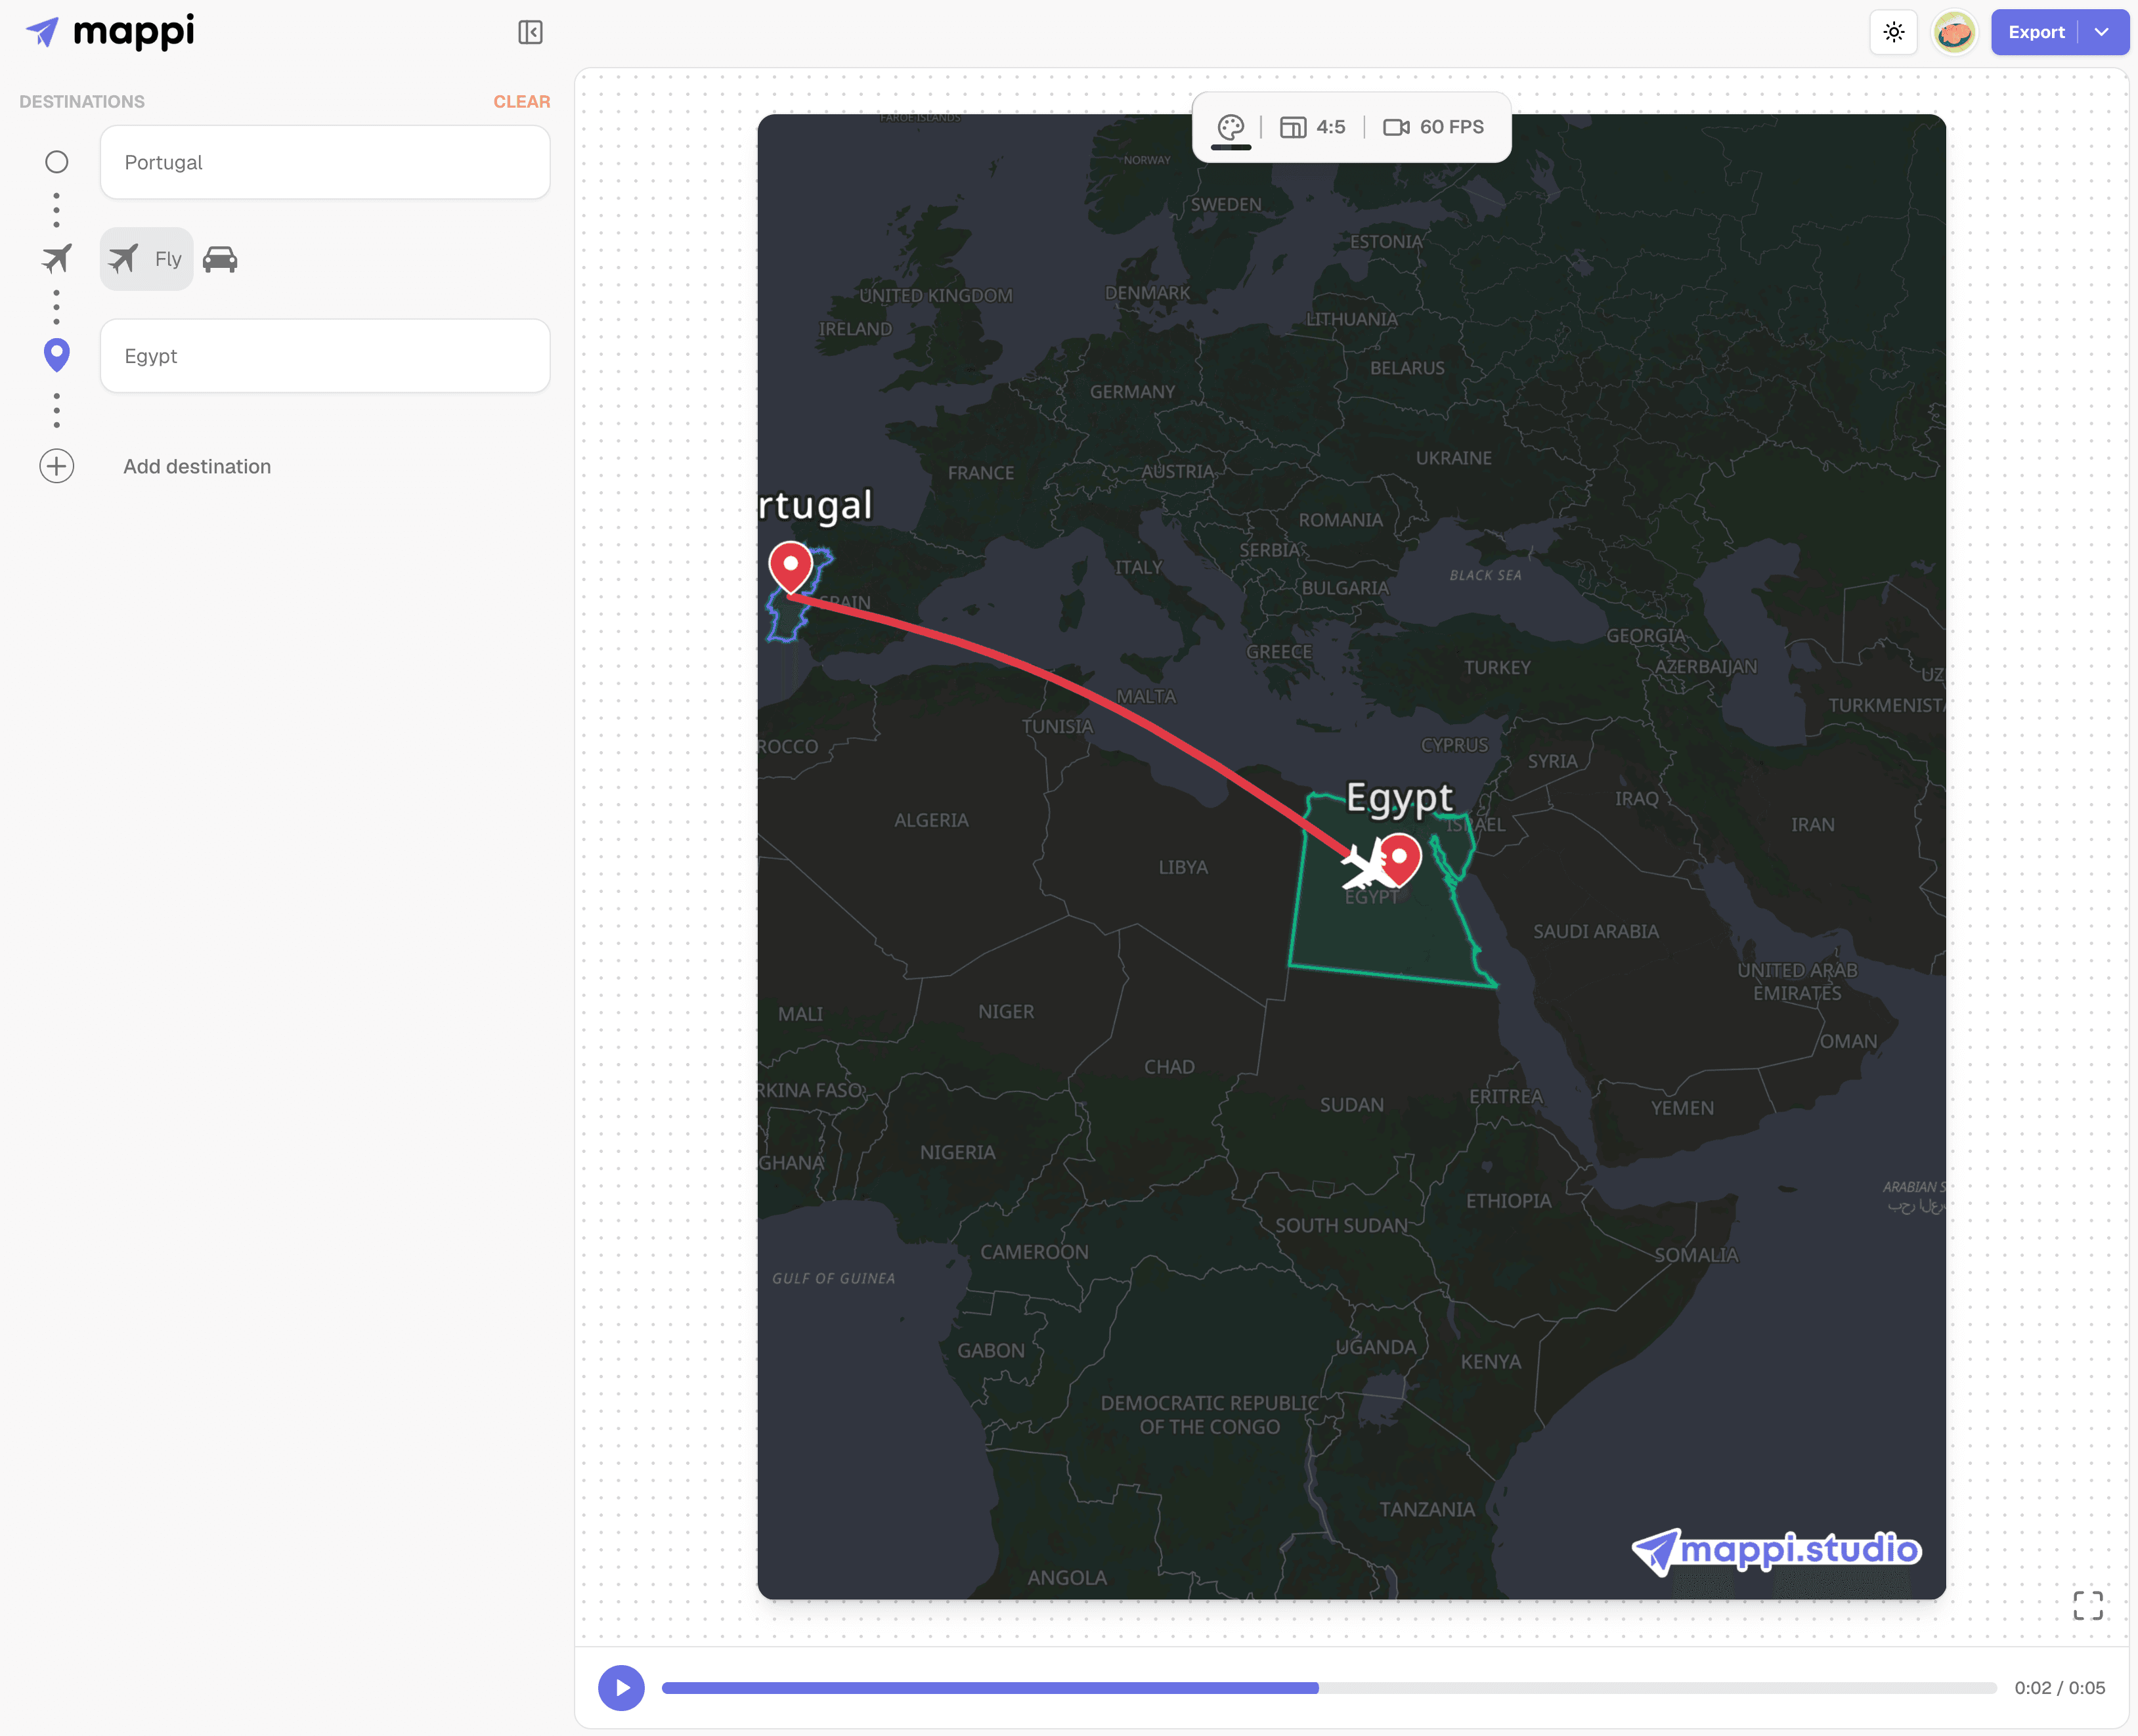
Check the result at the size it will actually be watched. A route line that looks bold in the preview window can thin out on a phone screen, especially against busy terrain, so bump its weight or brightness in the Style panel until it survives the small screen. The pins at each end deserve the same pass: the origin and destination markers are the anchors of the whole shot, and a distinct pin style on the destination gives the landing a visible payoff.
Connecting flights and layovers
Chain multiple Fly-over legs and the animation reads as connecting flights automatically, with each arc rising and settling in sequence. Give the layover city a beat of pause so the transition registers, then vary the zoom between legs: wide for the long haul, tighter for the regional hop. If the trip continues on the ground after landing, switch the next leg to Driving or Walking; the change of route type signals the change of transport mode better than any label. Mixing leg types this way is covered in depth in our route animation guide.
What to do next
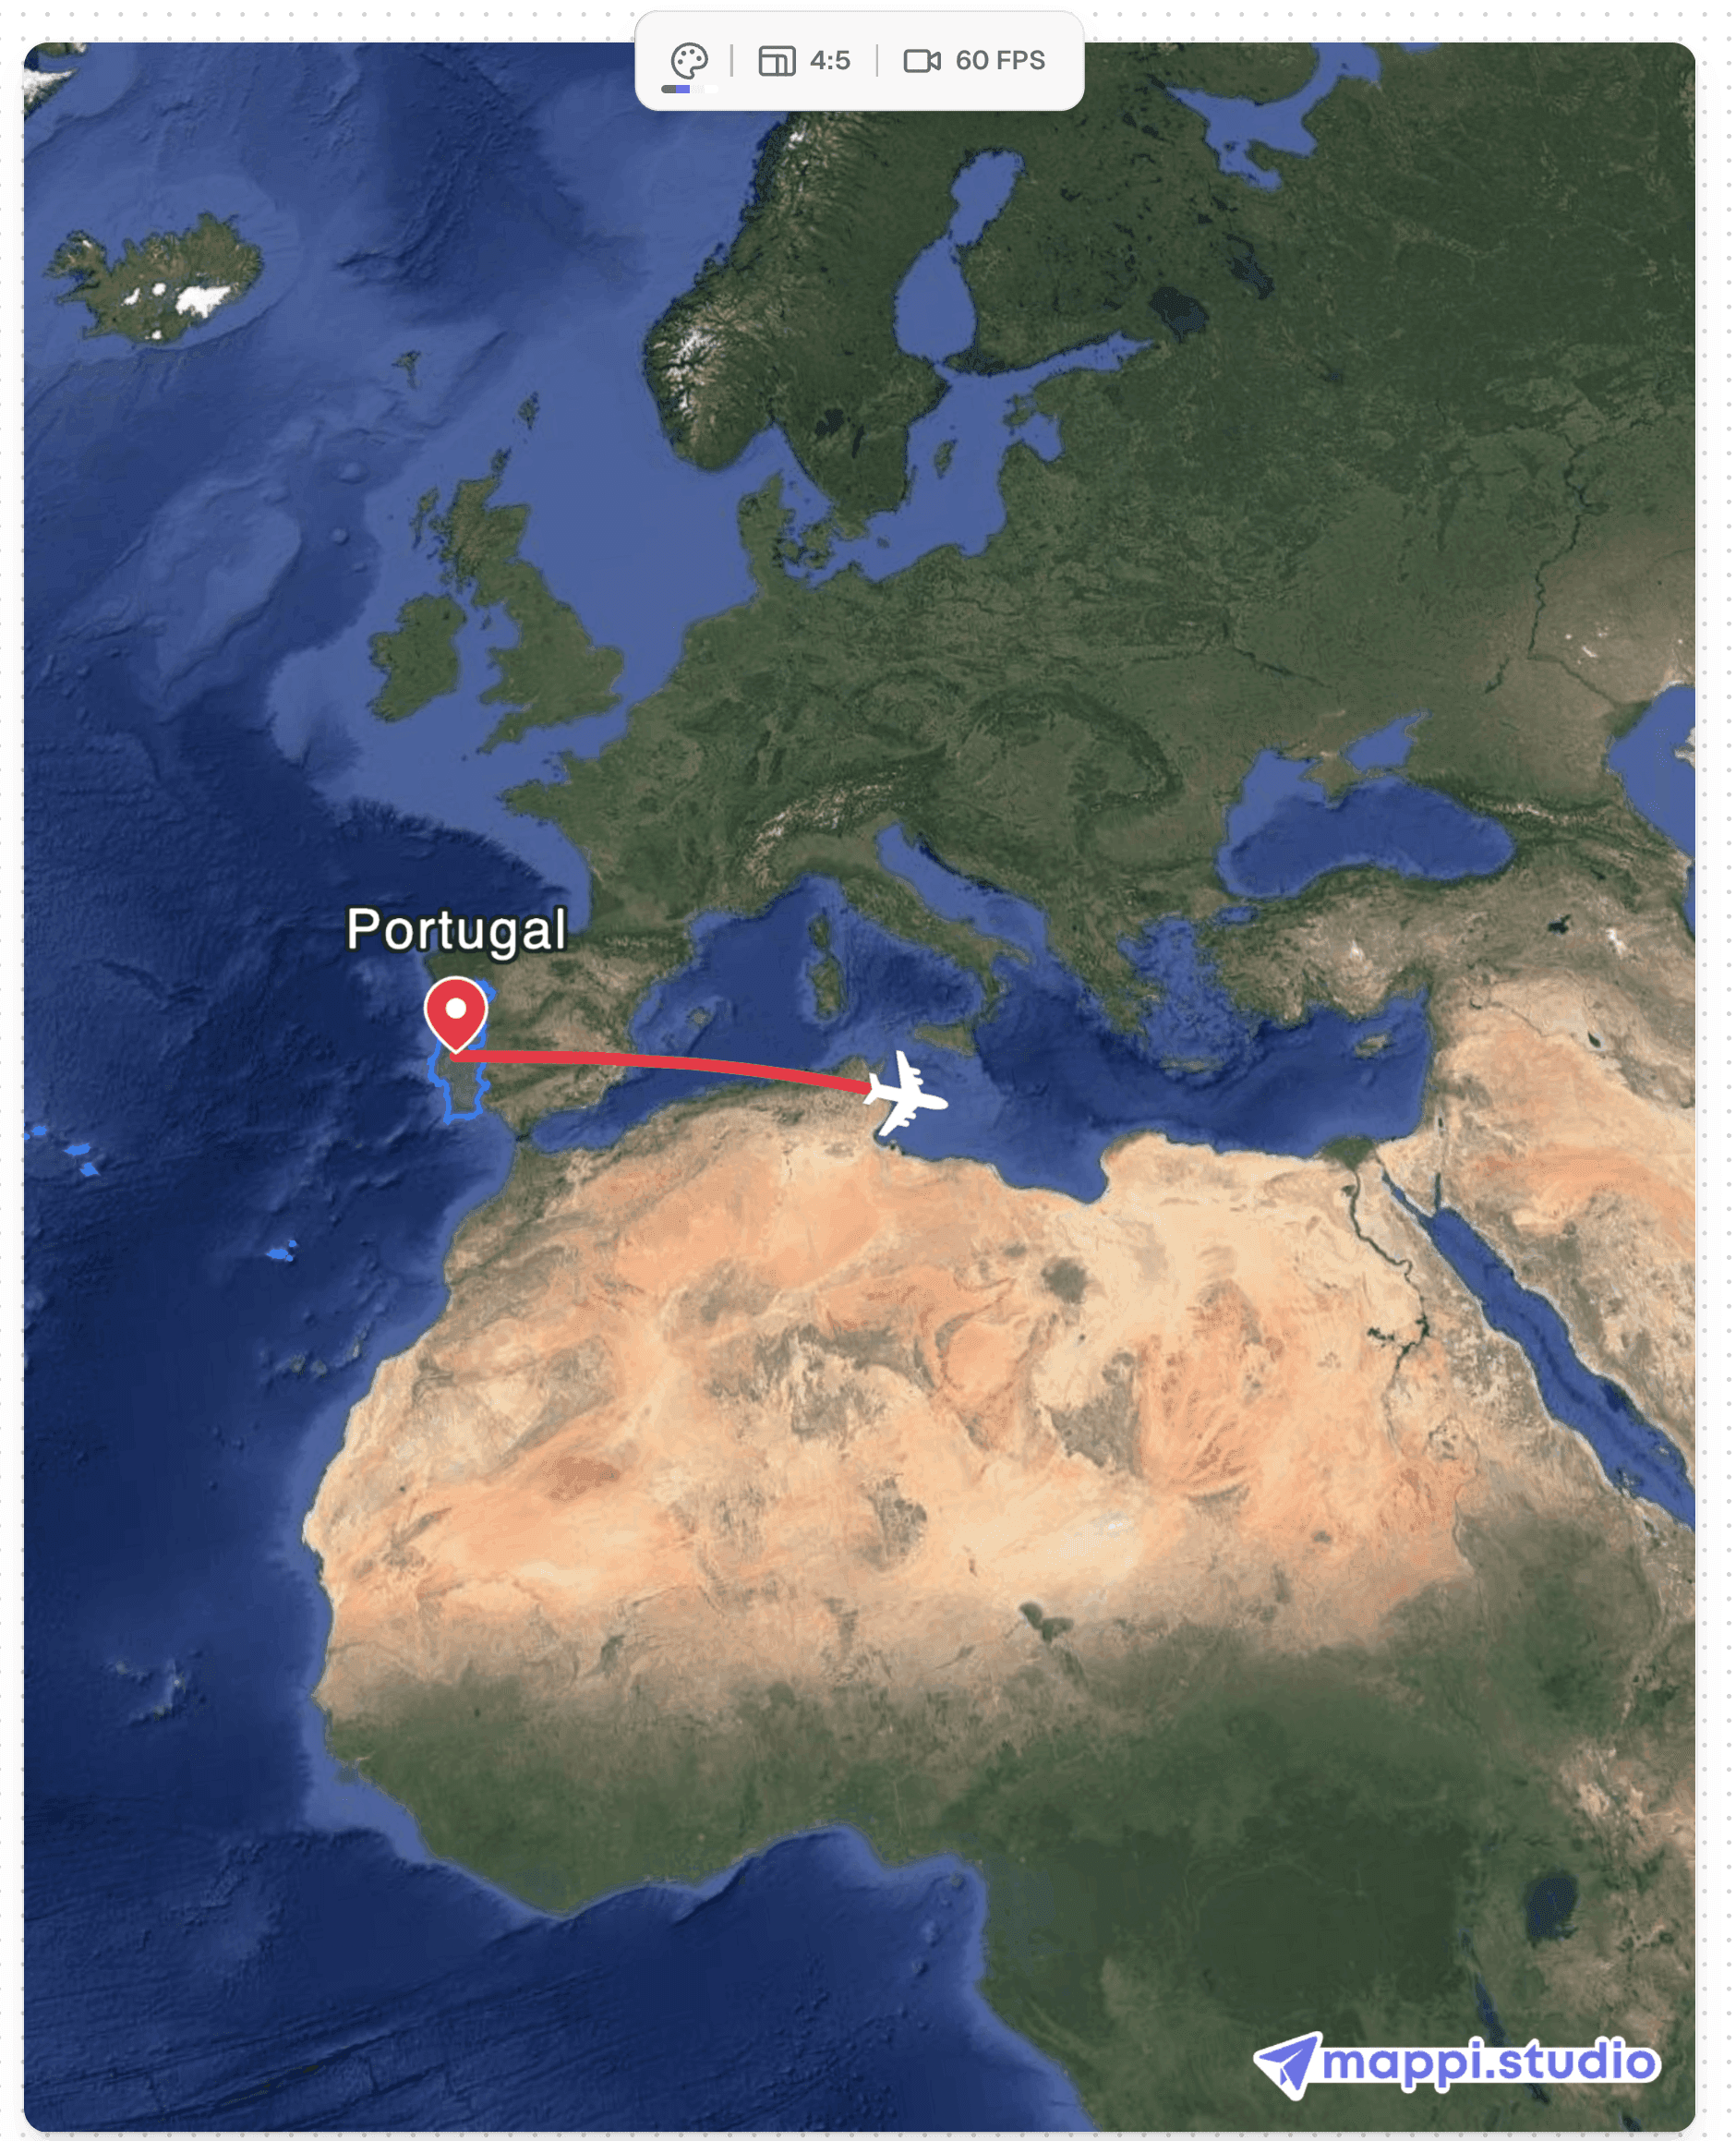
The flight path is one shot in a larger vocabulary. The rest of our map animation tutorials cover the camera system behind that landing deceleration, plus sizing the finished shot for TikTok, Reels, and YouTube. The related guides below are the natural next steps.
