


How to Make a Map Animation (Step by Step)
This guide shows you how to make a map animation from a blank project to a finished video: adding destinations, connecting them with animated routes, shaping the camera, and exporting an MP4 that is ready for YouTube or social. You will build your map animation entirely in the Mappi editor, right in the browser, so there is nothing to install and no motion design experience required. A simple first animation takes about five minutes.
Think in scenes, not stops
Every map animation is built from four ingredients: destinations, the route legs that connect them, a camera that moves between them, and a map style that sets the mood. Before you touch any of those, decide what story the map is telling. Where does the viewer start, what do they follow, and where do they land? A trip recap, a delivery route, and a history explainer all use the same ingredients in different proportions.
Keep your first project deliberately small: one origin, one destination, maybe a single stop between them. A small finished video teaches you the entire workflow. An ambitious abandoned one teaches you nothing. Once the loop below feels comfortable, adding a tenth destination is no harder than adding a second.
How to make a map animation in five steps
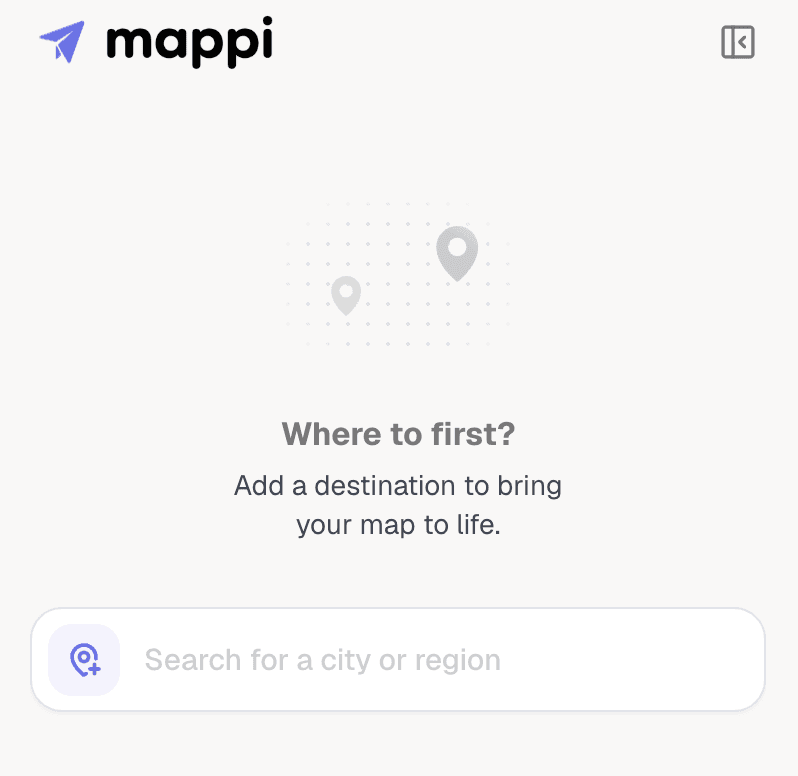
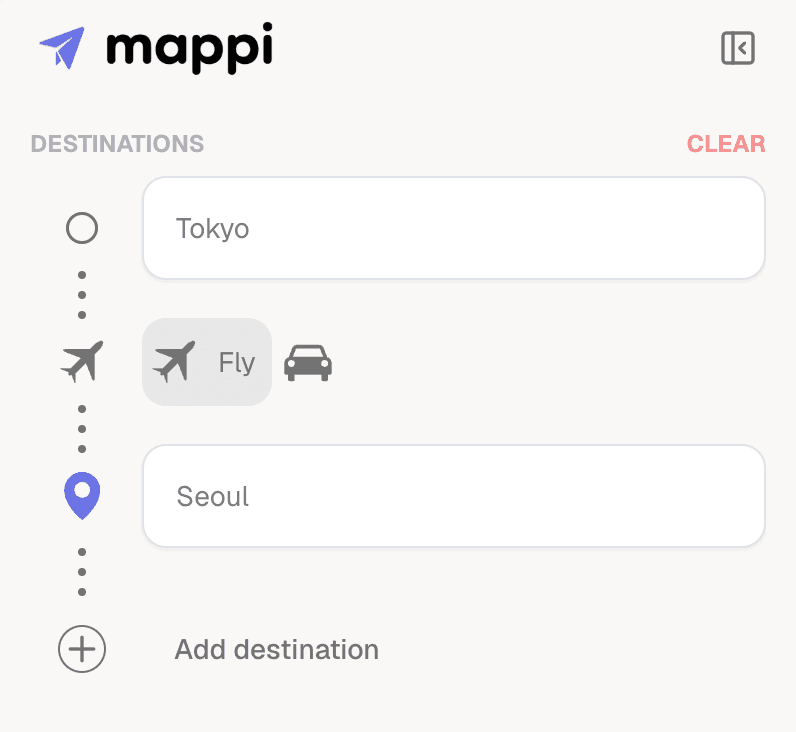
- Add your destinations. Open the Mappi editor and type your starting point into the search bar at the top of the Destinations panel. Search is powered by Google Places, so place names, street addresses, and raw coordinates all work. Select a result and it appears as a stop in the panel; repeat for each destination in travel order. The order in the Destinations panel is the order the animation plays.
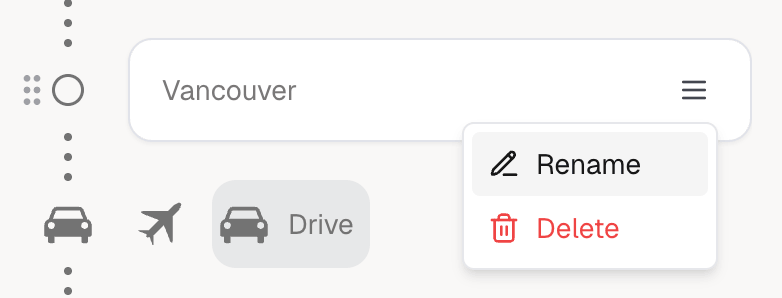
- Pick a route type for each leg. Mappi connects consecutive stops with route legs automatically. Click a leg and choose its type: Fly-over draws a curved arc that reads as fast, cinematic travel, Driving follows real roads, Walking traces paths at street scale, and Ocean curves across water for ferries and cruises. For a first project, Fly-over is the most forgiving choice because it looks clean at any distance.
- Shape the camera. Each leg carries its own camera settings: zoom level, route speed, and easing. Lower the zoom level on long legs so the whole route fits in frame, and raise it for short city hops where the neighborhood is the point. Leave easing on Smooth for now; it accelerates and decelerates naturally, the way a real camera operator would move.
- Set the mood in the Style panel. Pick the preset closest to the tone you want: dark and muted for a documentary feel, warm tones for a travel diary. If your route line does not stand out, adjust the custom colors for land, water, roads, borders, and labels. Contrast between the route and the map beneath it matters more than any individual color choice.
- Preview end to end. Press play and watch the full animation at final speed, start to finish, before you export. Almost every fix you will ever make is a pacing fix: a leg that drags, a zoom that lurches, a label that flashes past too quickly. All of them are visible in the preview, where changes cost seconds instead of a re-render.
Make every stop readable
Each destination gets a pin automatically, and its label defaults to the full place name from search. Both deserve a quick pass before you export. Shorten labels wherever the map already provides context: once the camera is over Japan, "Tokyo" says everything "Tokyo Station, 1 Chome-9 Marunouchi" says, in a fraction of the space. Then check the pins themselves. The default style works for most stops, but giving your origin or finale a distinct pin style or a custom icon tells viewers which moments matter without a single word of narration. Finally, pause the preview on a wide shot and confirm every label is still legible at that zoom level; text that looks fine up close can shrink to a smudge from cruising altitude.
Three settings that separate good from default
Once the structure works, three adjustments do most of the polishing. First, vary the route speed between legs. When every leg plays at the same pace the animation feels mechanical; compress the long boring stretches and let the important arrivals breathe. Second, practice zoom discipline. Zoom in to say this place matters, zoom out to show how far the journey has come, and avoid zooming just because you can. Third, use easing intentionally. Smooth suits most legs, Linear is for constant-speed background loops, and Slow arrival glides into a destination like a landing aircraft.
Export your first video
Open the Export panel when the preview looks right. Choose the aspect ratio for wherever the video will live: 16:9 for YouTube, 9:16 for TikTok, Reels, and Shorts, 1:1 or 4:5 for feed posts. Then pick a resolution. 720p is fine for quick drafts, 1080p is the default for published work, and 4K is available on Pro when fine map detail matters. Mappi renders the MP4 in the cloud, so you can keep editing while it processes, then download the finished file.
One habit worth forming from your very first export: render the highest resolution you expect to ever need, then scale down copies for other placements. Downscaled 4K stays crisp; upscaled 1080p never does.
What to do next
You now have the complete loop: destinations, routes, camera, style, export. Everything else in our map animation tutorials hub deepens one part of that loop, from route types to camera easing to platform-specific sizing. The related guides below are the natural next steps once your first animation is rendered.
