Map Animation In Premiere Pro
Create cinematic map animations in Mappi and drop them straight into your Premiere Pro workflow. Fly between locations, trace animated routes, export a clean 4K MP4, then finish the edit with titles, Lumetri grades, and transitions in your sequence.
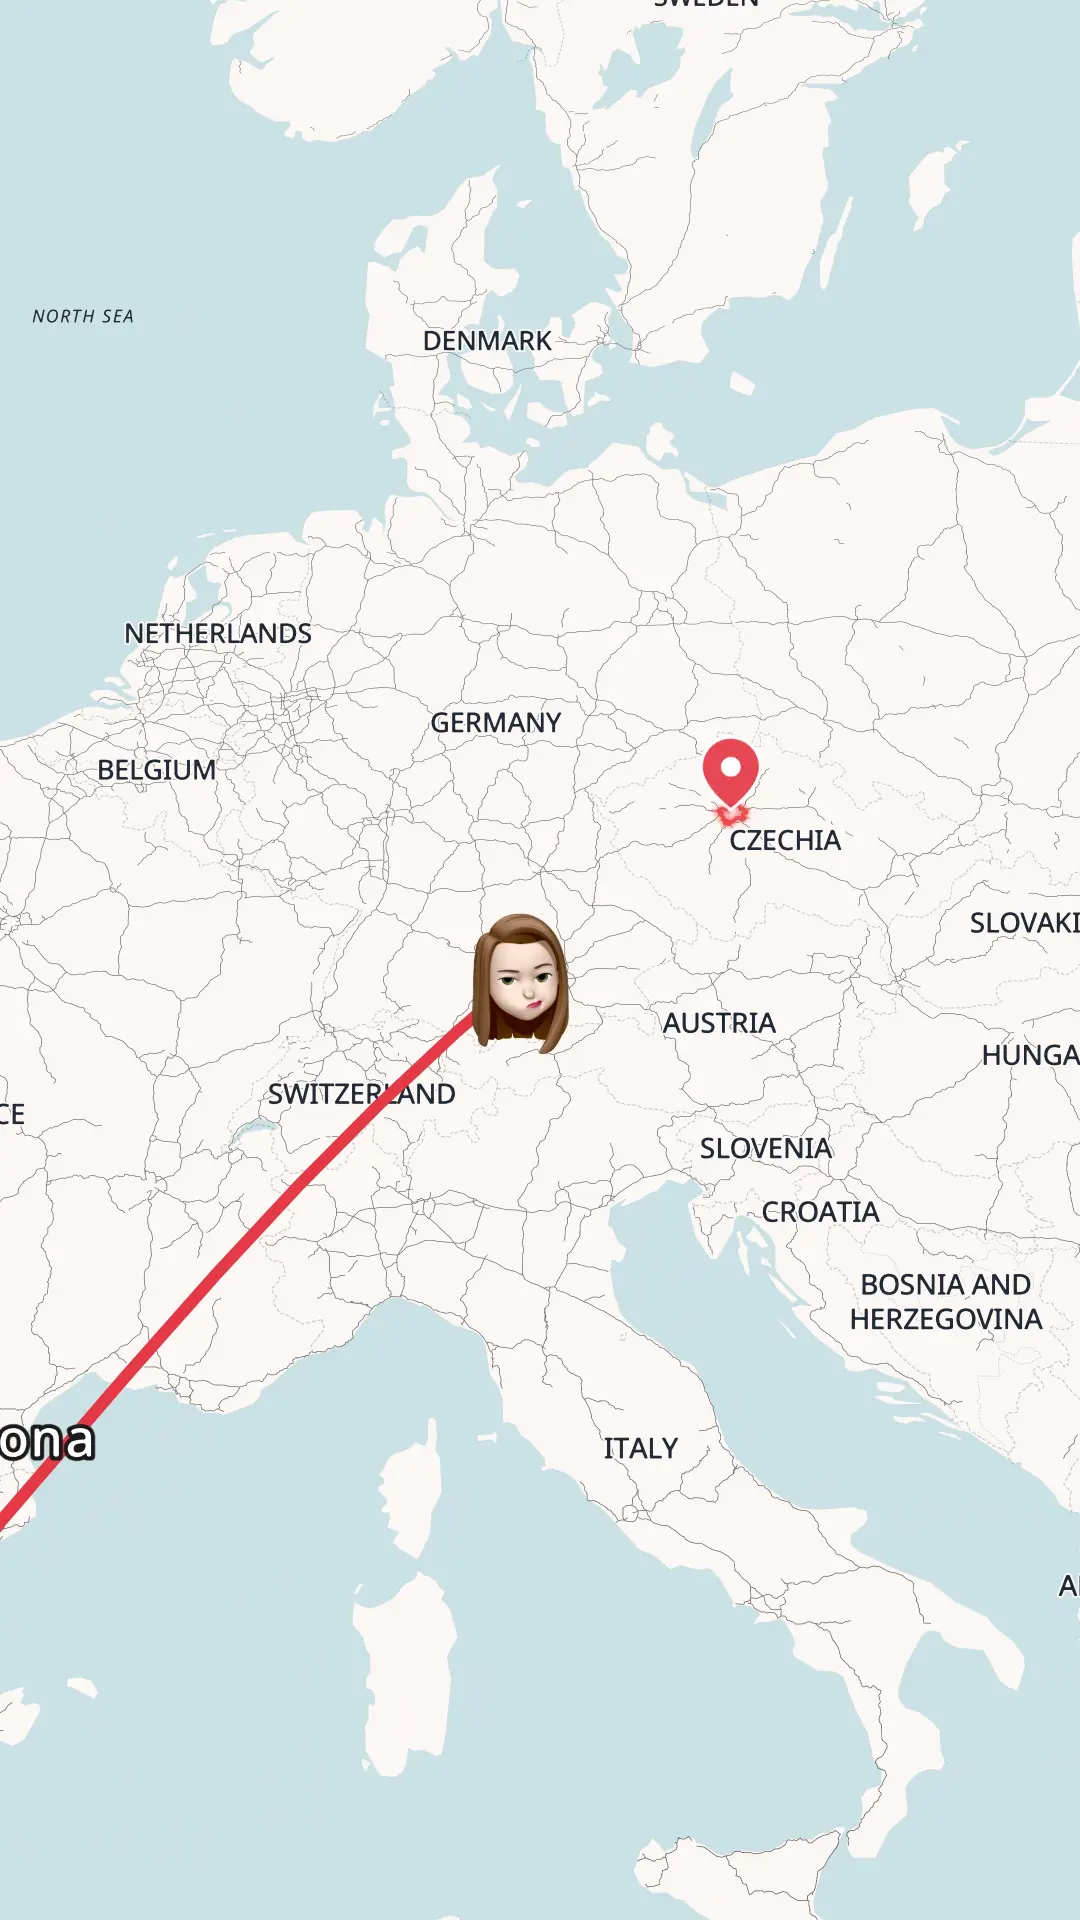
Create a map animation in Premiere Pro
Premiere Pro has no built-in animated map generator, and keyframing one by hand in the Effect Controls panel takes hours. The faster path: generate the map video in Mappi, then edit it in your sequence as a regular clip. Here is the full workflow.
- Step 1
Create a Mappi account
Sign up for Mappi for free, right in your browser. No plugins, presets, or Motion Graphics templates to install. You get the full Mappi editor with cinematic map themes, camera flights, and high-resolution video export.
- Step 2
Build and export your map in Mappi
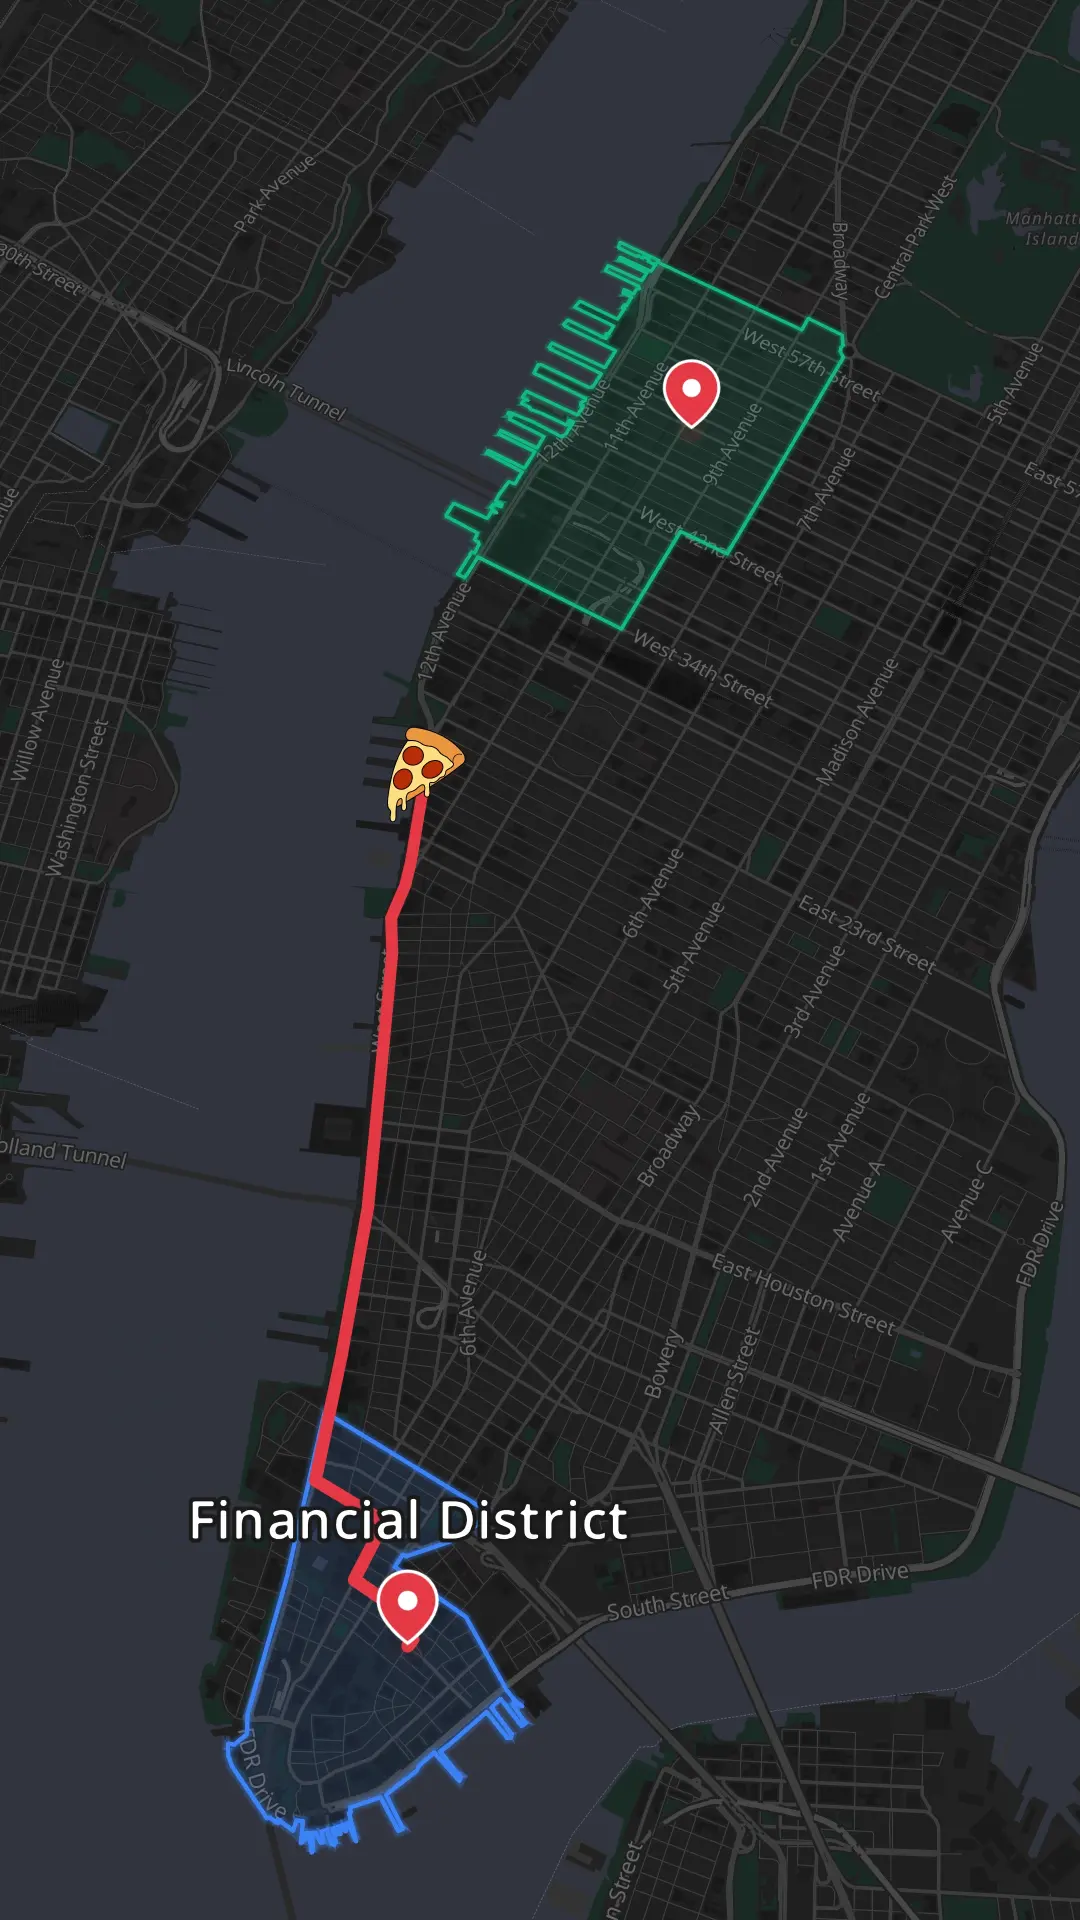
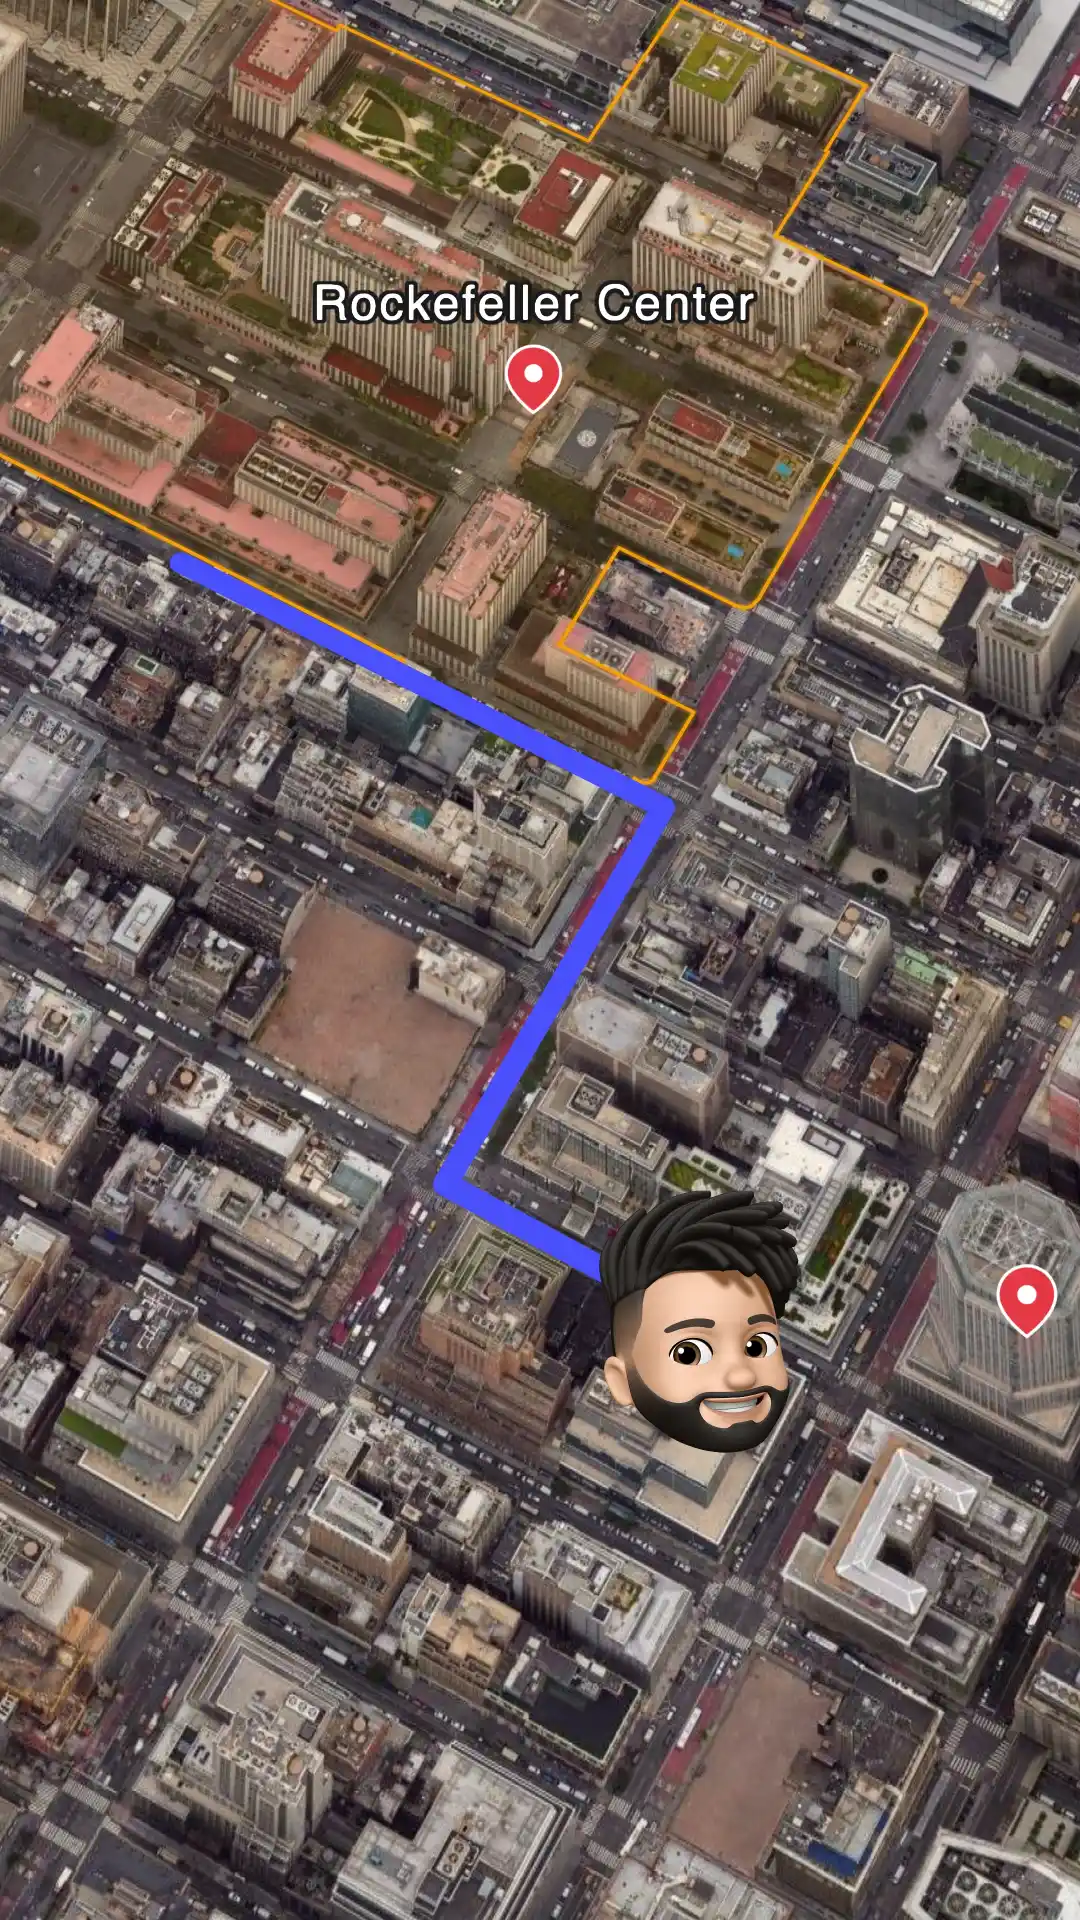
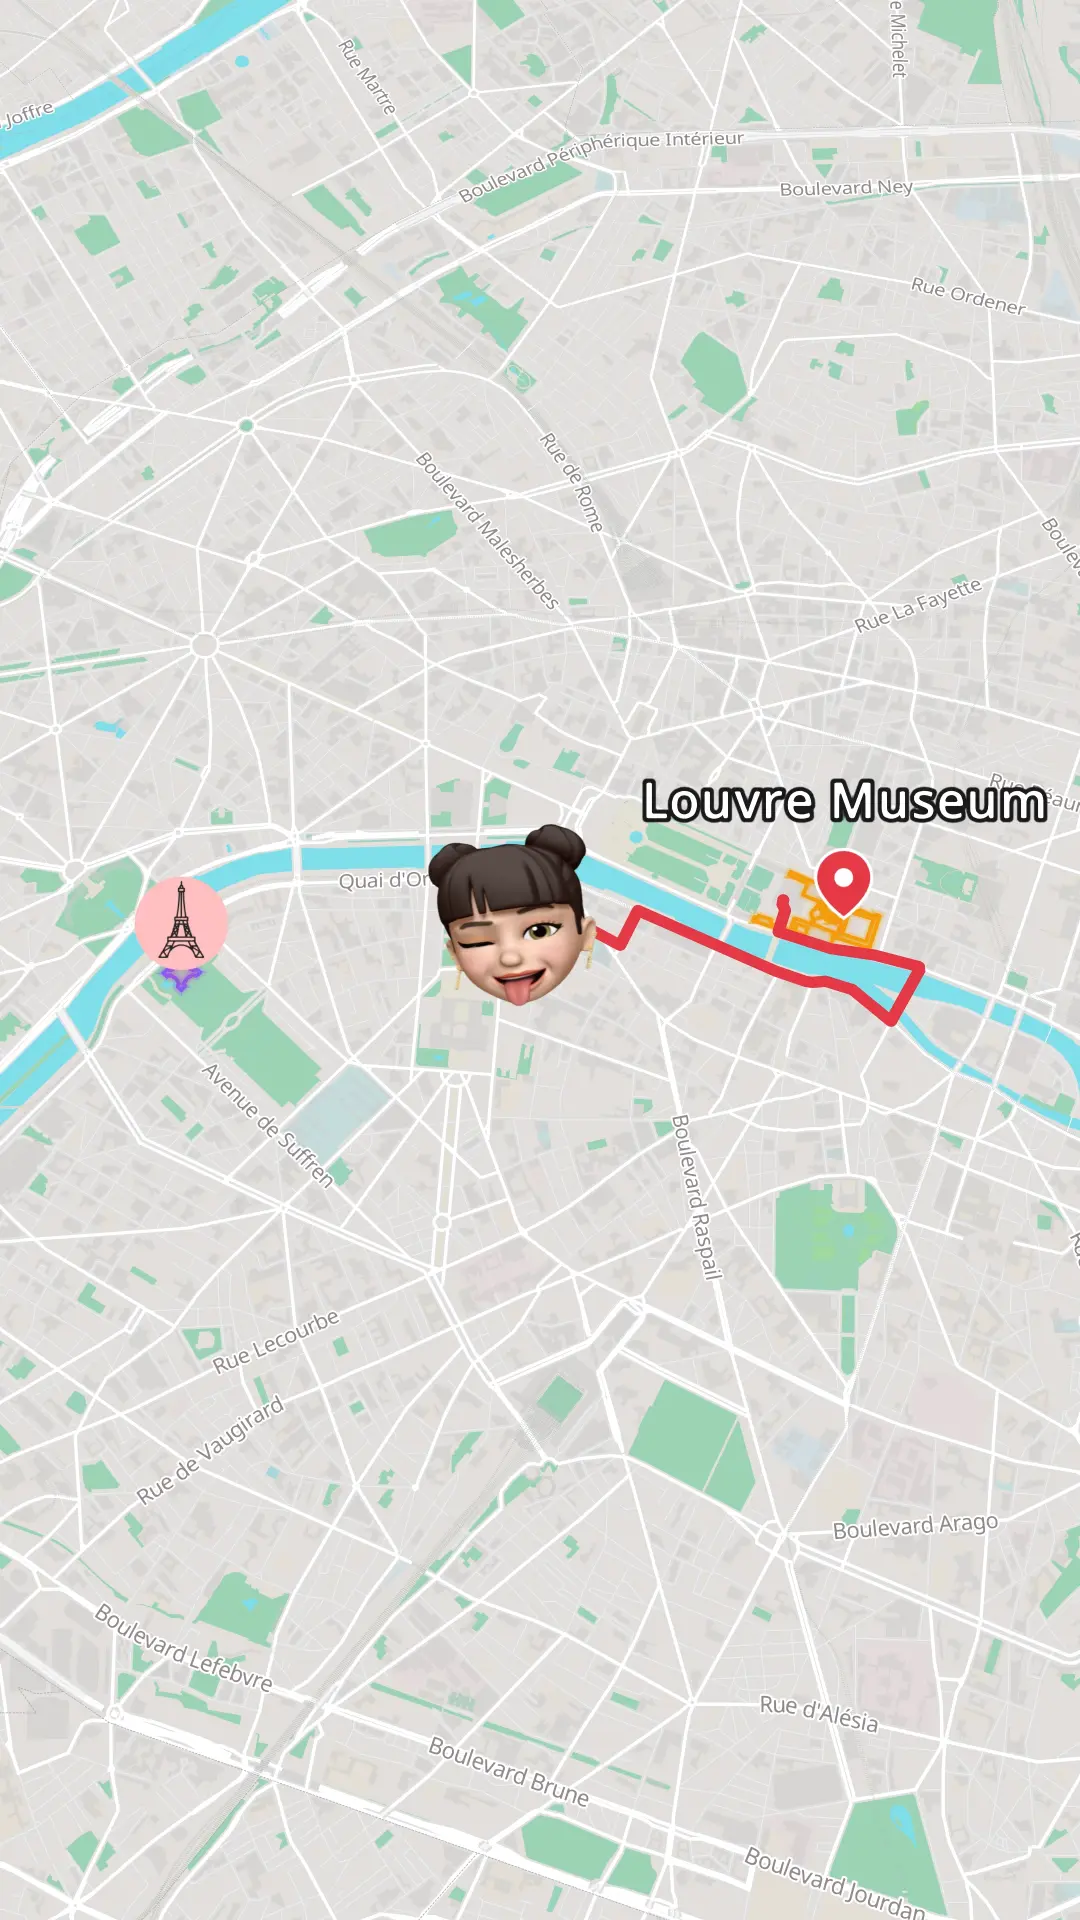
Search for your locations, connect them with animated routes, and pick a map theme that fits the look of your project. Match the aspect ratio to your Premiere Pro sequence before exporting: 16:9 for a standard 1920x1080 or 4K sequence, 9:16 for vertical deliverables, or 1:1 for square posts. Then export the animation as an MP4 file.
- Step 3
Import the clip into your Project panel
In Premiere Pro, go to File > Import (Ctrl+I on Windows, Cmd+I on Mac) and select the MP4 you exported from Mappi, or drag the file straight into the Project panel. You can also browse to it with the Media Browser and right-click Import. The clip lands in your project bin alongside the rest of your footage.
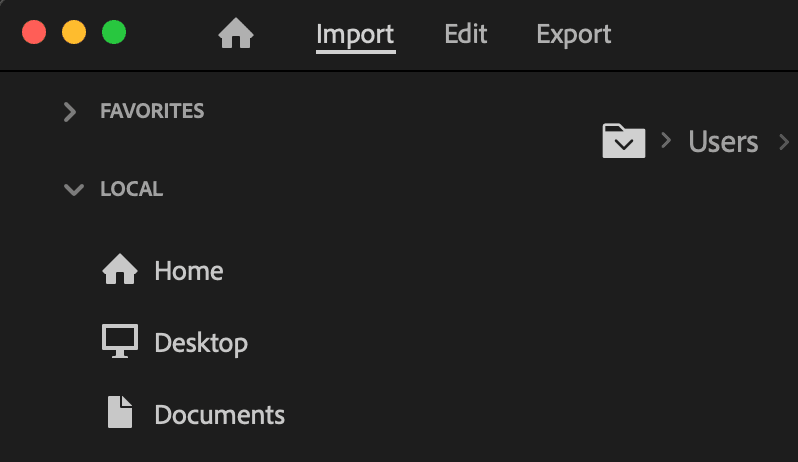
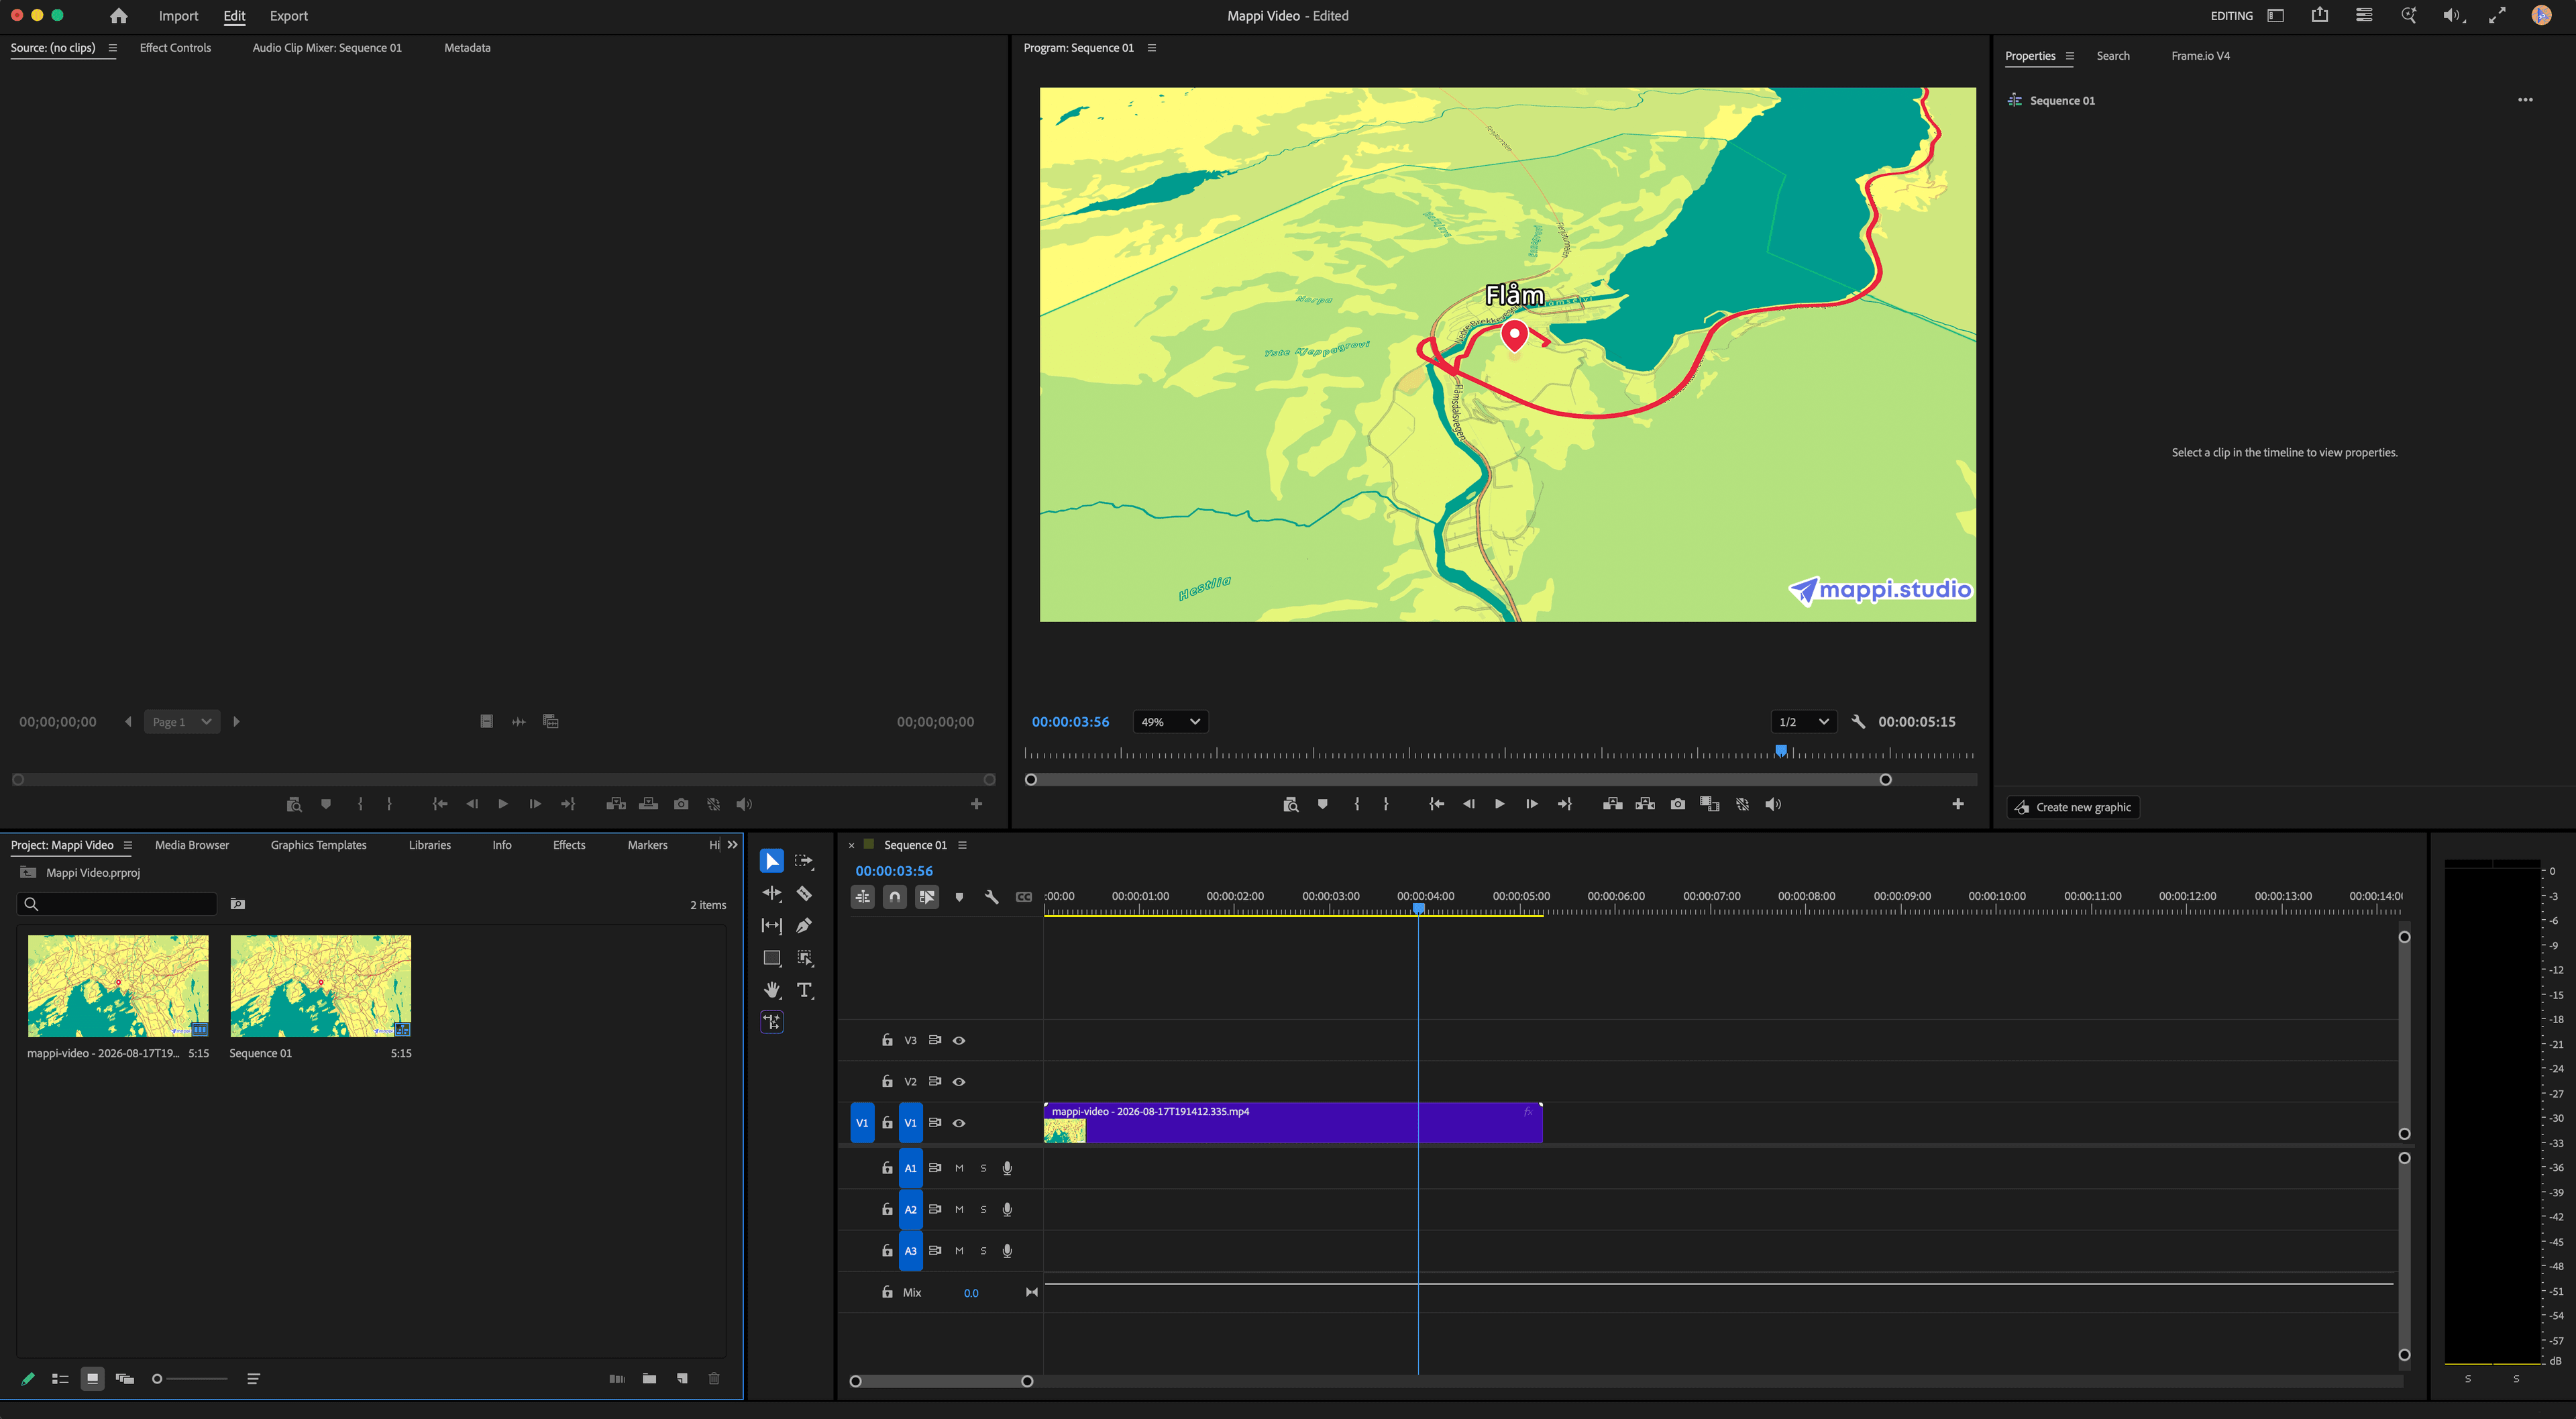
The Mappi MP4 imported into the Premiere Pro Project panel, organized in a bin with your other footage. - Step 4
Cut it into your sequence
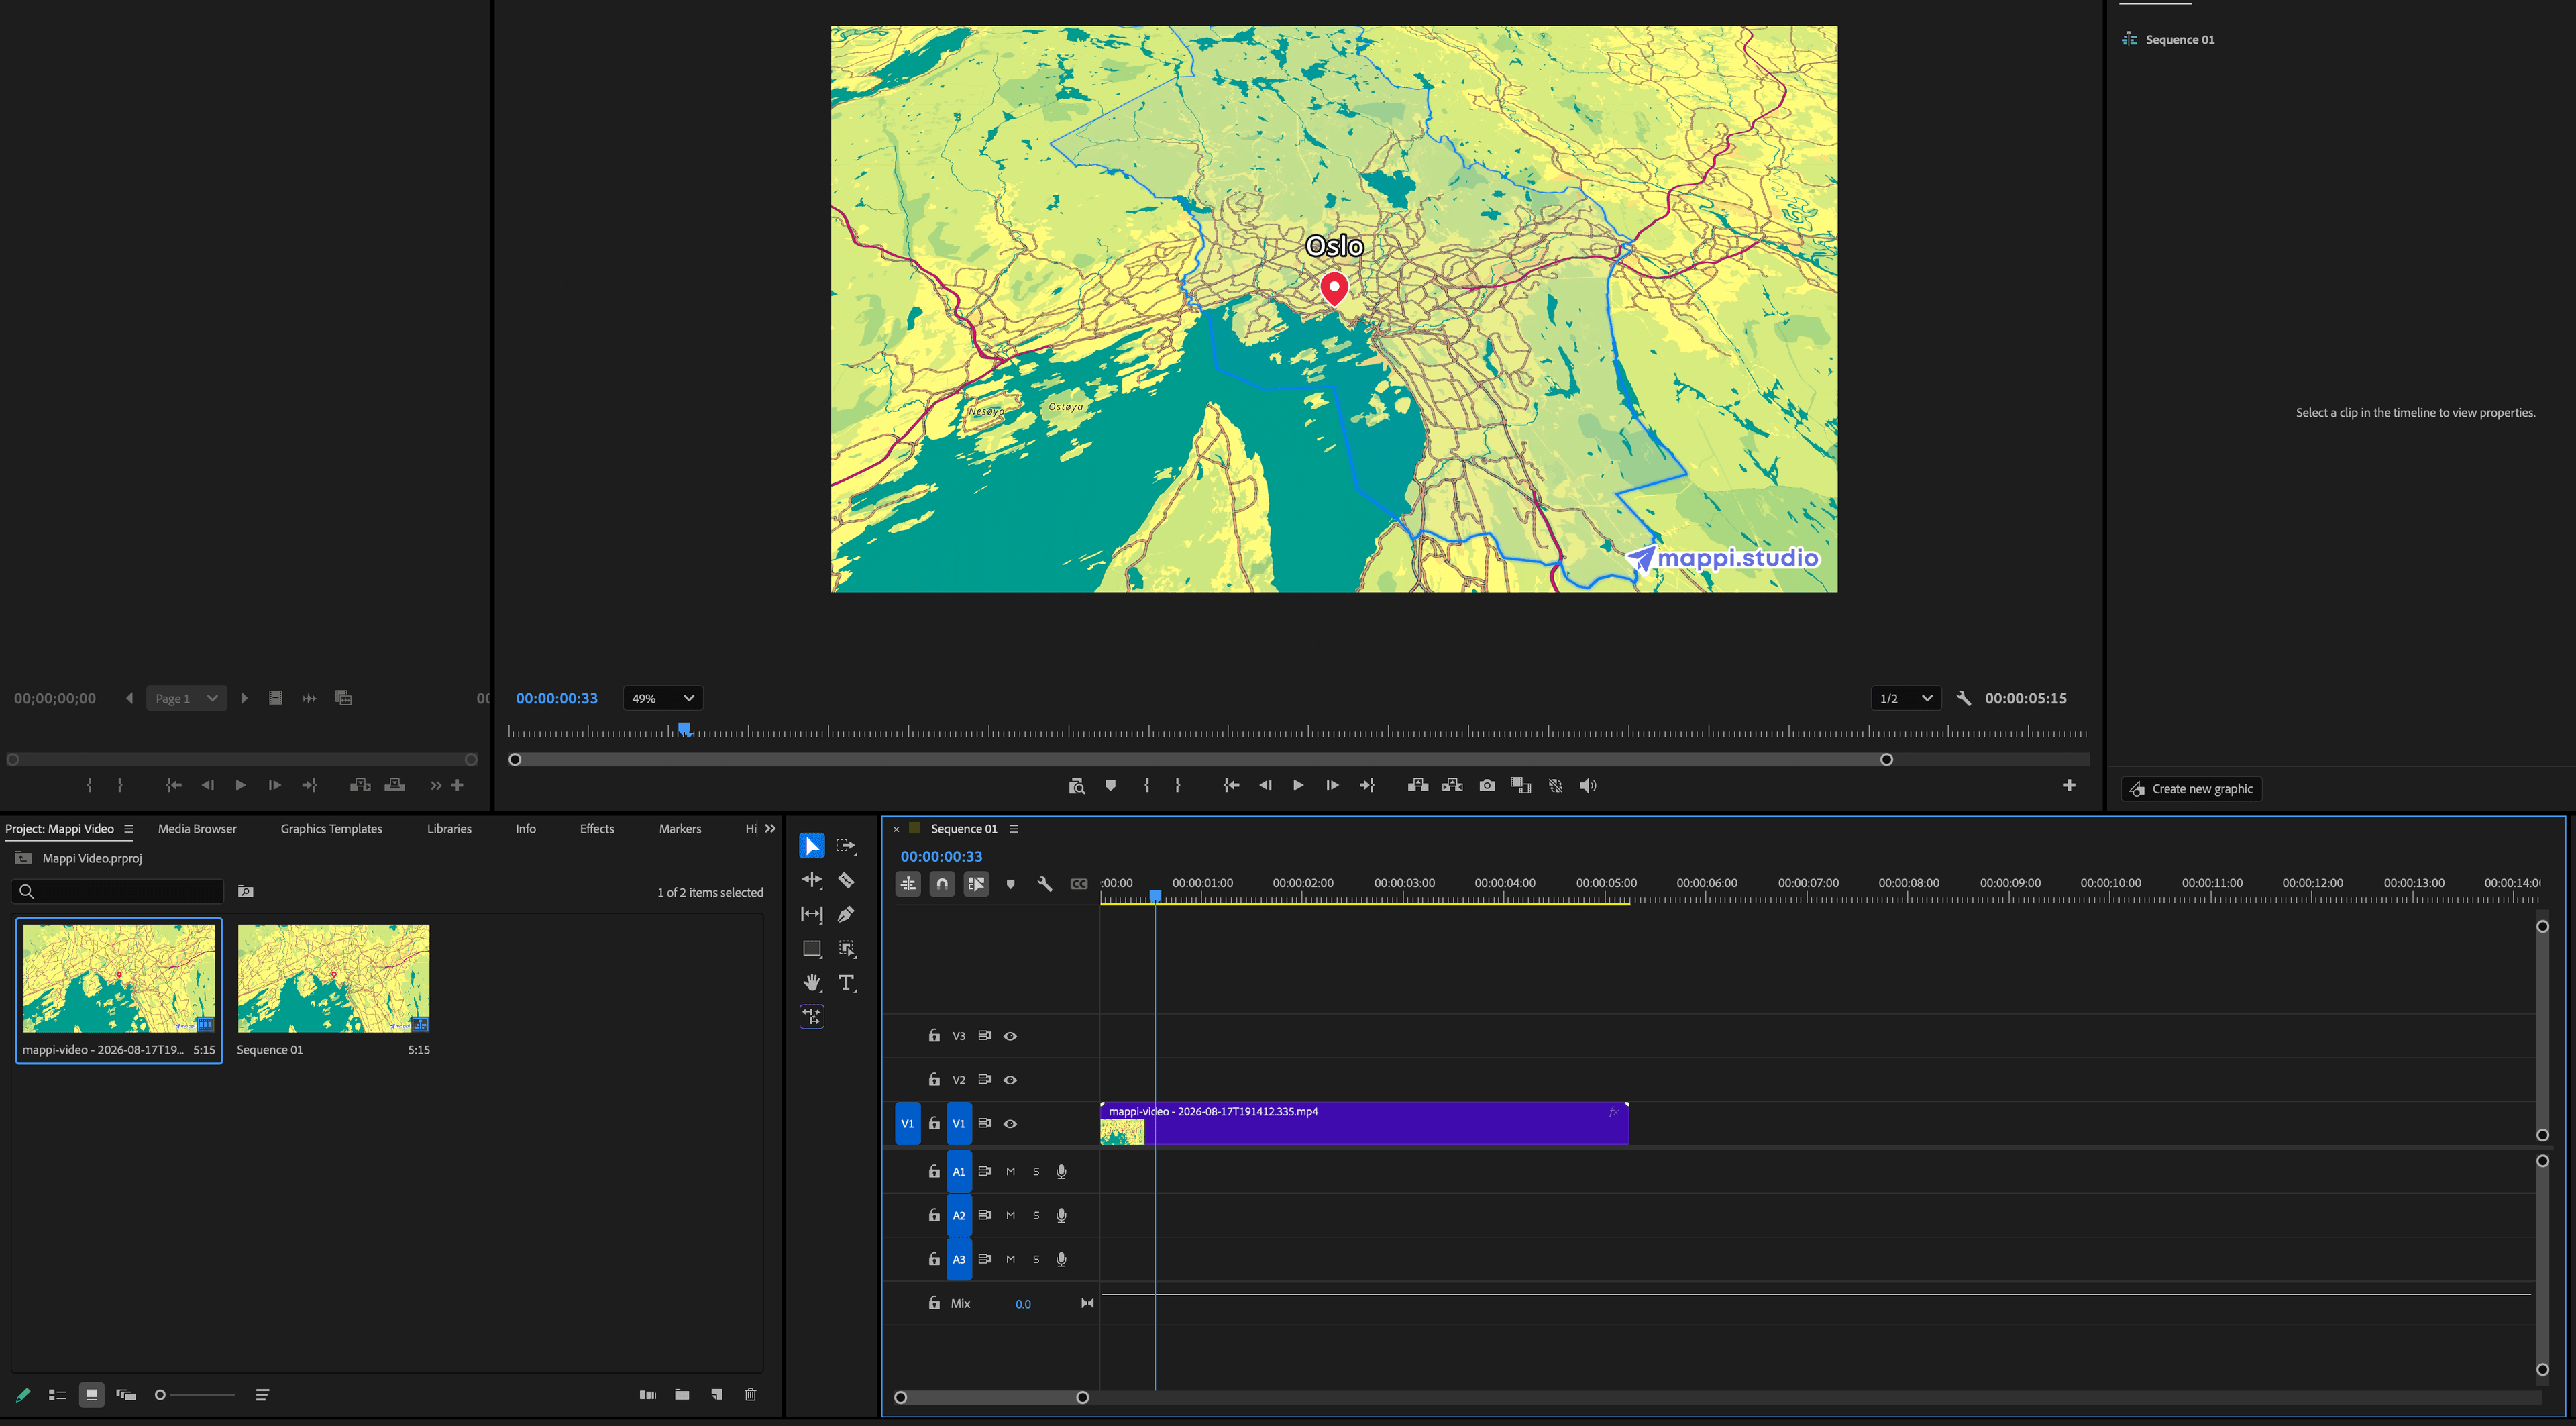
Drag the map animation from the Project panel onto the Timeline, or open it in the Source Monitor, mark in and out points with I and O, and insert it into your sequence. Use it as a full-frame clip on V1, or stack it on a higher video track to play as an overlay above your footage. Select the clip and open the Effect Controls panel to adjust Scale, Position, and Opacity, exactly like any other clip.
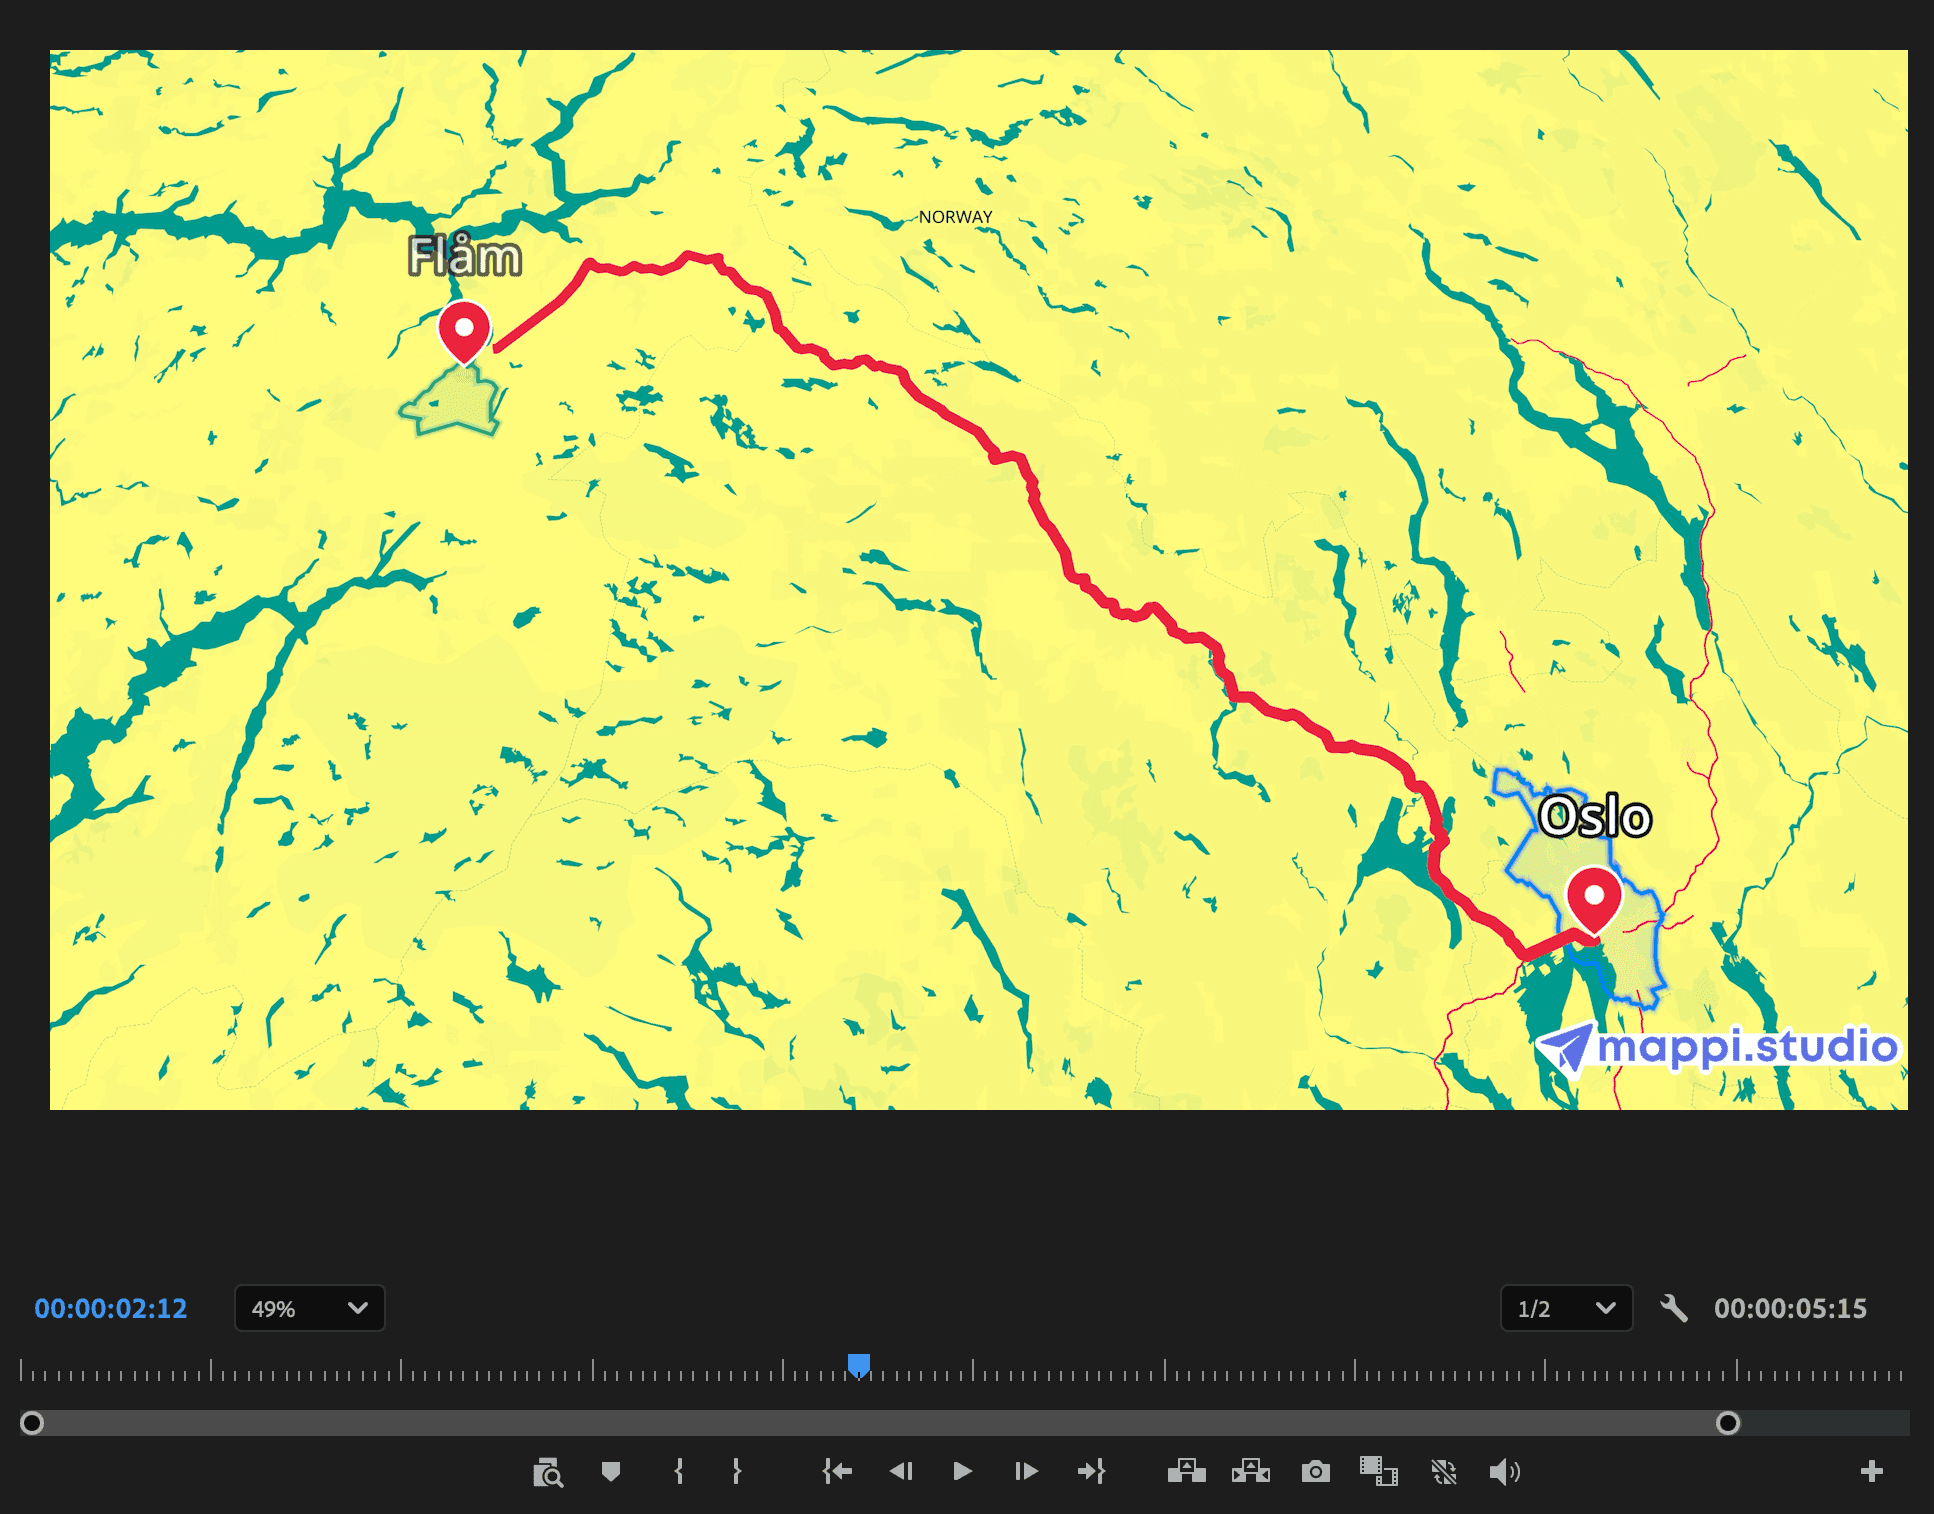
The map clip in your Premiere Pro sequence. Adjust Scale, Position, and Opacity in the Effect Controls panel. - Step 5
Style the map animation with Premiere Pro tools
From here the map behaves like regular footage, so the entire Premiere Pro toolkit applies, from Essential Graphics titles to Lumetri Color grades and keyframed motion.
- Trim the clip with the razor tool (C) or ripple edit to keep only the flight moments you need.
- Use the Type tool and the Essential Graphics panel to layer animated location titles, lower thirds, and callouts over the map, or drop in a Motion Graphics template (MOGRT).
- Open the Lumetri Color panel and grade the map with Basic Correction and Creative looks so it matches the rest of your sequence.
- Add an adjustment layer above the map and apply effects like Gaussian Blur or a vignette from the Effects panel.
- Keyframe Scale and Position in the Effect Controls panel for punch-ins on key destinations, then right-click the keyframes and apply Ease In and Ease Out.
- Ramp the camera flight with Speed/Duration (Ctrl+R / Cmd+R) or time remapping for dramatic pacing.
- Drop Cross Dissolve or other transitions from the Effects panel between the map and your surrounding clips.
- Run Speech to Text in the Text panel to auto-caption your voiceover while the map plays.
- Nest the map with its titles into a nested sequence so you can reuse the whole setup across projects.
The finished edit: map animation titled with Essential Graphics, graded with Lumetri Color, and cut to the music. - Step 6
Export your final sequence
Go to File > Export > Media (Ctrl+M / Cmd+M), pick an H.264 preset like Match Source or a platform preset for YouTube and social, or send the sequence to Adobe Media Encoder to render in the background. Your finished video exports with the map animation baked in, ready for any platform or client delivery.
Read the next guide
The same Mappi export works in every editor. See how to import it into these tools.


Cut a moving map into your next Premiere Pro edit
Generate the map animation in Mappi, export it in 4K, and finish the edit in Premiere Pro. Free to try, no keyframing required.



Mappi is the simplest way to create stunning animated maps. Perfect for YouTubers, journalists, and storytellers.
 Stripe Climate member
© 2026 Mappi. All rights reserved.