


Adding Pins, Labels, and Icons to Your Map Animation
Pins are how viewers keep track of where they are in your story. A route shows movement, but map pins and labels are what make each stop feel like a place: named, marked, and worth arriving at. This guide covers pin styles, label sizing, and custom icons in the Mappi editor, and how to keep all three readable while the camera moves. Because a map animation in Mappi is built right in the browser, the pins are live objects, so every choice here stays editable right up to export.
Pins mark the stops, labels name them
Every destination you add through the search bar gets a pin automatically, so pin work in Mappi is styling, not placement. That frees you to think about the real design question: hierarchy. On a multi-stop trip, not every pin deserves equal weight. The start and final destination earn larger pins or a distinct color, while intermediate stops sit smaller and quieter. Labels follow the same rule. A label on every pin at every zoom turns a map into a word cloud; labels on only the stops that matter keep the frame clean and tell viewers which places to remember.
A quick test for hierarchy: pause the preview on the widest shot of your animation and squint. If more than two or three pins compete for attention, the weighting is flat. Demote the pass-through stops by shrinking their pins and turning their labels off, and the trip's shape becomes obvious at a glance.
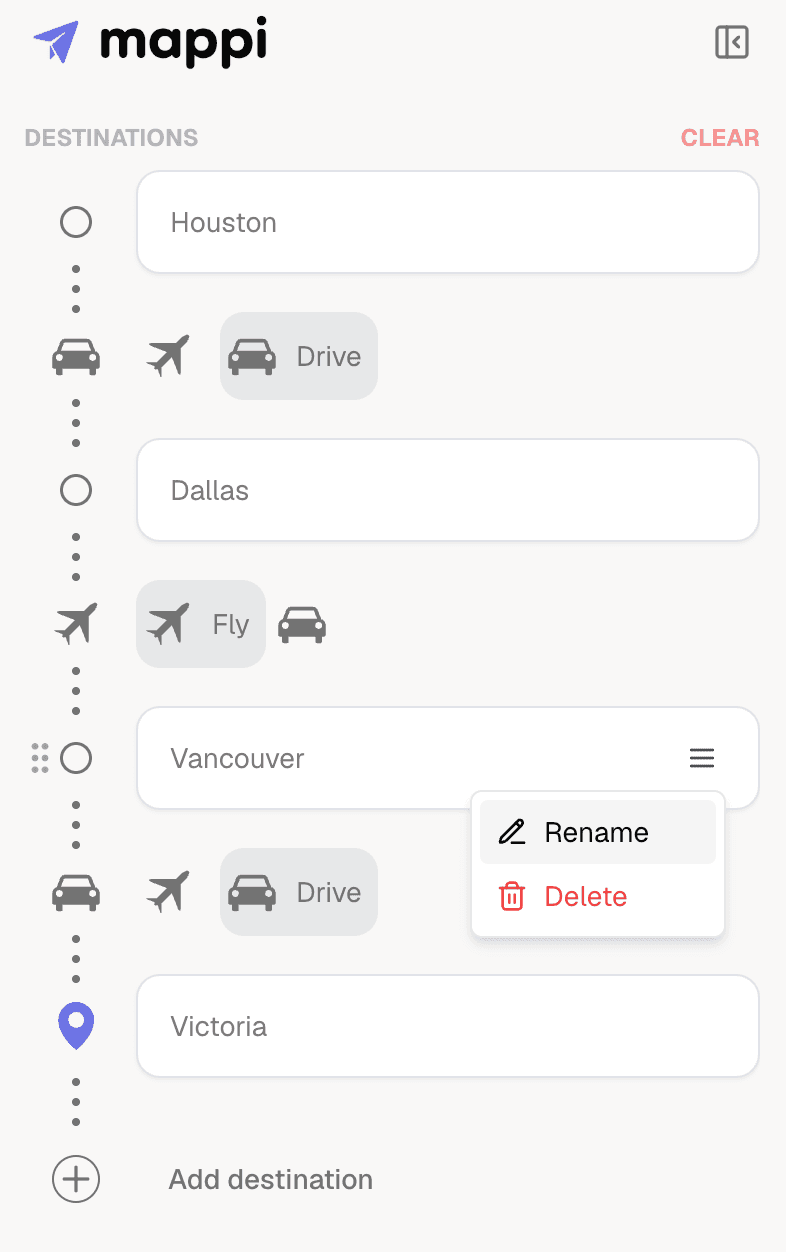
Add map pins and labels in four steps
- Select a destination in the Destinations panel. Its pin options open alongside it: pin styles, colors, and the label toggle in one place. Every change previews live on the map.
- Pick a pin style and color. Choose a color that contrasts with your land color and sits in the same accent family as your route line. Consistent pin colors across a video read as intentional design rather than defaults.
- Toggle the label and set its size. Turn the label on for stops viewers need to remember, and size it to be readable at the zoom level where that pin appears in the animation, not at the zoom you happen to be editing at.
- Press play and watch the arrivals. Pins matter most at arrival moments, when the camera settles on a destination. Confirm each pin and label is clear at that exact frame, and adjust size or color wherever they fight the background.
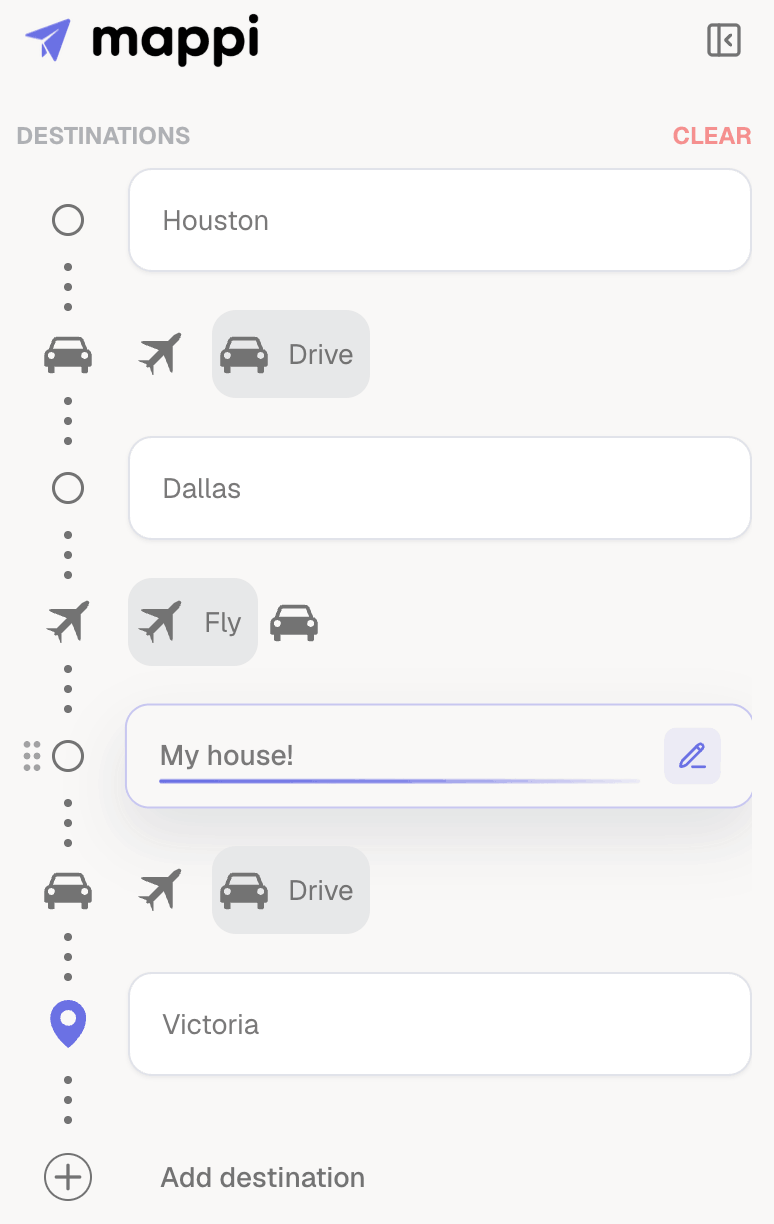
Custom icons: when a marker should say more
Custom icons replace the default marker with a shape that carries meaning: a plane for an airport, a house for a listing, a fork for a food stop. Upload an icon in the pin options and it inherits normal pin behavior, including its label and its moment in the animation. Use icons sparingly and consistently, one icon vocabulary per video. If a plane means airport at stop one, it cannot decorate a beach town at stop four. Simple, high-contrast shapes survive motion and small export sizes; detailed logos and thin line art dissolve the moment the camera pulls wide. Icons also work best when the route underneath is already paced well, since arrivals are where viewers actually study a marker; our guide on animating a route on a map covers how legs and stops pace together.
What to do next
Pins, labels, and icons are the finishing layer over your style and route decisions. Browse our map animation tutorials for the rest of the series, or continue with the related guides below.
