


How to Export a Map Animation in 4K
Every platform you upload to re-compresses your video, so the quality viewers actually see is capped by the file you hand over. This guide shows you how to export a map animation in 4K so that ceiling sits as high as possible. You will pick the right aspect ratio, set the resolution in Mappi's Export panel, and render a master file that survives YouTube's re-encode instead of dissolving into mush.
Why resolution hits maps harder than footage
Compression algorithms throw away fine detail first, and a map animation is made of almost nothing else: one-pixel road strokes, thin borders, small place labels, and a route line that is often only a few pixels wide. Live footage hides compression damage in motion blur and texture. A map has nowhere to hide it. When a 1080p map export gets re-encoded by a platform, labels smear and coastlines shimmer. Start from a 4K master and the same re-encode still has four times the pixel data to work from, which is why a 4K upload looks visibly cleaner even to viewers watching on a 1080p screen.
Export a map animation in 4K: five steps
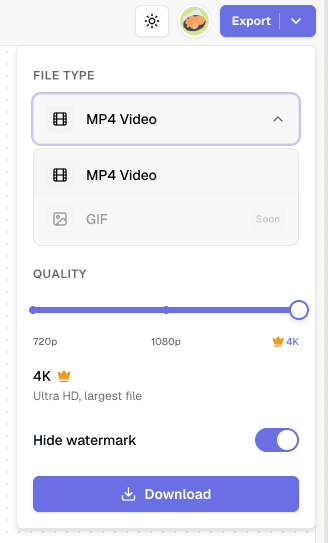
- Lock the animation first. Press play and watch the full preview at final speed. Pacing problems, wrong route types, and awkward zooms should all be fixed before you spend render time, not after.
- Open the Export panel and pick the aspect ratio. Choose 16:9 for YouTube, 9:16 for vertical platforms, 1:1 or 4:5 for feeds. Ratio changes the frame your camera work plays inside, so confirm the preview still composes well after switching.
- Set the resolution to 4K. The resolution picker offers 720p, 1080p, and 4K; 4K is available on the Pro plan. If you are on the free plan, 1080p is the default and still benefits from every other step here.
- Start the render. Mappi renders in the cloud, so the export does not tie up your machine. You can keep editing another project while the video processes.
- Download and archive the MP4. Keep the 4K file as your permanent master. Any smaller version you ever need can be scaled down from it without quality loss.
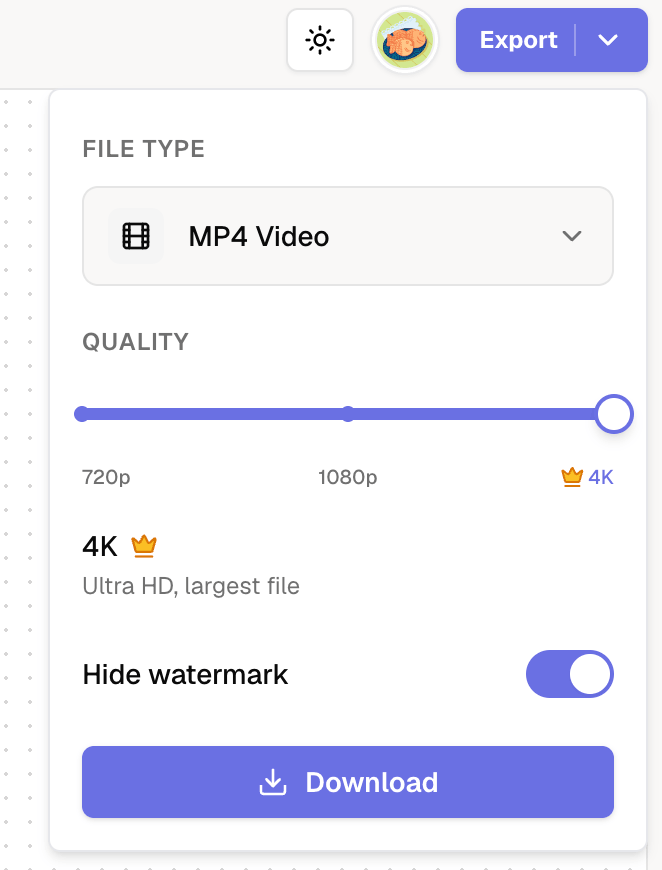
720p vs 1080p vs 4K: pick the right tier
Not every export needs the top tier, and render time grows with resolution. Use this comparison to decide per project rather than defaulting blindly in either direction.
| Resolution | Best for | Plan | Trade-off |
|---|---|---|---|
| 720p | Quick drafts and pacing checks shared with a team | Free | Fastest render, but labels soften on anything larger than a phone screen |
| 1080p | Social feeds, client previews, embeds on web pages | Free | Good balance, though platform re-encodes cost it visible sharpness |
| 4K | YouTube uploads, final masters, label-heavy or street-level animations | Pro | Longest render time, largest file, highest surviving quality |
The deciding question is how much fine detail your animation carries. A continent-scale fly-over with three pins reads fine at 1080p. A city tour full of street names, or a map dense with pins and labels, is exactly the content 4K exists for, because those thin marks are the first casualties of compression.
Check the master before you publish
When the download finishes, play the file at full screen and pause on the busiest moment, usually an arrival with labels on screen. Text should be sharp at 100 percent zoom. If it is not, the issue is almost always upstream of the export: label sizes set too small for the camera distance, or a zoom level that never gets close enough for the detail to resolve. Fix the source, re-render, and the 4K pipeline takes care of the rest.
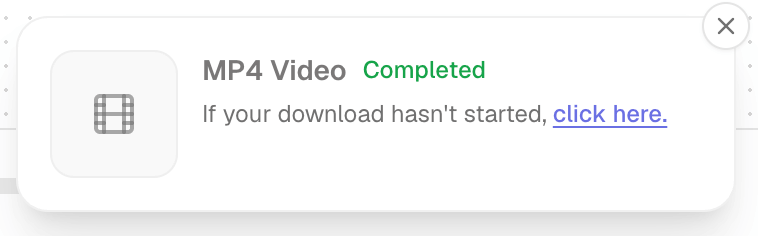
Treat that verified file as the single source for every placement the animation will ever have. Need a 1080p version for an embed, a square crop for a feed post, or a short clip for a story? Cut them all from the 4K master in any editor rather than re-rendering at each size. One render, one quality check, and every derivative inherits the sharpest possible starting point. It also future-proofs the work: a master exported today at 4K still looks current when you repurpose the animation a year from now.
What to do next
A clean 4K master is the end of one workflow and the start of another: sizing it for each platform, or layering it over footage in an editor. Browse our map animation tutorials for both paths, or continue with the related guides below.
