Map Animation In CapCut
Build cinematic map animations in Mappi and edit them like any other clip in CapCut. Fly between destinations, trace routes, export a clean MP4, then finish the edit with captions, effects, and music on the CapCut timeline.
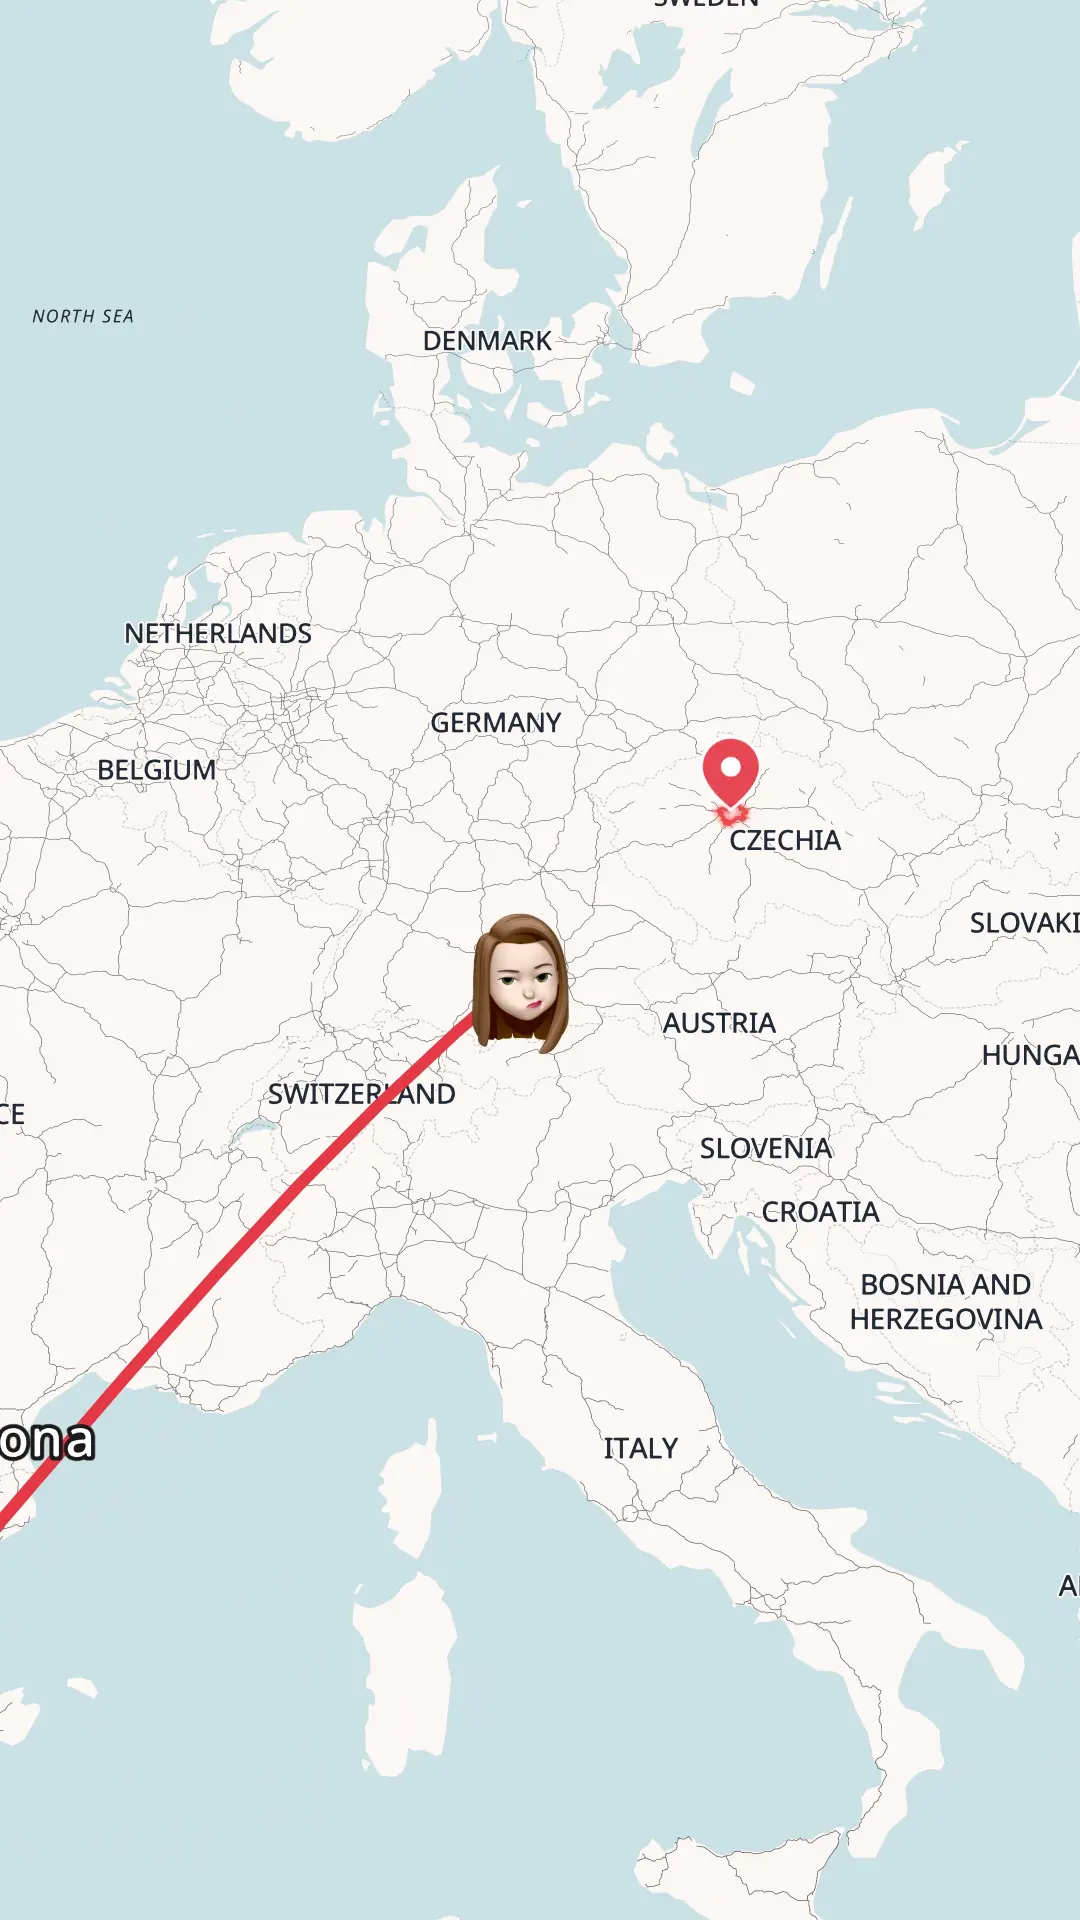
Create a map animation in CapCut
CapCut has no native animated map tool, so the fastest route is to generate the map video in Mappi and bring it into your CapCut project as a regular clip. The full workflow takes a few minutes.
- Step 1
Create a Mappi account
Sign up for Mappi for free, straight from your browser. Nothing to download or install. You get the full Mappi editor with cinematic map themes, camera flights, and video export.
- Step 2
Build and export your map in Mappi
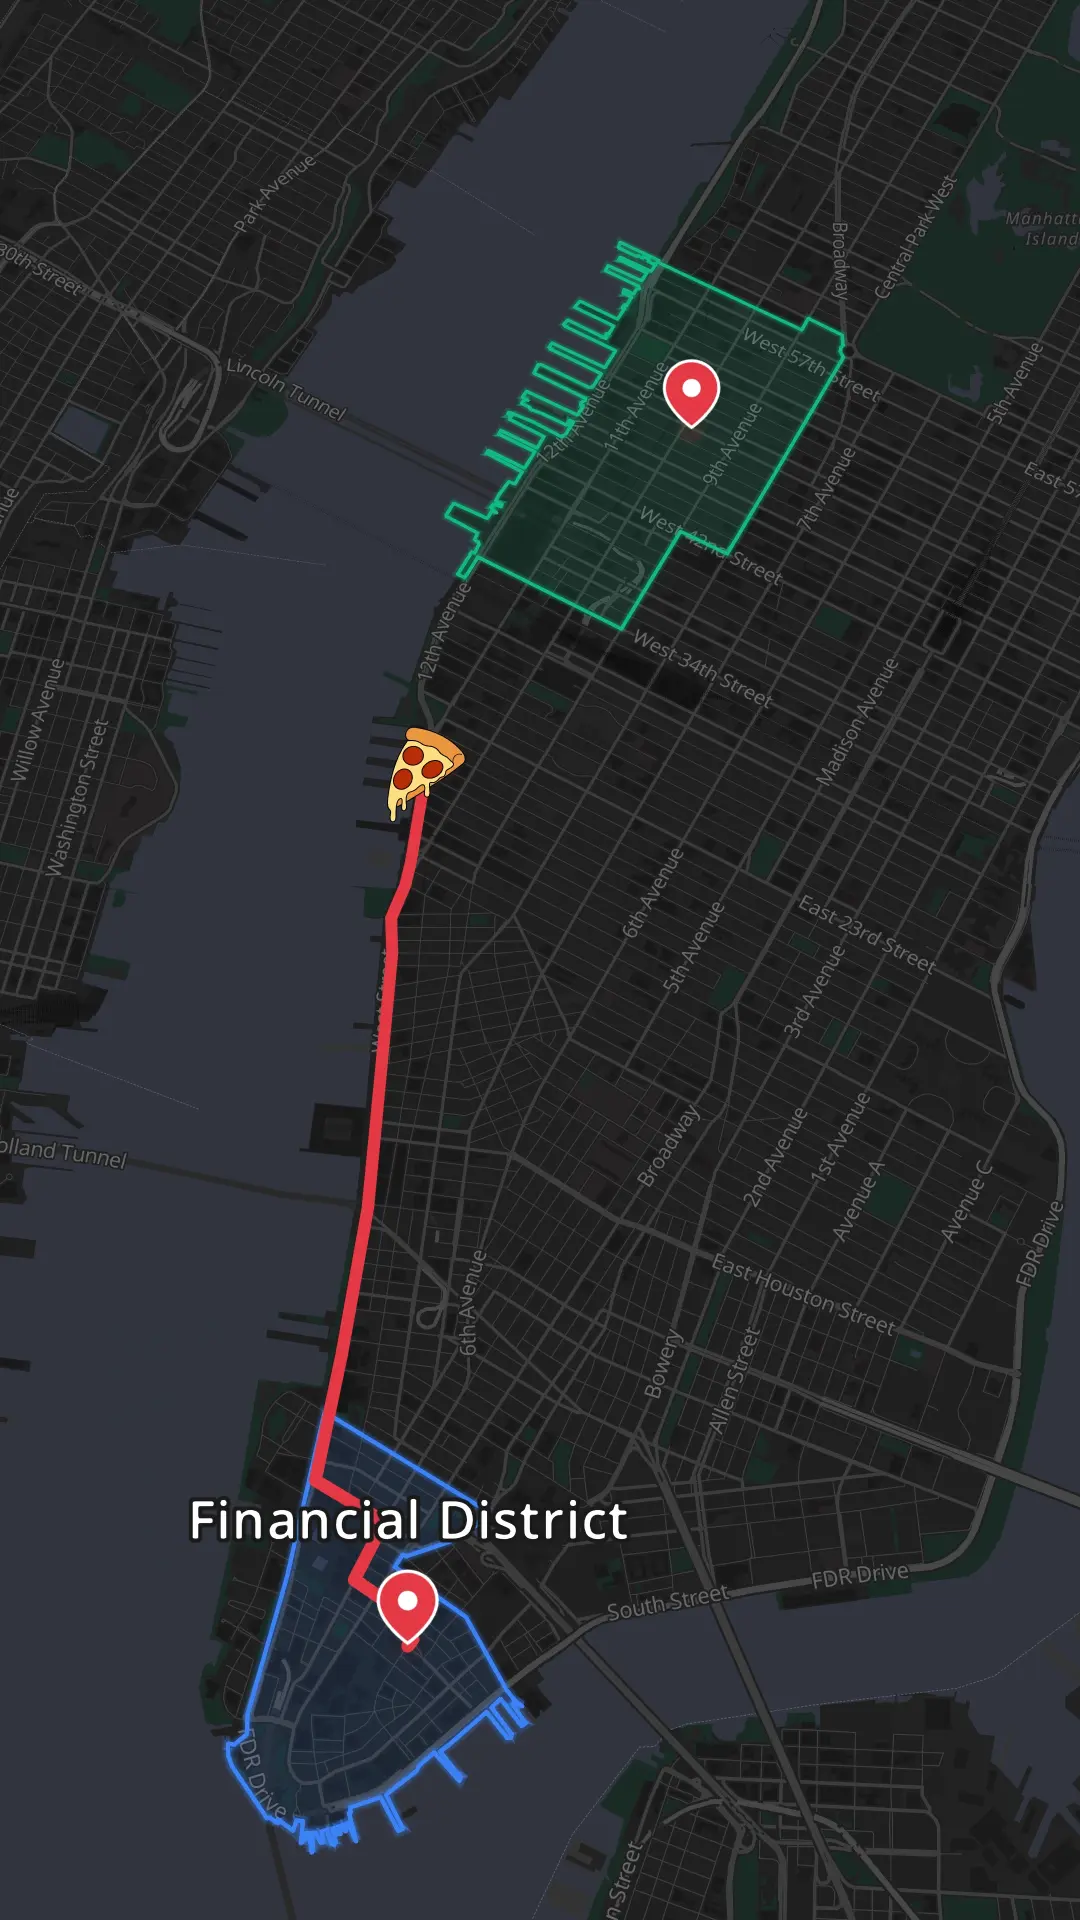
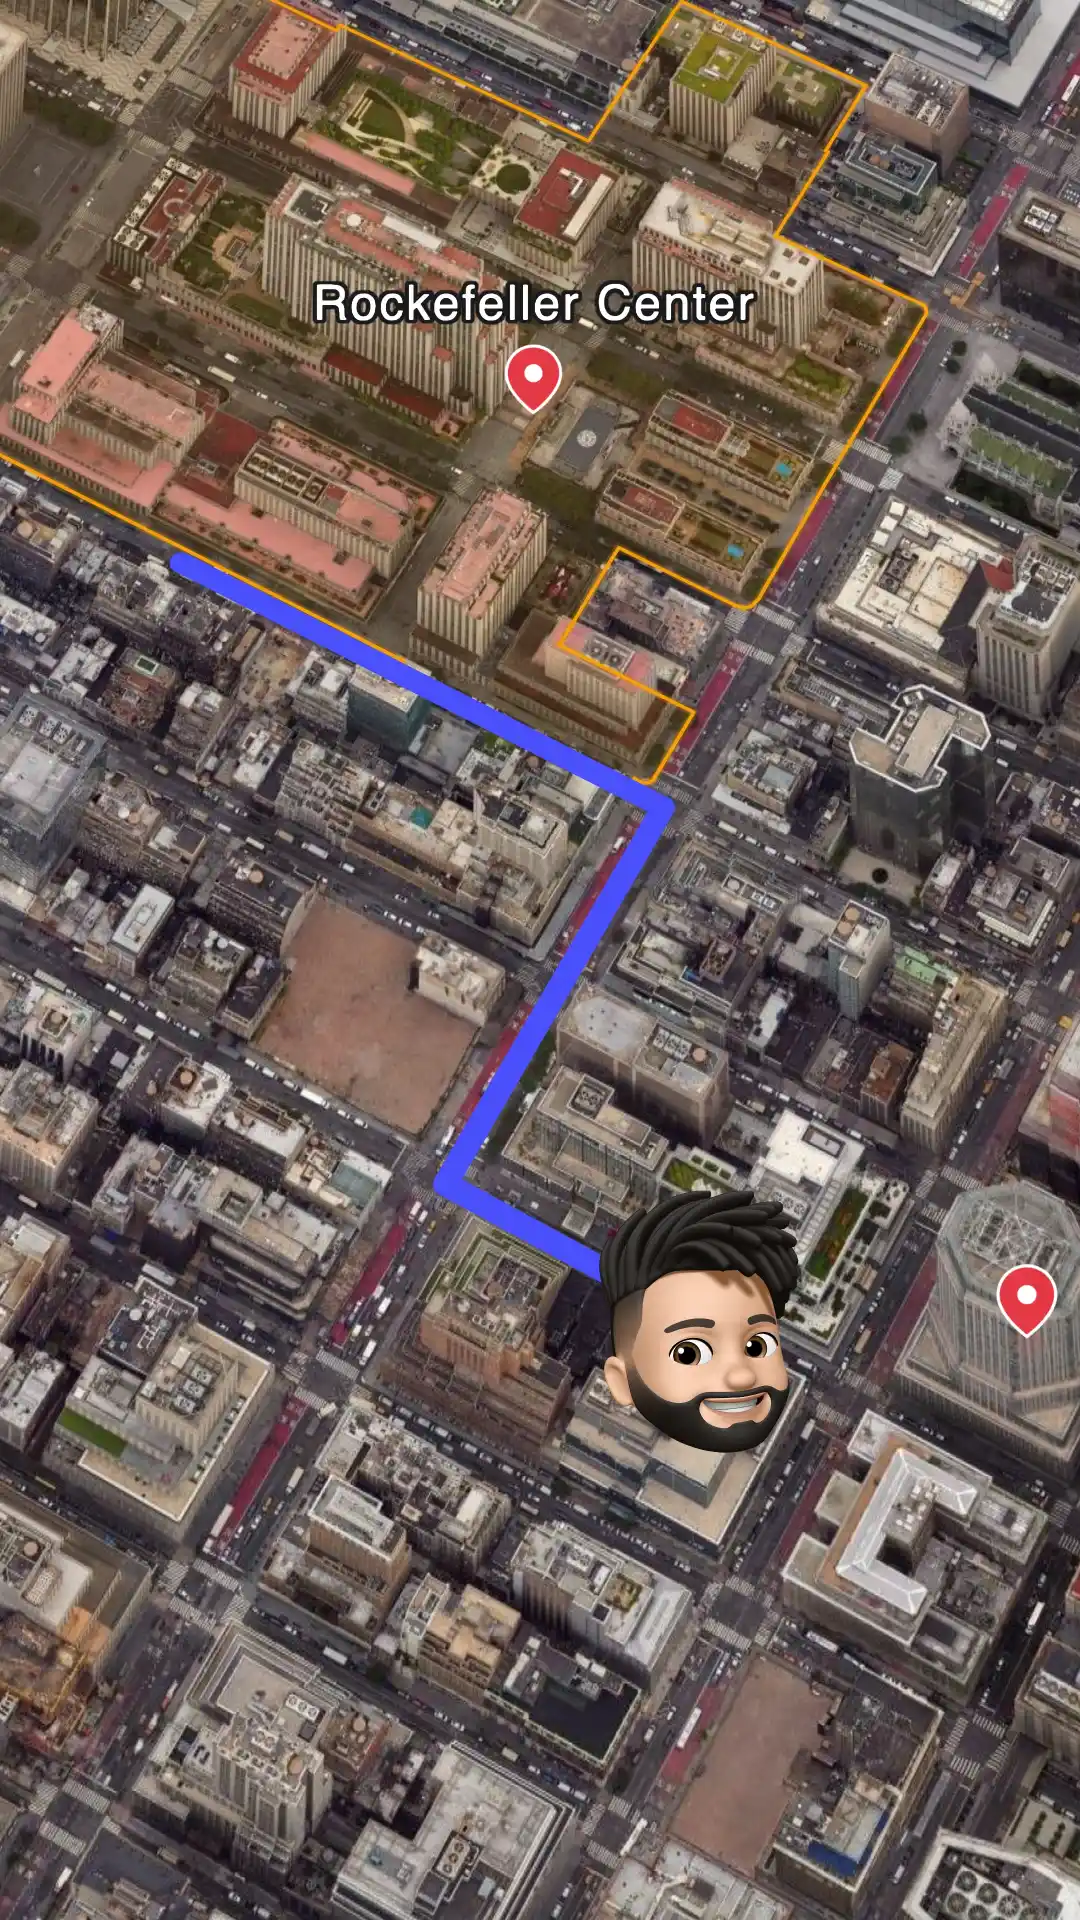
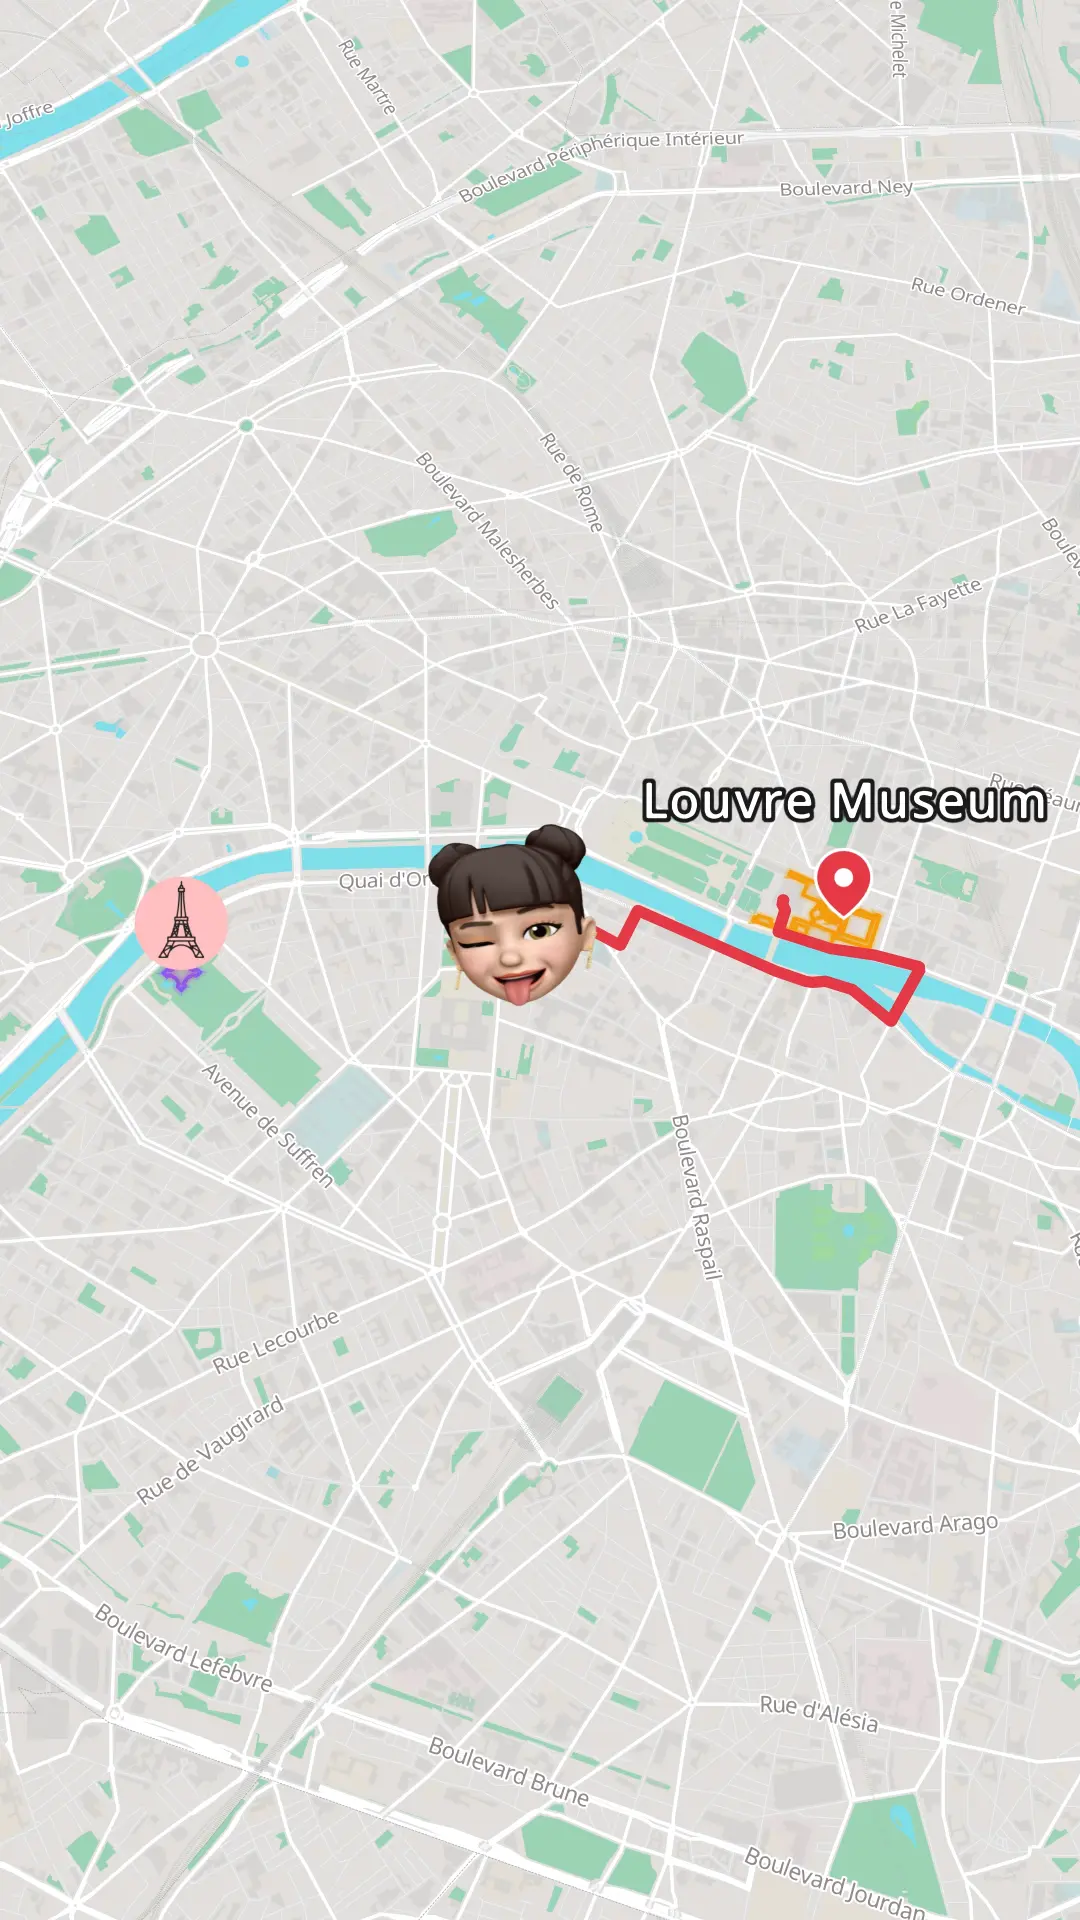
Search for your locations, connect them with animated routes, and pick a map theme that fits your edit. Match the aspect ratio to your CapCut project before exporting: 9:16 for TikTok and Reels, 16:9 for YouTube, or 1:1 for feed posts. Then export the animation as an MP4 file.
- Step 3
Import the video into CapCut
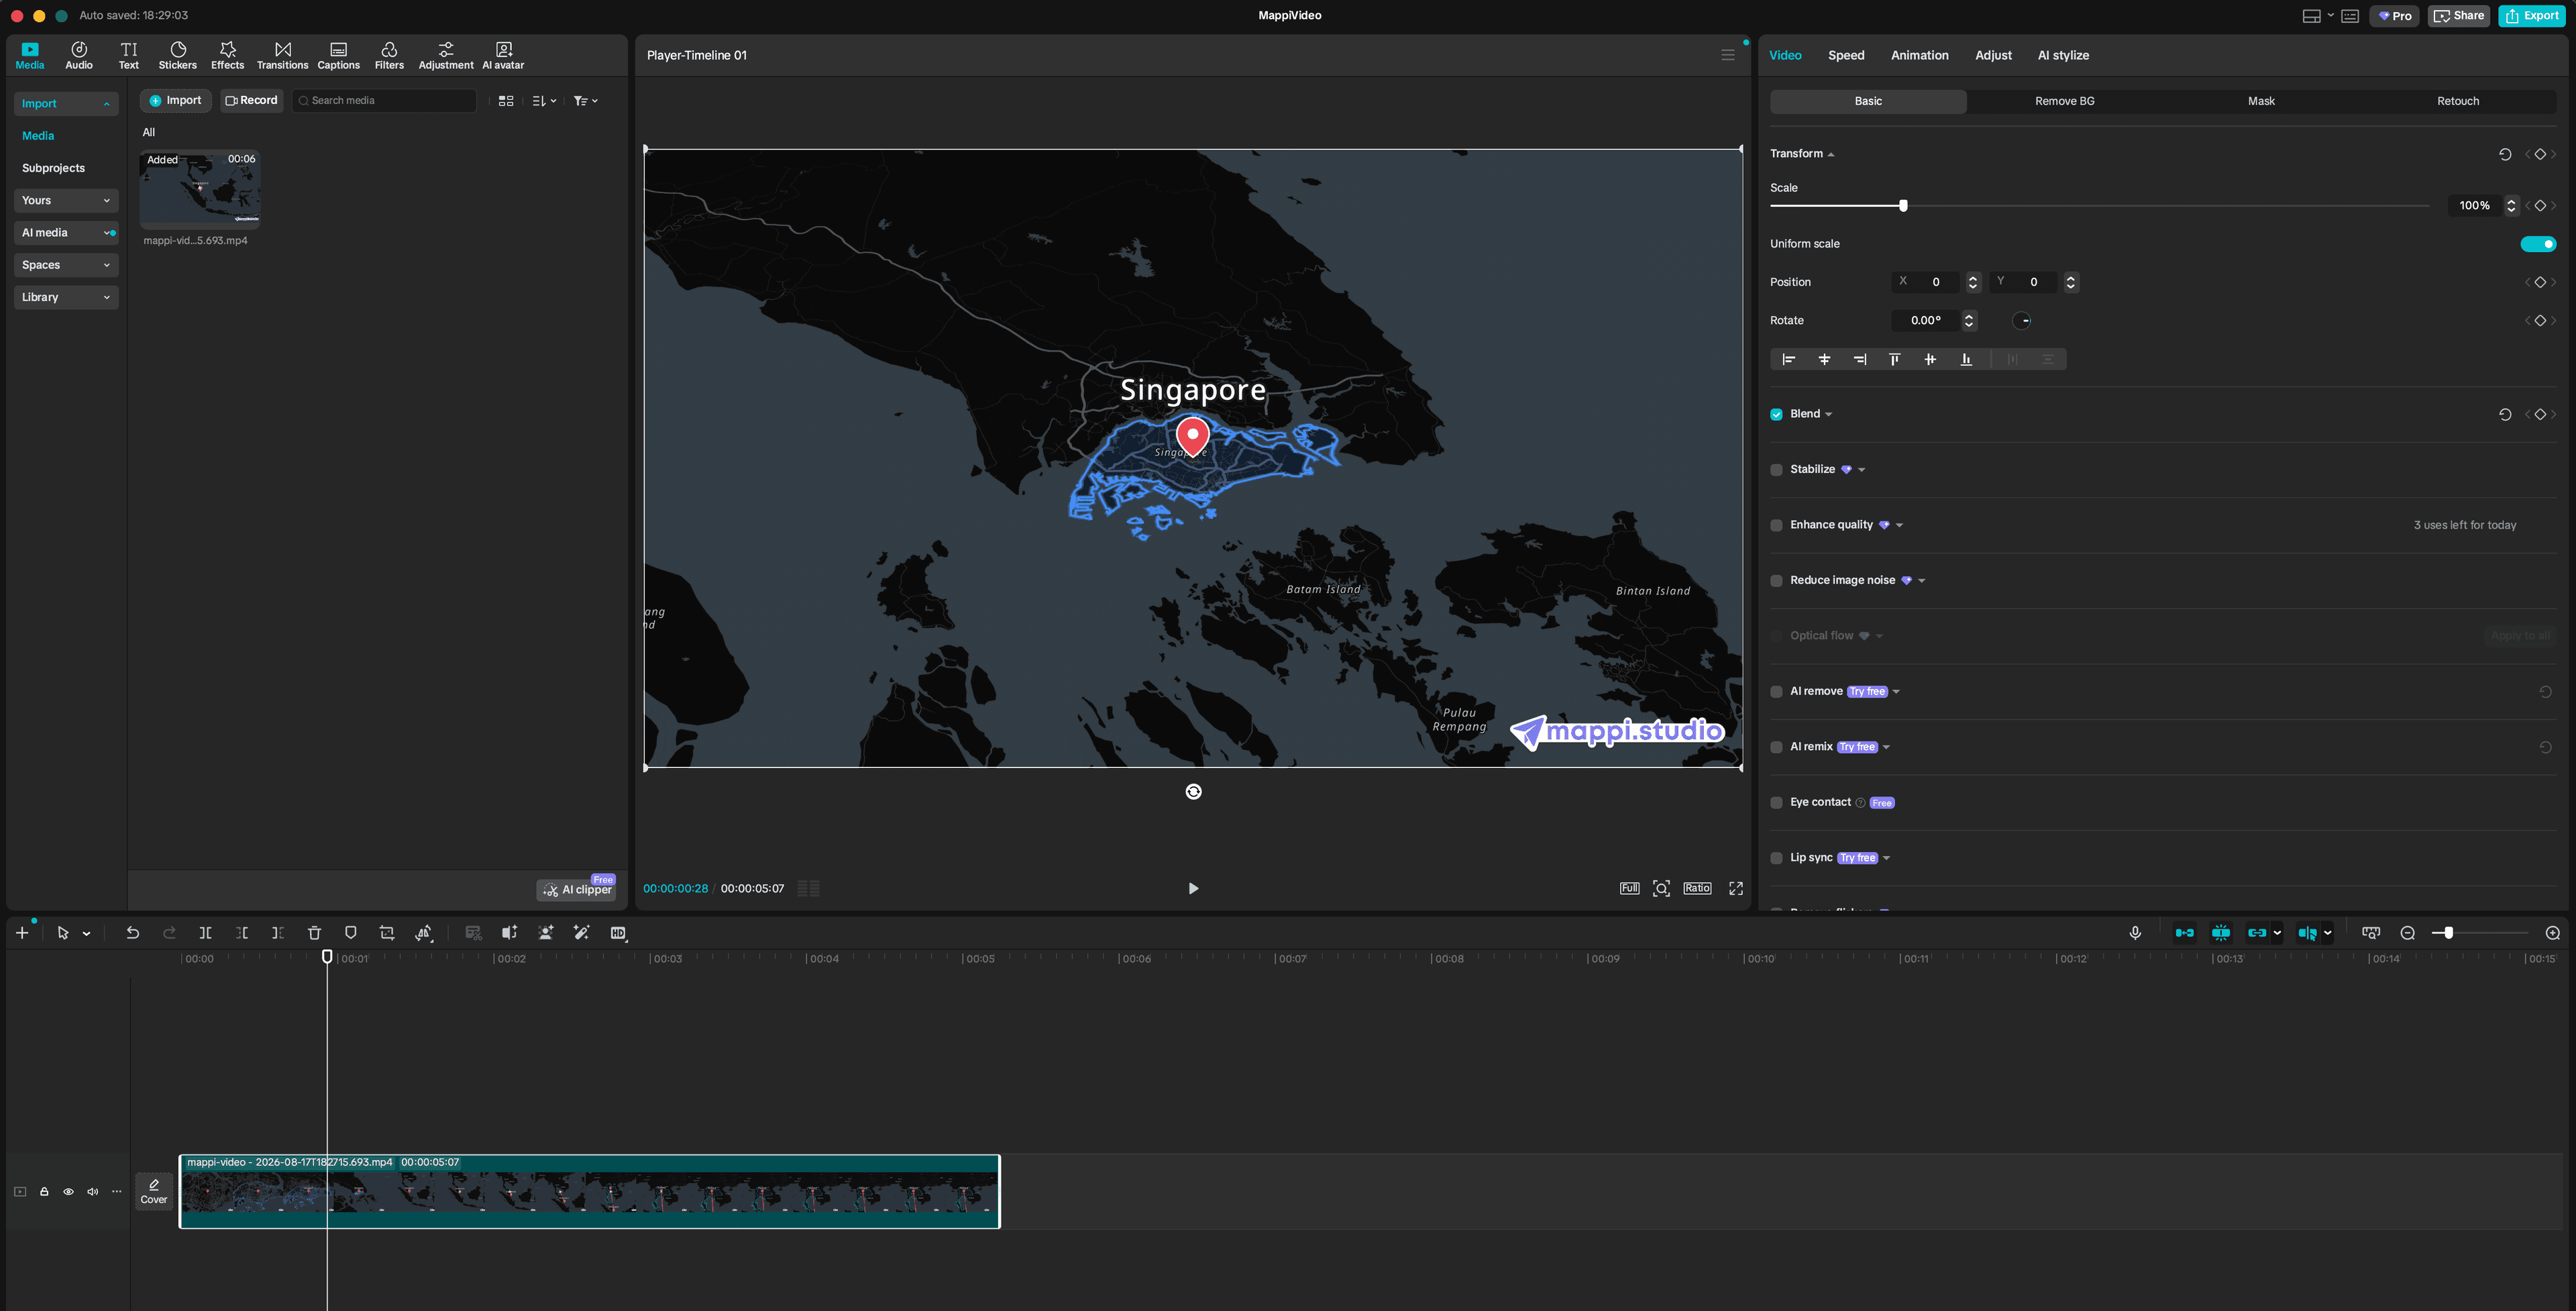
Open your project in CapCut, or click New project. In the Media panel at the top left, hit Import and select the MP4 you exported from Mappi. The clip lands in your media library next to your other footage, audio, and images.
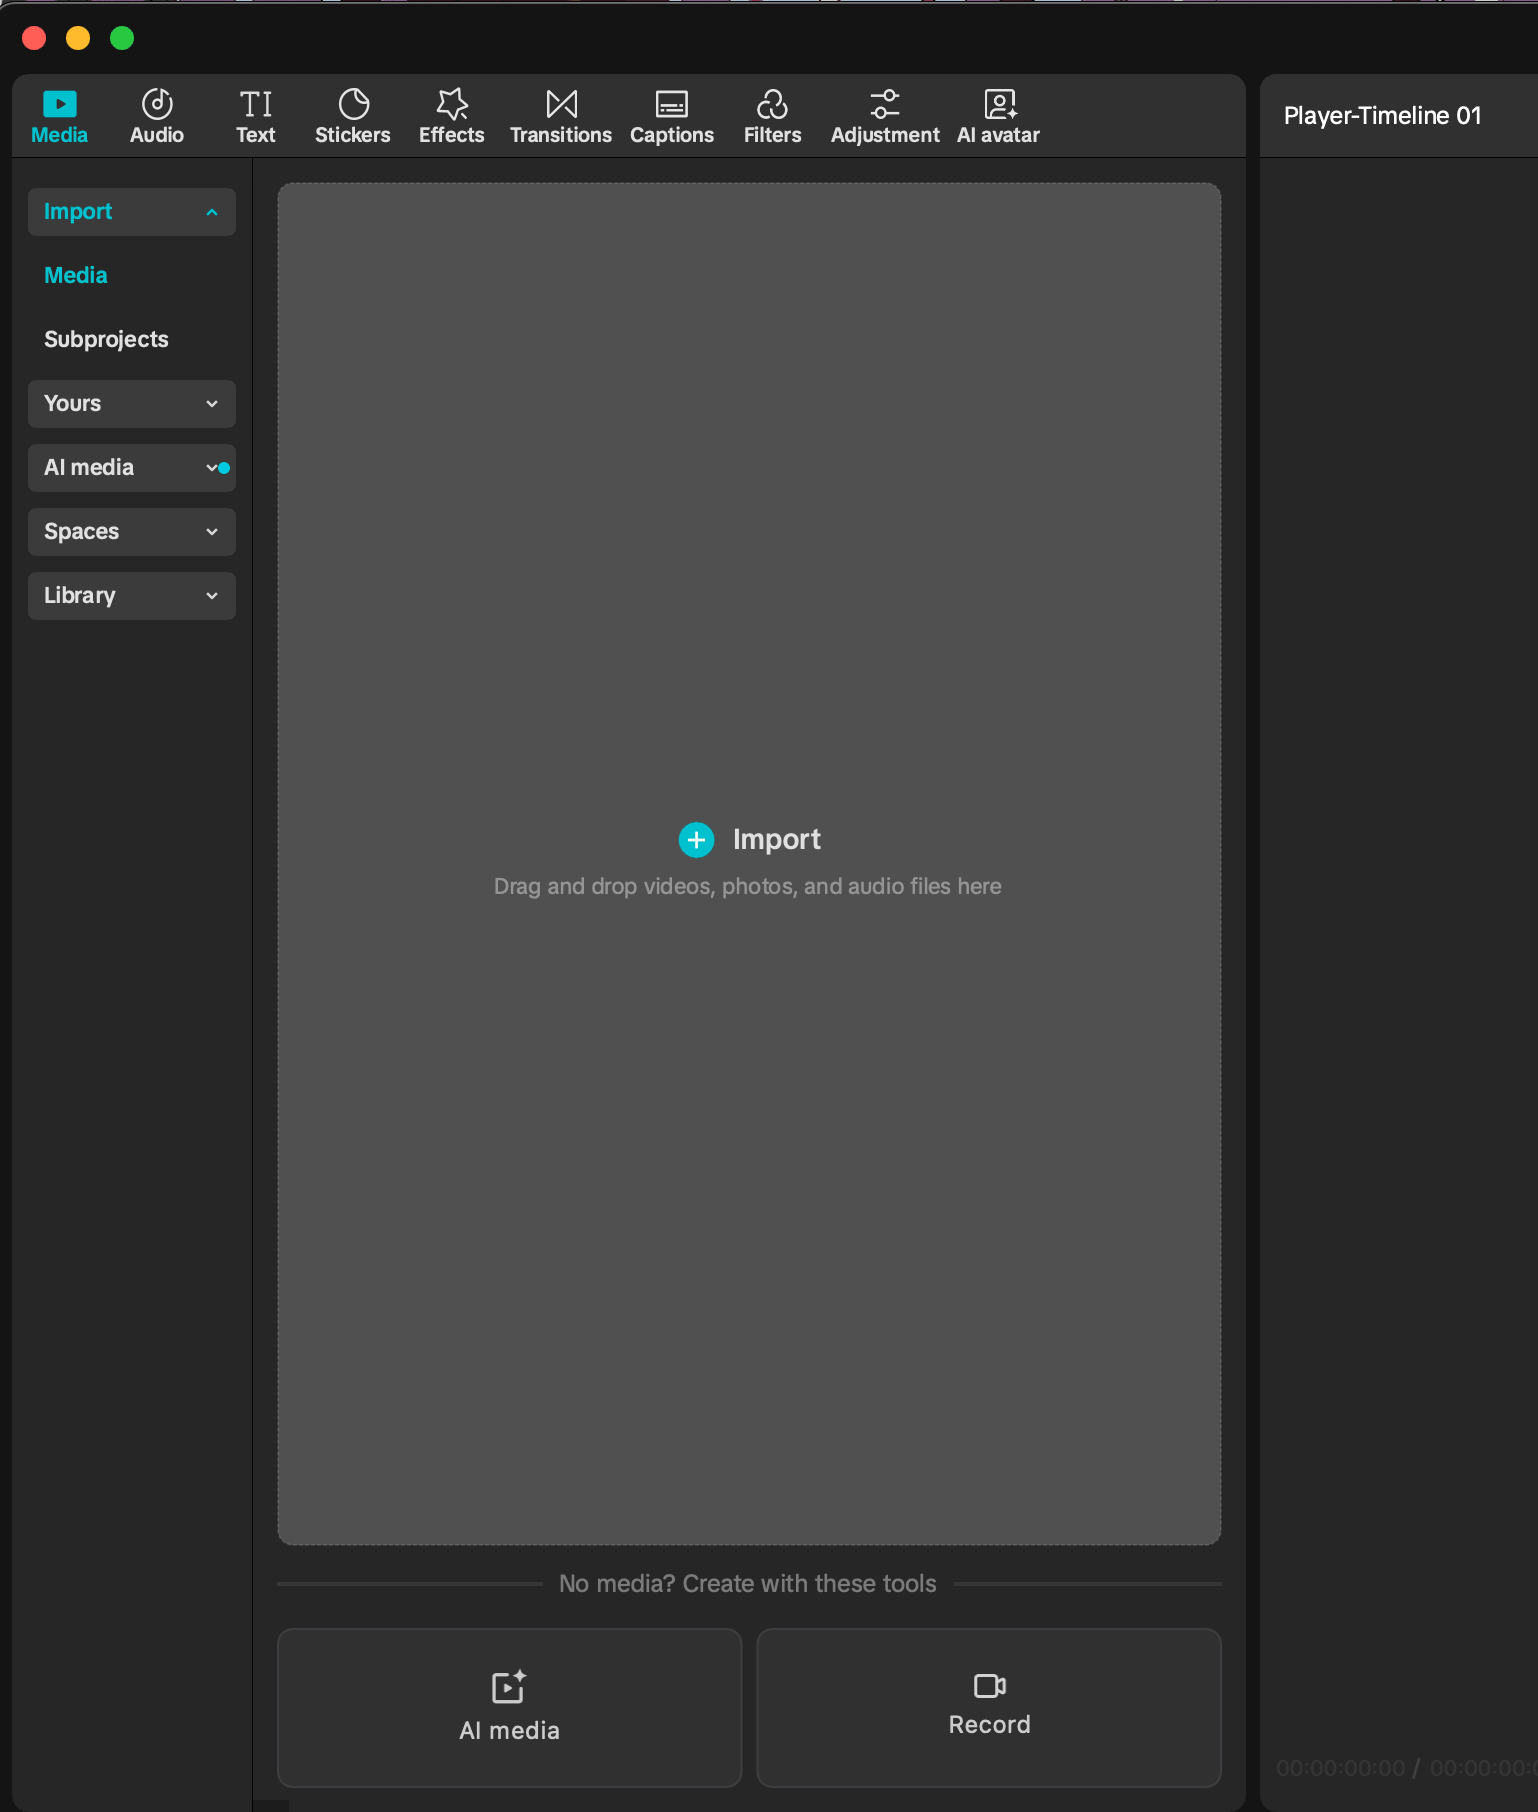
The Media panel in CapCut. Click "Import" to add your Mappi MP4 to the project library. - Step 4
Drop it on the timeline
Drag the map animation from the Media panel down to the multi-track timeline. Use it as your main clip, or place it on an upper track so it plays as an overlay above your footage. Select the clip and use the Inspector on the right to adjust scale, position, and opacity, exactly like any other video layer.
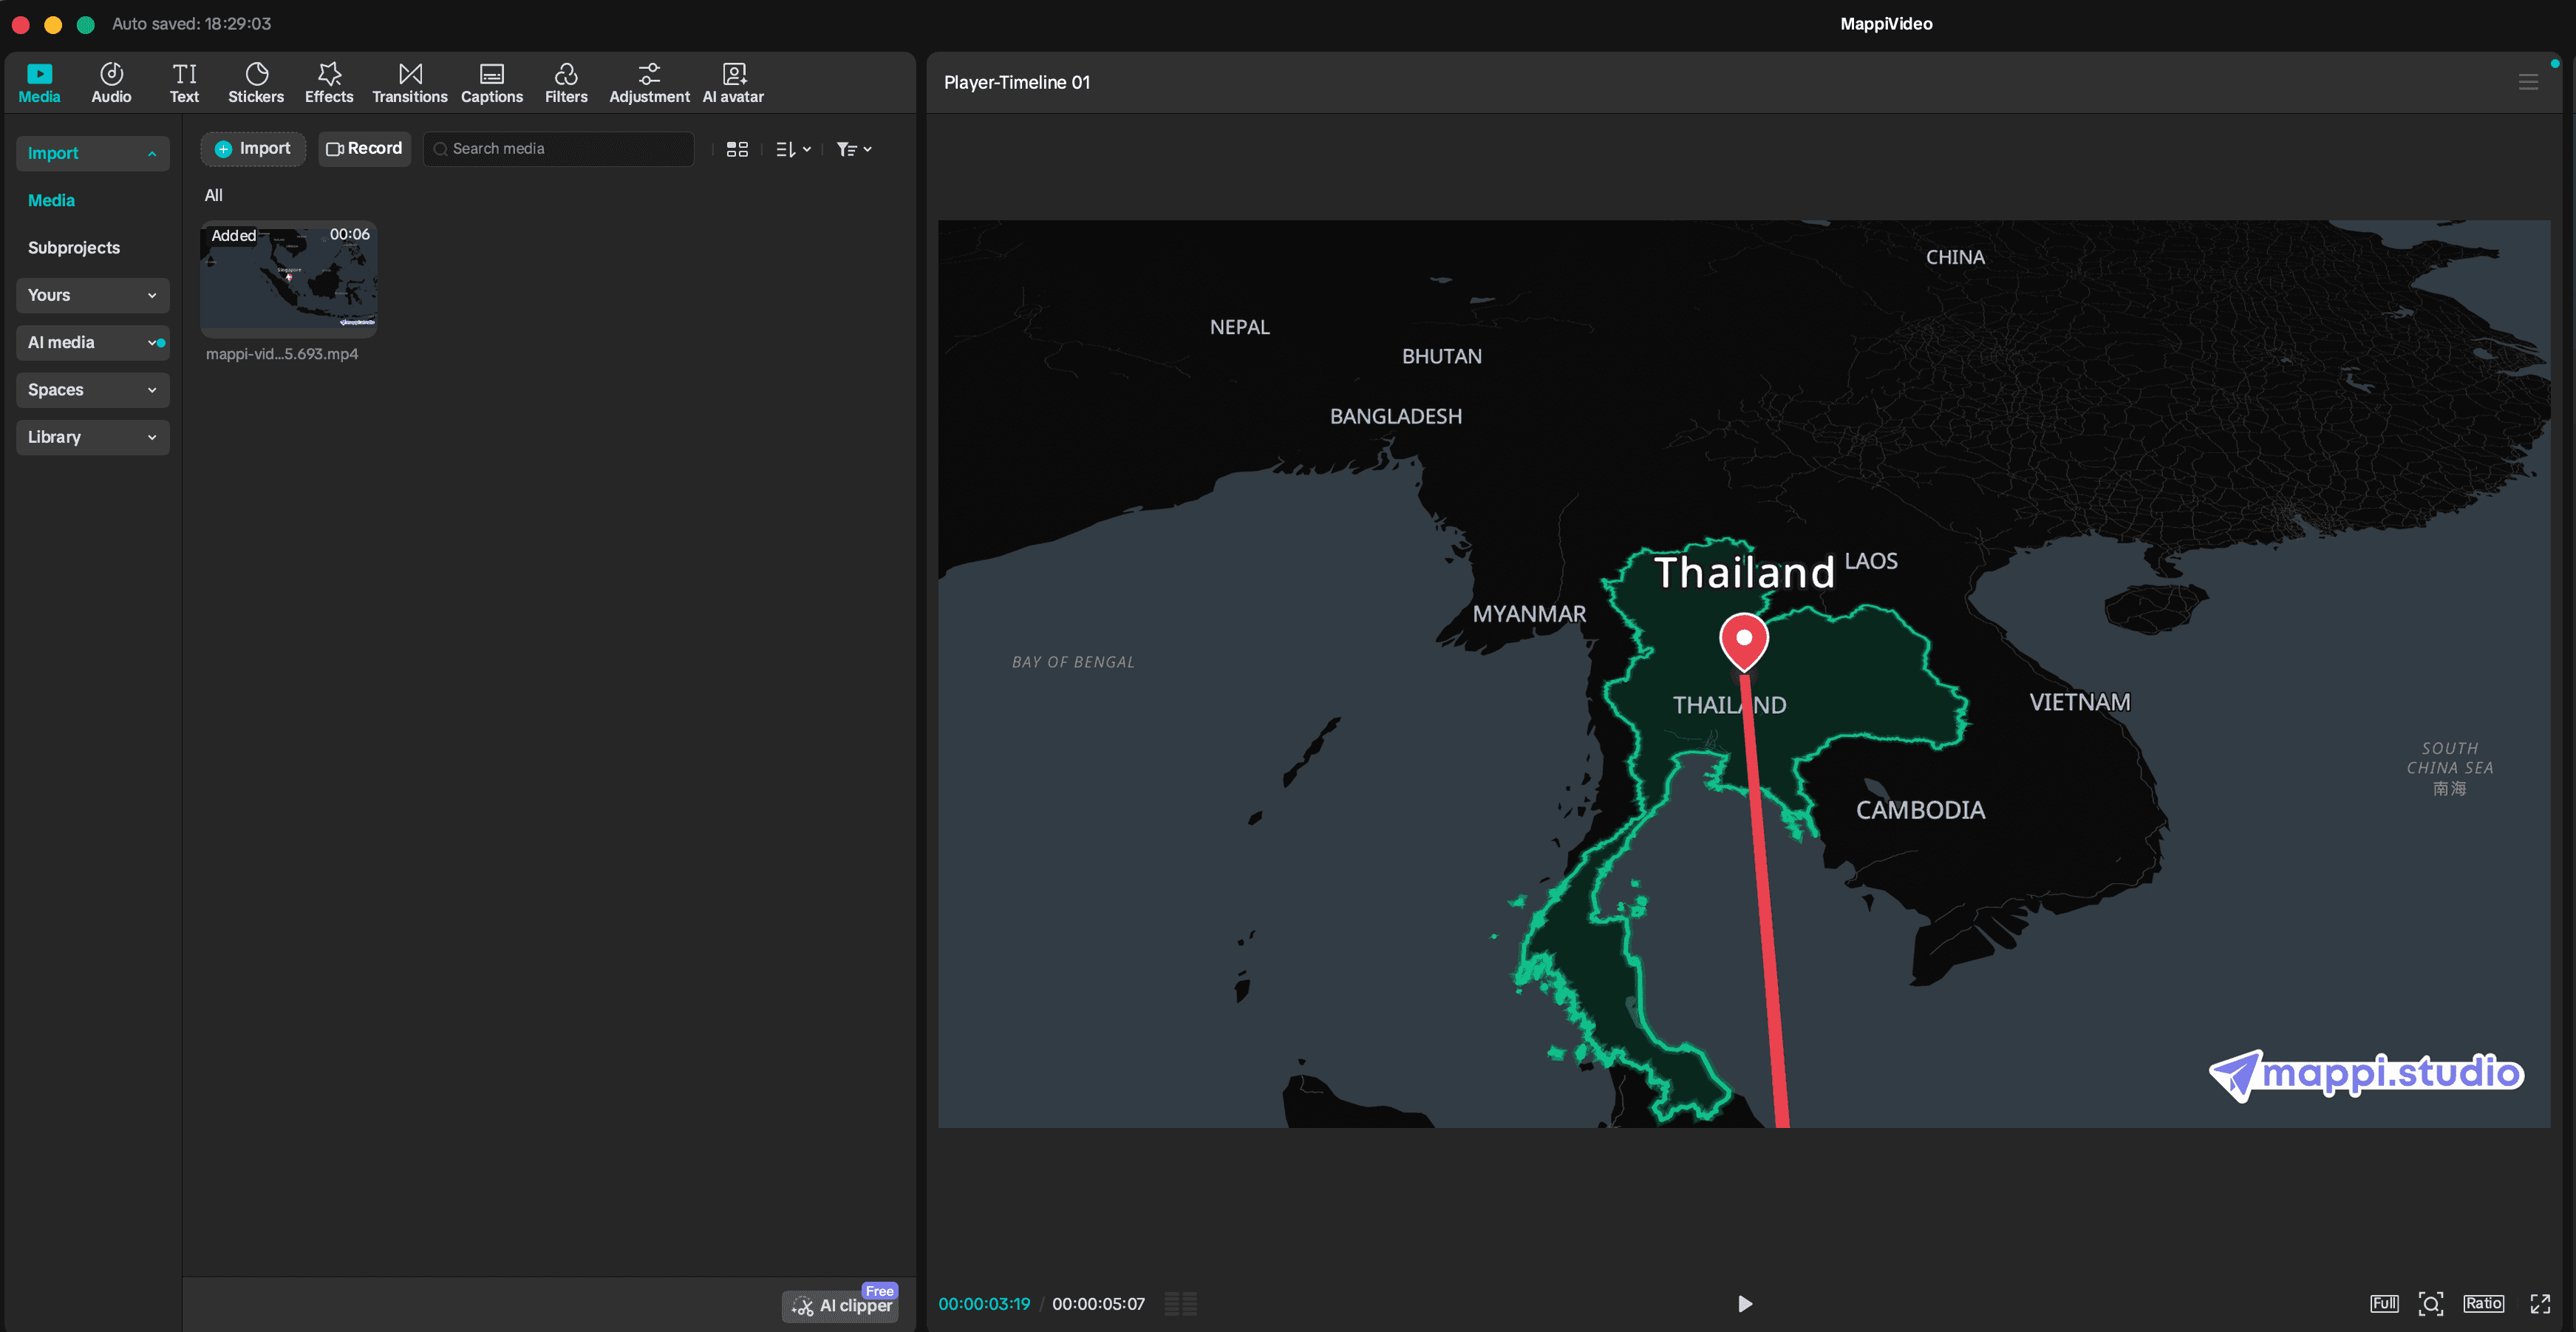
The Mappi clip on the CapCut timeline. Adjust scale, position, and opacity from the Inspector. - Step 5
Edit the map animation with CapCut tools
From here the map behaves like normal footage, so the entire CapCut toolkit applies. Cut it to your pacing, caption it, and match its look to the rest of your edit.
- Split the clip with the playhead (Ctrl+B) to keep only the flight moments you need.
- Open the Text tab to add titles over the map, or run Auto captions to subtitle your voiceover.
- Apply Filters and fine-tune brightness, contrast, and saturation in Adjustments so the map matches your footage.
- Add keyframes to scale, position, or opacity for punch-ins and slide-in reveals of the map.
- Use Speed with a smooth curve to ramp the camera flight for dramatic pacing.
- Drop Transitions between the map and your other clips, and pull Stickers or Effects on top for extra motion.
- Sync cuts to your soundtrack with Beat sync from the CapCut audio library.
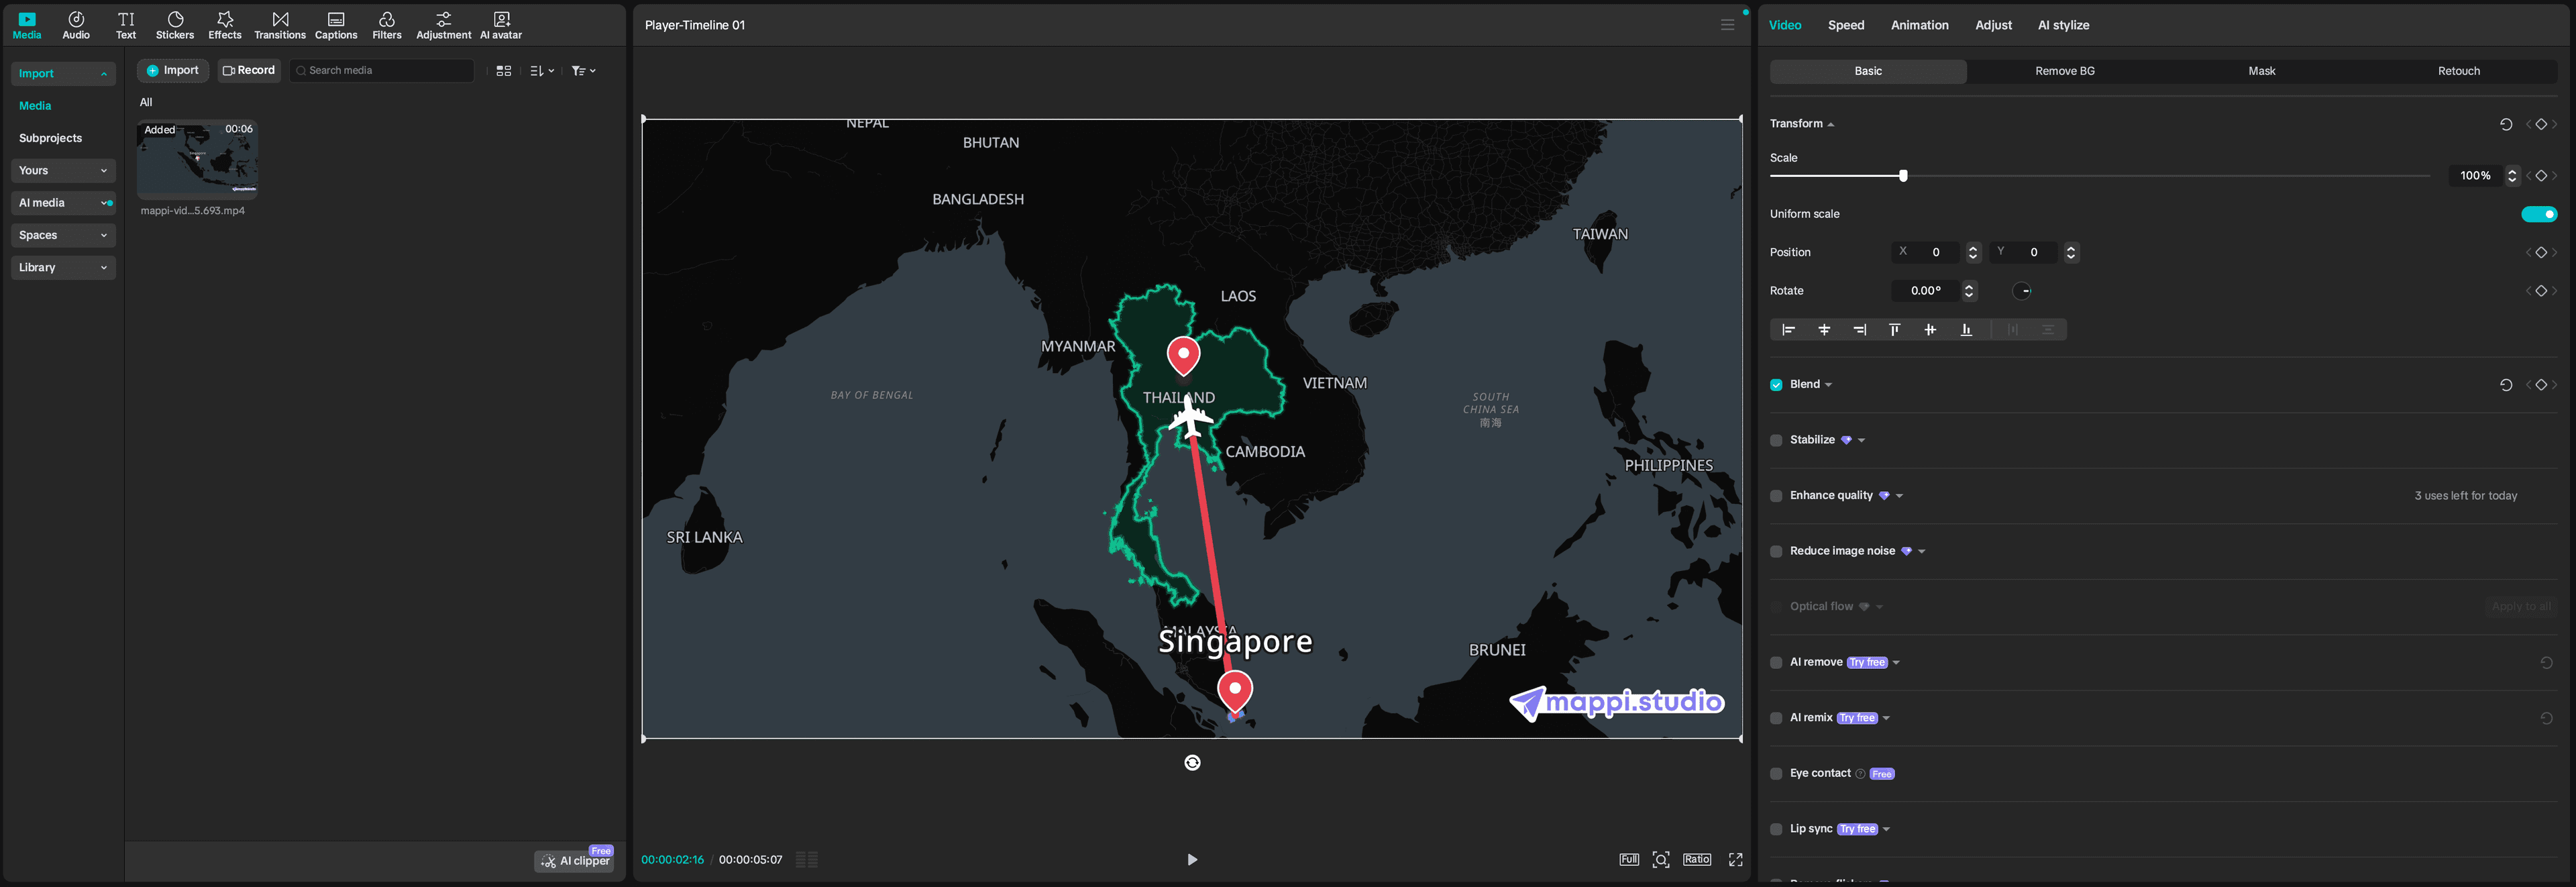
The finished edit: map animation cut, captioned, and styled with CapCut effects. - Step 6
Export and post
Click Export at the top right, pick your resolution and frame rate in the Export panel, and render the final video. From CapCut you can save the MP4 or share it straight to TikTok, ready for Reels, Shorts, and YouTube.
Read the next guide
The same Mappi export works in every editor. See how to import it into these tools.


Put a moving map in your next CapCut edit
Generate your map animation in Mappi, export it in 4K, and finish the edit in CapCut. Free to try, no keyframing required.



Mappi is the simplest way to create stunning animated maps. Perfect for YouTubers, journalists, and storytellers.
 Stripe Climate member
© 2026 Mappi. All rights reserved.