


Create a Map Animation with AI
The fastest way to a finished animated map is to skip building it by hand. With the Mappi AI Trip Builder you describe a trip in plain language and get a complete AI map animation in seconds: destinations, route legs, pacing, and scenes, all generated and all editable. This guide covers how to write a prompt that generates well and how to refine the draft into something that looks hand-crafted. It is especially useful for travel map videos, where the itinerary already exists in your notes.
What the AI Trip Builder actually generates
The AI Trip Builder is not a template picker. From one description it places the destinations in order, chooses a route type for each leg (Fly-over for long hops, Driving where roads make sense, Ocean for crossings), and sets the pacing so long legs move briskly while short ones breathe. The output lands in the Destinations panel exactly like a hand built project, and that is the important part: nothing is locked. Every pin, leg, camera setting, and style choice stays editable, so the AI gives you a strong first draft rather than a fixed result you have to accept.
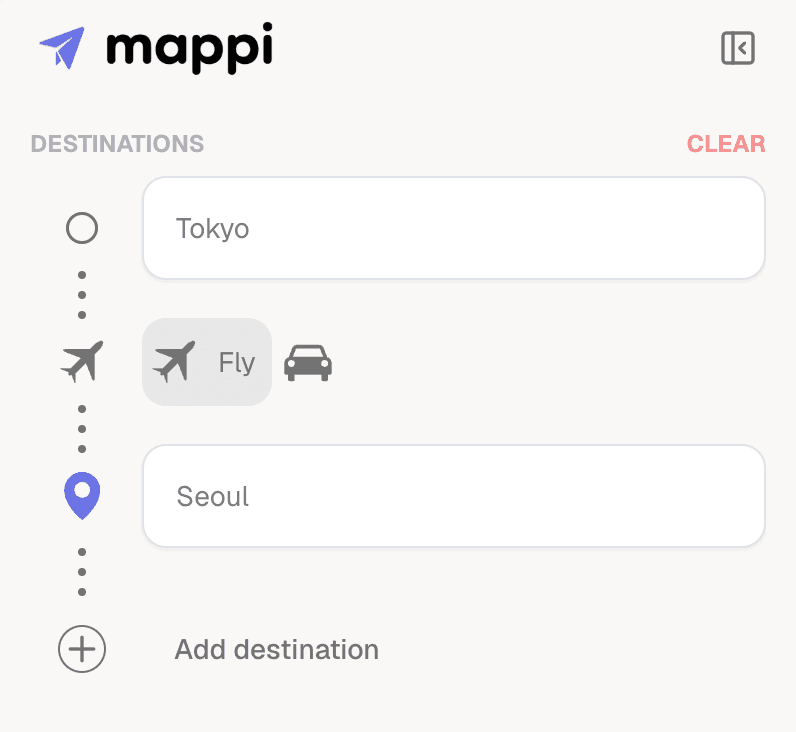
This changes where your time goes. Manual builds spend most of their minutes on placement: searching destinations, ordering stops, picking route types. The AI Trip Builder collapses that to seconds, which moves your effort to the decisions that actually distinguish a video: style, camera feel, and the one or two moments worth slowing down for.
Create an AI map animation in four steps
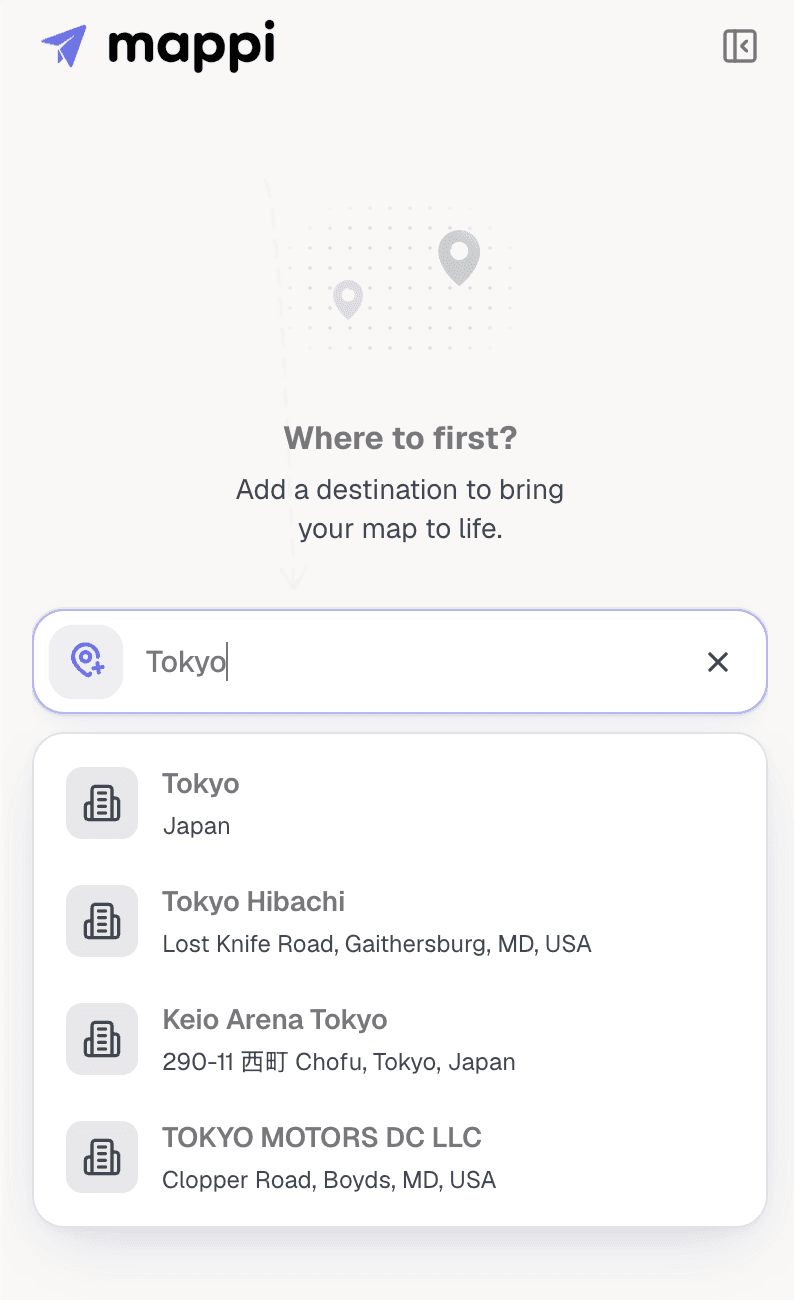
- Open the AI Trip Builder and describe the trip. Write it the way you would tell a friend: "Two weeks in Japan: Tokyo, Hakone, Kyoto, then Osaka, and fly home." Place names plus their order is enough for a solid draft.
- Add intent, not settings. Phrases like "road trip", "island hopping", or "quick weekend" steer route types and pacing better than technical instructions. The builder reads context, not menus.
- Generate and press play. Watch the full preview once before touching anything, and judge the structure only: are the stops in the right order, and do the route types match how you actually traveled? Structure is cheap to fix now and expensive to fix after styling.
- Refine the details by hand. Adjust individual legs in the camera settings, recolor the map in the Style panel, and fix any misplaced destination through the search bar. Edit the draft directly instead of fighting the generator with re-prompts for small changes.
From AI draft to finished video
Treat the generated project as the halfway point of the workflow you would otherwise follow by hand. The AI handles the placement and pacing pass; you still own the style pass and the export pass. Recolor the map to match your brand, tune the easing on the legs that matter, then pick an aspect ratio in the Export panel and render in the cloud. To understand what each of those passes involves, our step by step map animation guide walks the full manual workflow. It is worth one read even if AI builds most of your projects, because knowing what good manual pacing looks like makes you a sharper judge of the AI's draft. The creators who get the most out of the builder are the ones who can look at a generated leg and name what is off about it in one word: speed, zoom, or easing.
What to do next
Once the draft is yours, the polish comes from styling, camera work, and export settings. Browse our map animation tutorials for those guides, or continue with the related guides below.
